When struggling to find wallpaper I liked (that wasn’t discontinued), I seriously considered stenciling the walls in the dining room. Stenciling has been around forever and was common in Victorian homes, so it would have been appropriate, albeit time consuming. Thankfully, it didn’t come to that, but I was hooked on the stenciling idea.
In the front room, we lowered the picture molding and painted the ceiling color down the wall to the molding. This left a 12 inch border at the top of the walls. Perfect area for stenciling!
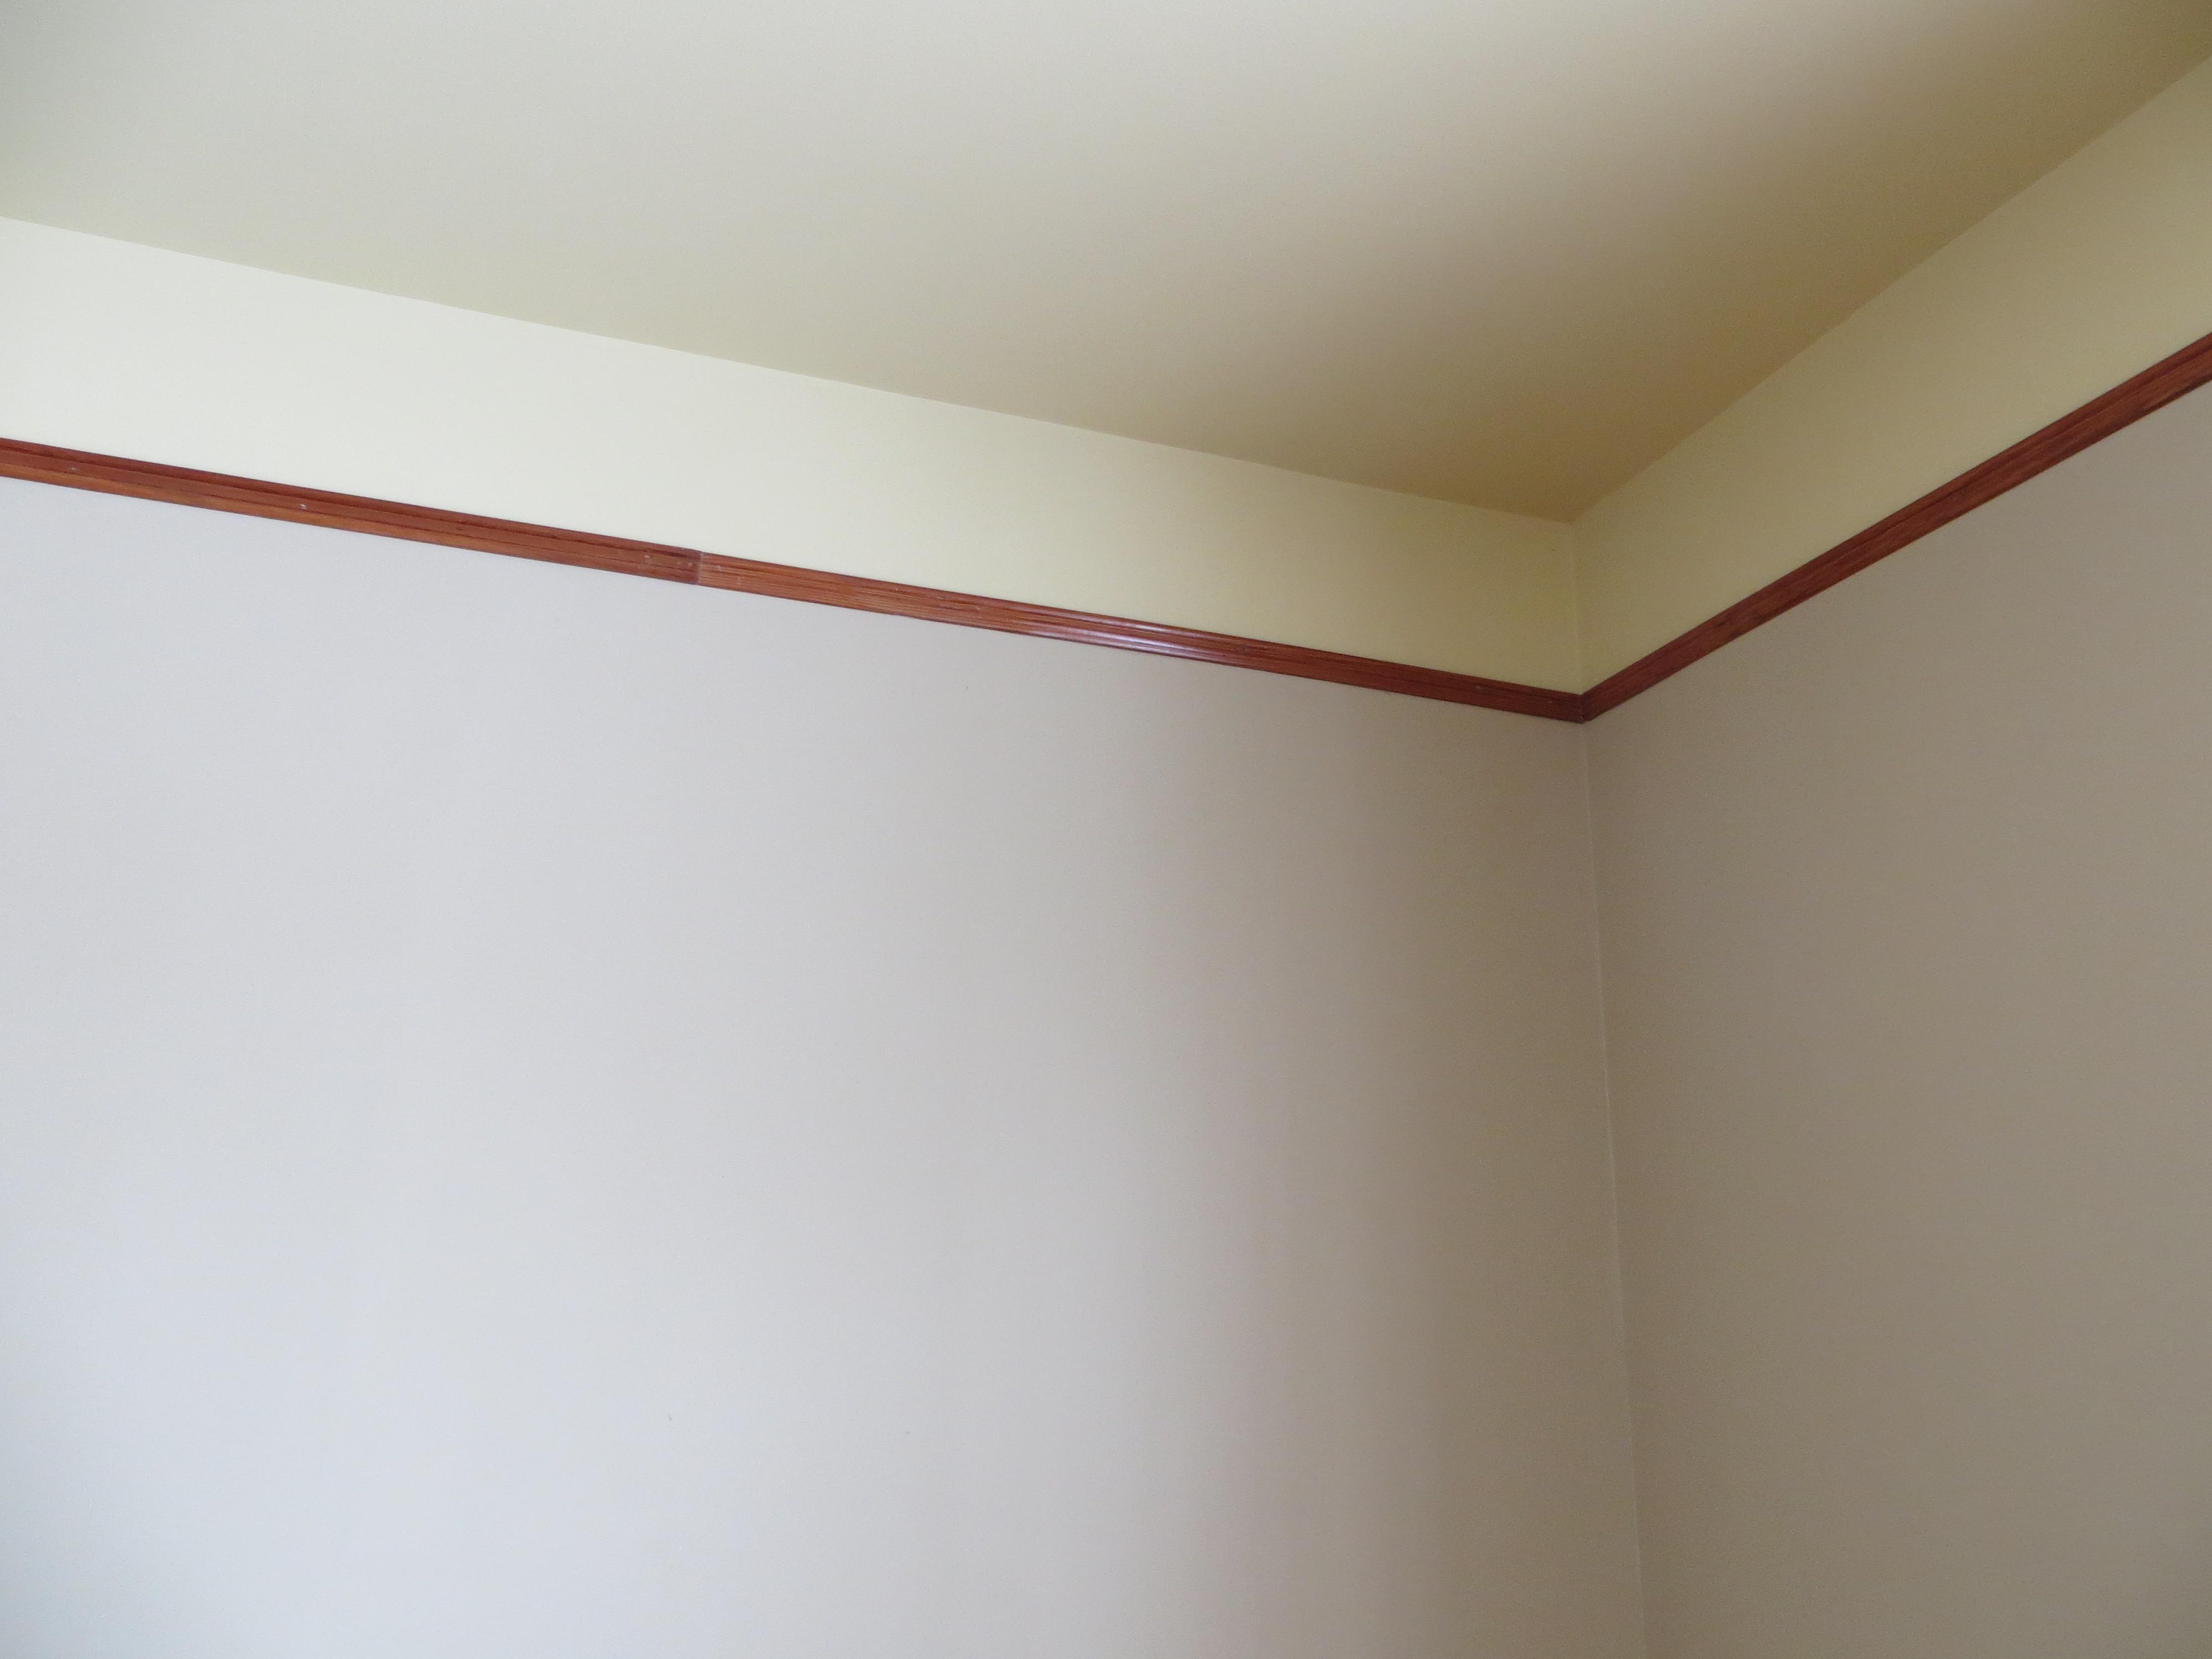
Perfect stenciling spot!
We haven’t stenciled before. It was a completely new medium for us. What can I say, we live life on the edge. I ordered the stencil online. I read all the instructions, watched videos, obsessed…..waited for the stencil to arrive. Saturday was deemed stenciling day.
It’s funny how hubby and I work together. We tend to divide the work to be done into separate tasks. He does his tasks and I do mine. We don’t argue over who does what or how the work gets done. The division is handled silently, too. We just tend to do what we need to do….it’s weird, actually.
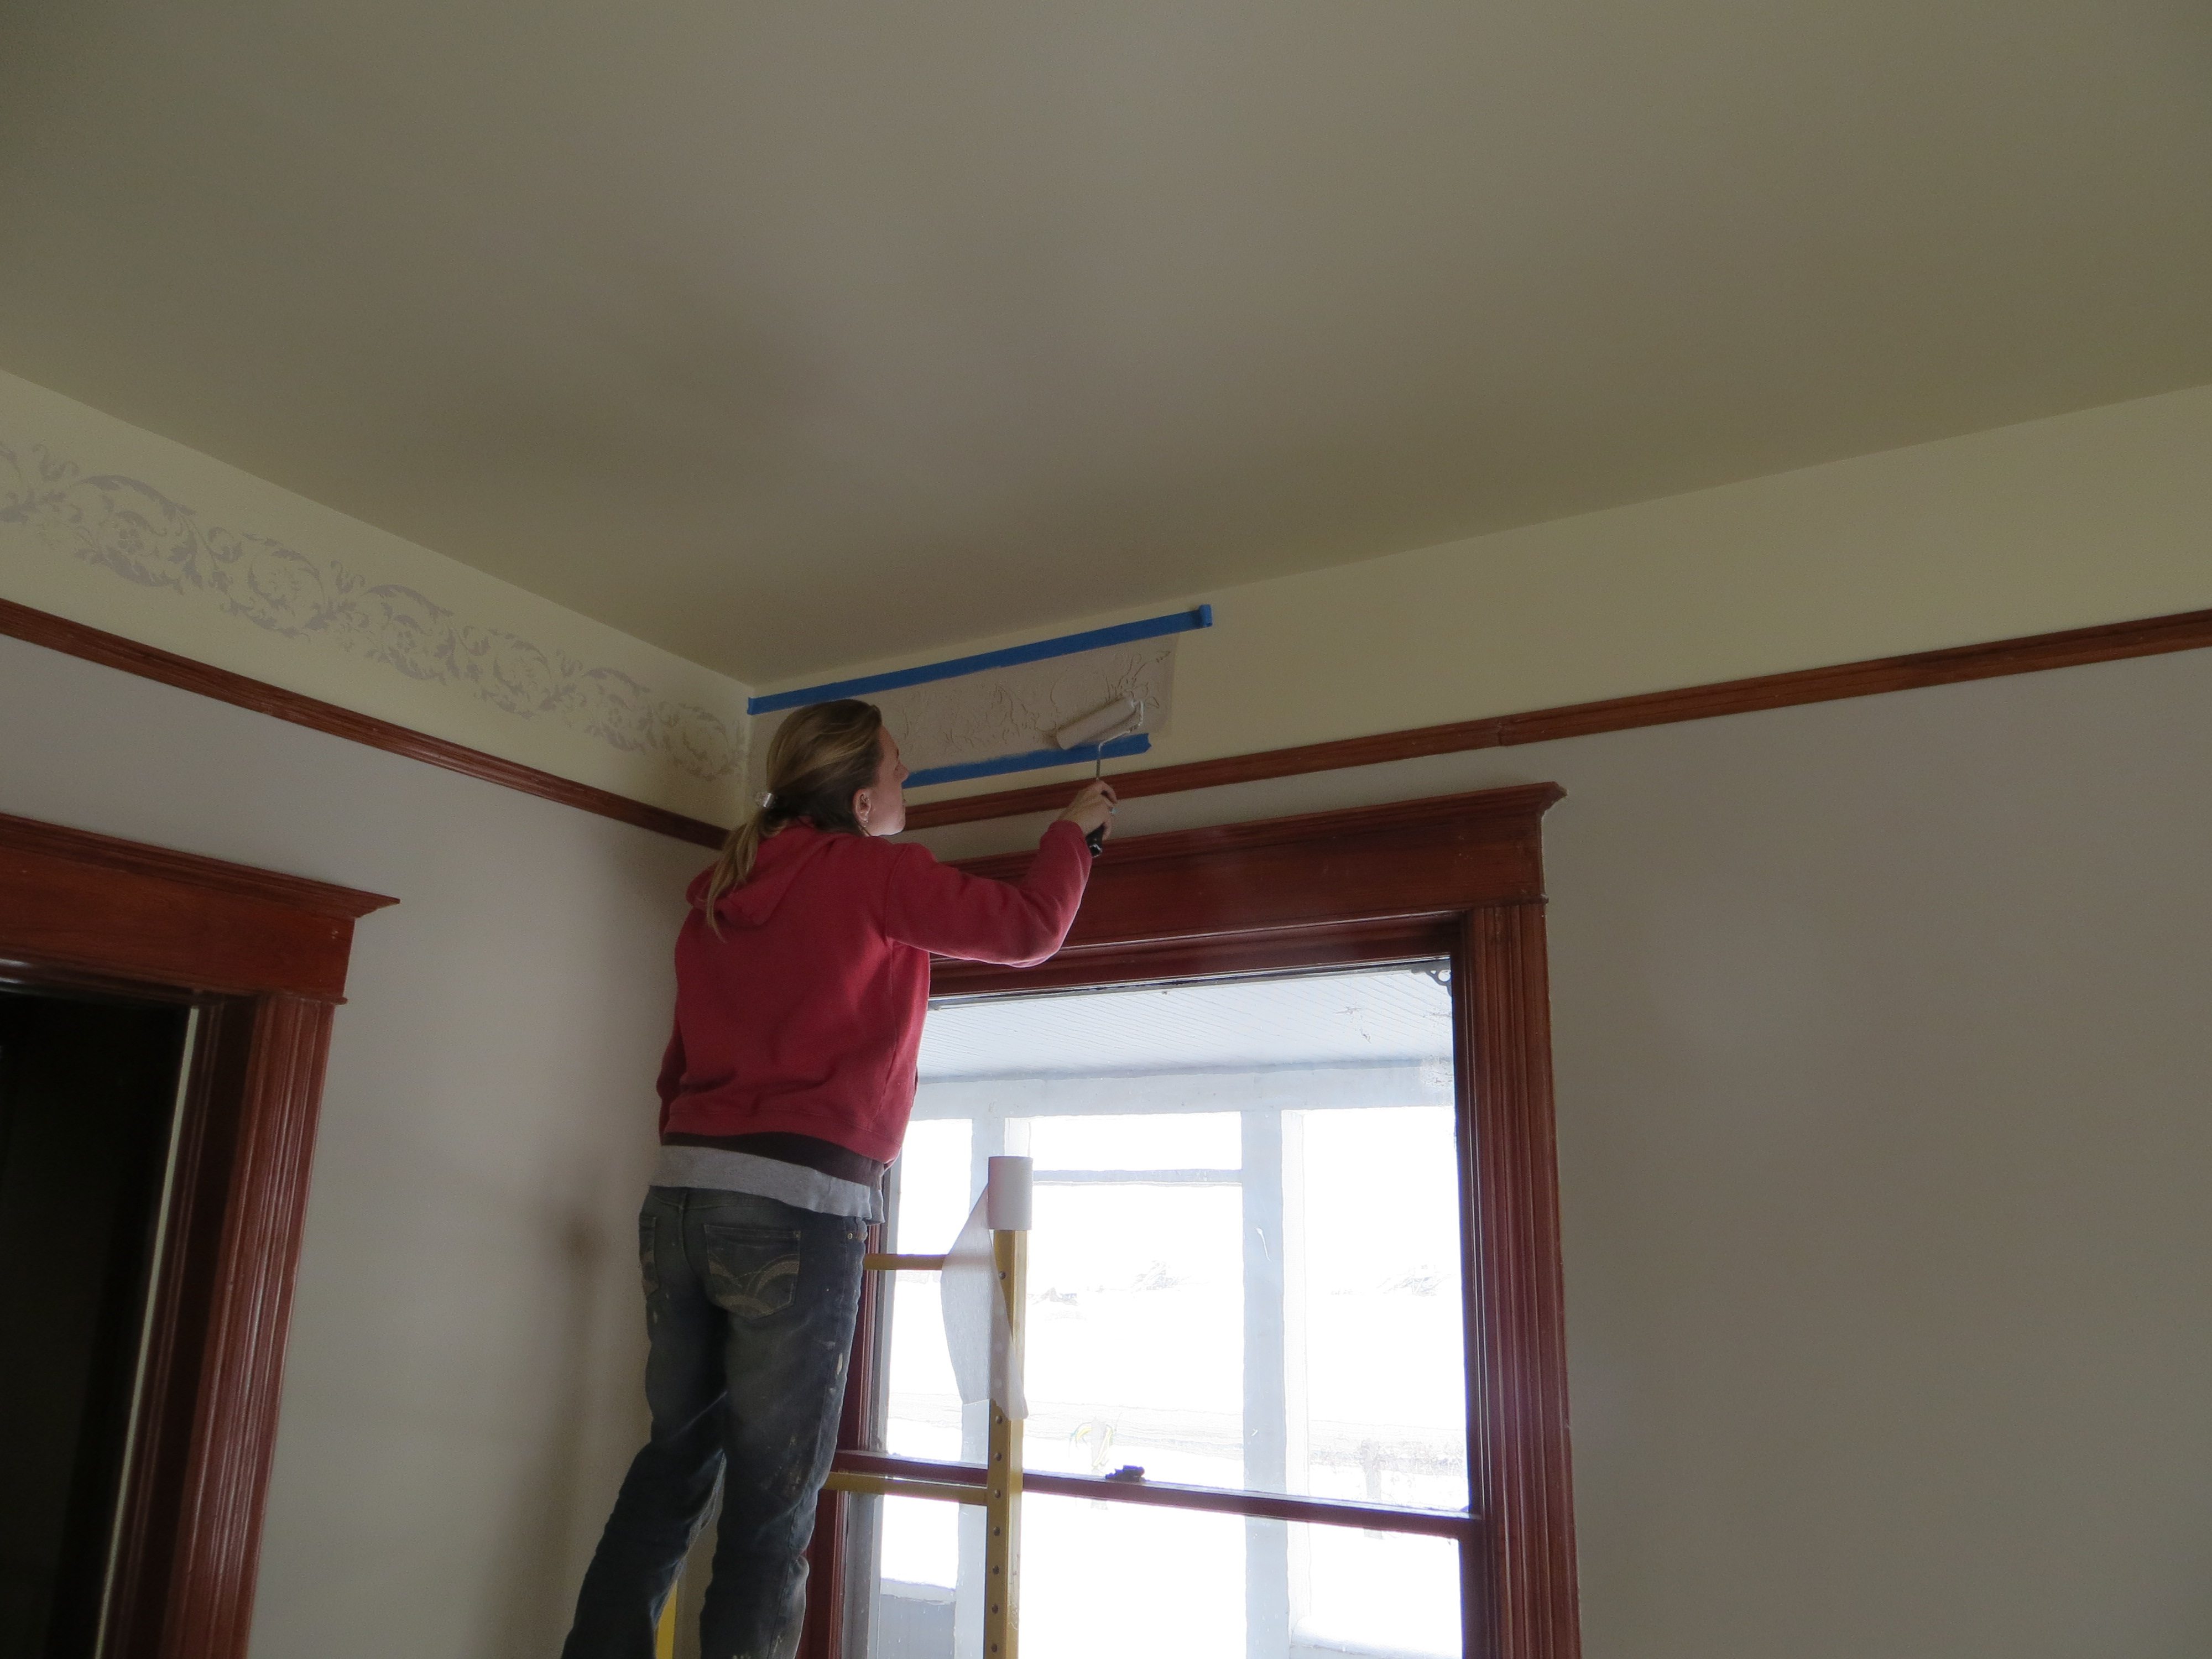
For stenciling, hubby would line up the stencil, measure to make sure we stay on the level, tape it to the wall, and step back. I would roll the paint on, make sure the it covered well, and step back. Rinse and repeat. And repeat. And repeat. And repeat.
And so on.

Things were actually going quite swimmingly until about half way through. The lines were getting less and less sharp. More paint was seeping through, so we decided it was time to clean the stencil. This would have not been a problem if we had not used spray adhesive on the back. The spray adhesive mixed with water and paint chunks turned the back of the stencil into a gooey, chunky mess. After about 30 minutes of cleaning with lacquer thinner, we were back on track.
 It took us about 2 1/2 hours to get the first two walls done. I cannot imagine stenciling an entire room and think I should maybe have my head examined for even thinking it was a possibility. After we got in a groove (and after the glue/paint/goo debacle), things went pretty smoothly. We managed to get the last two walls done in about an hour!
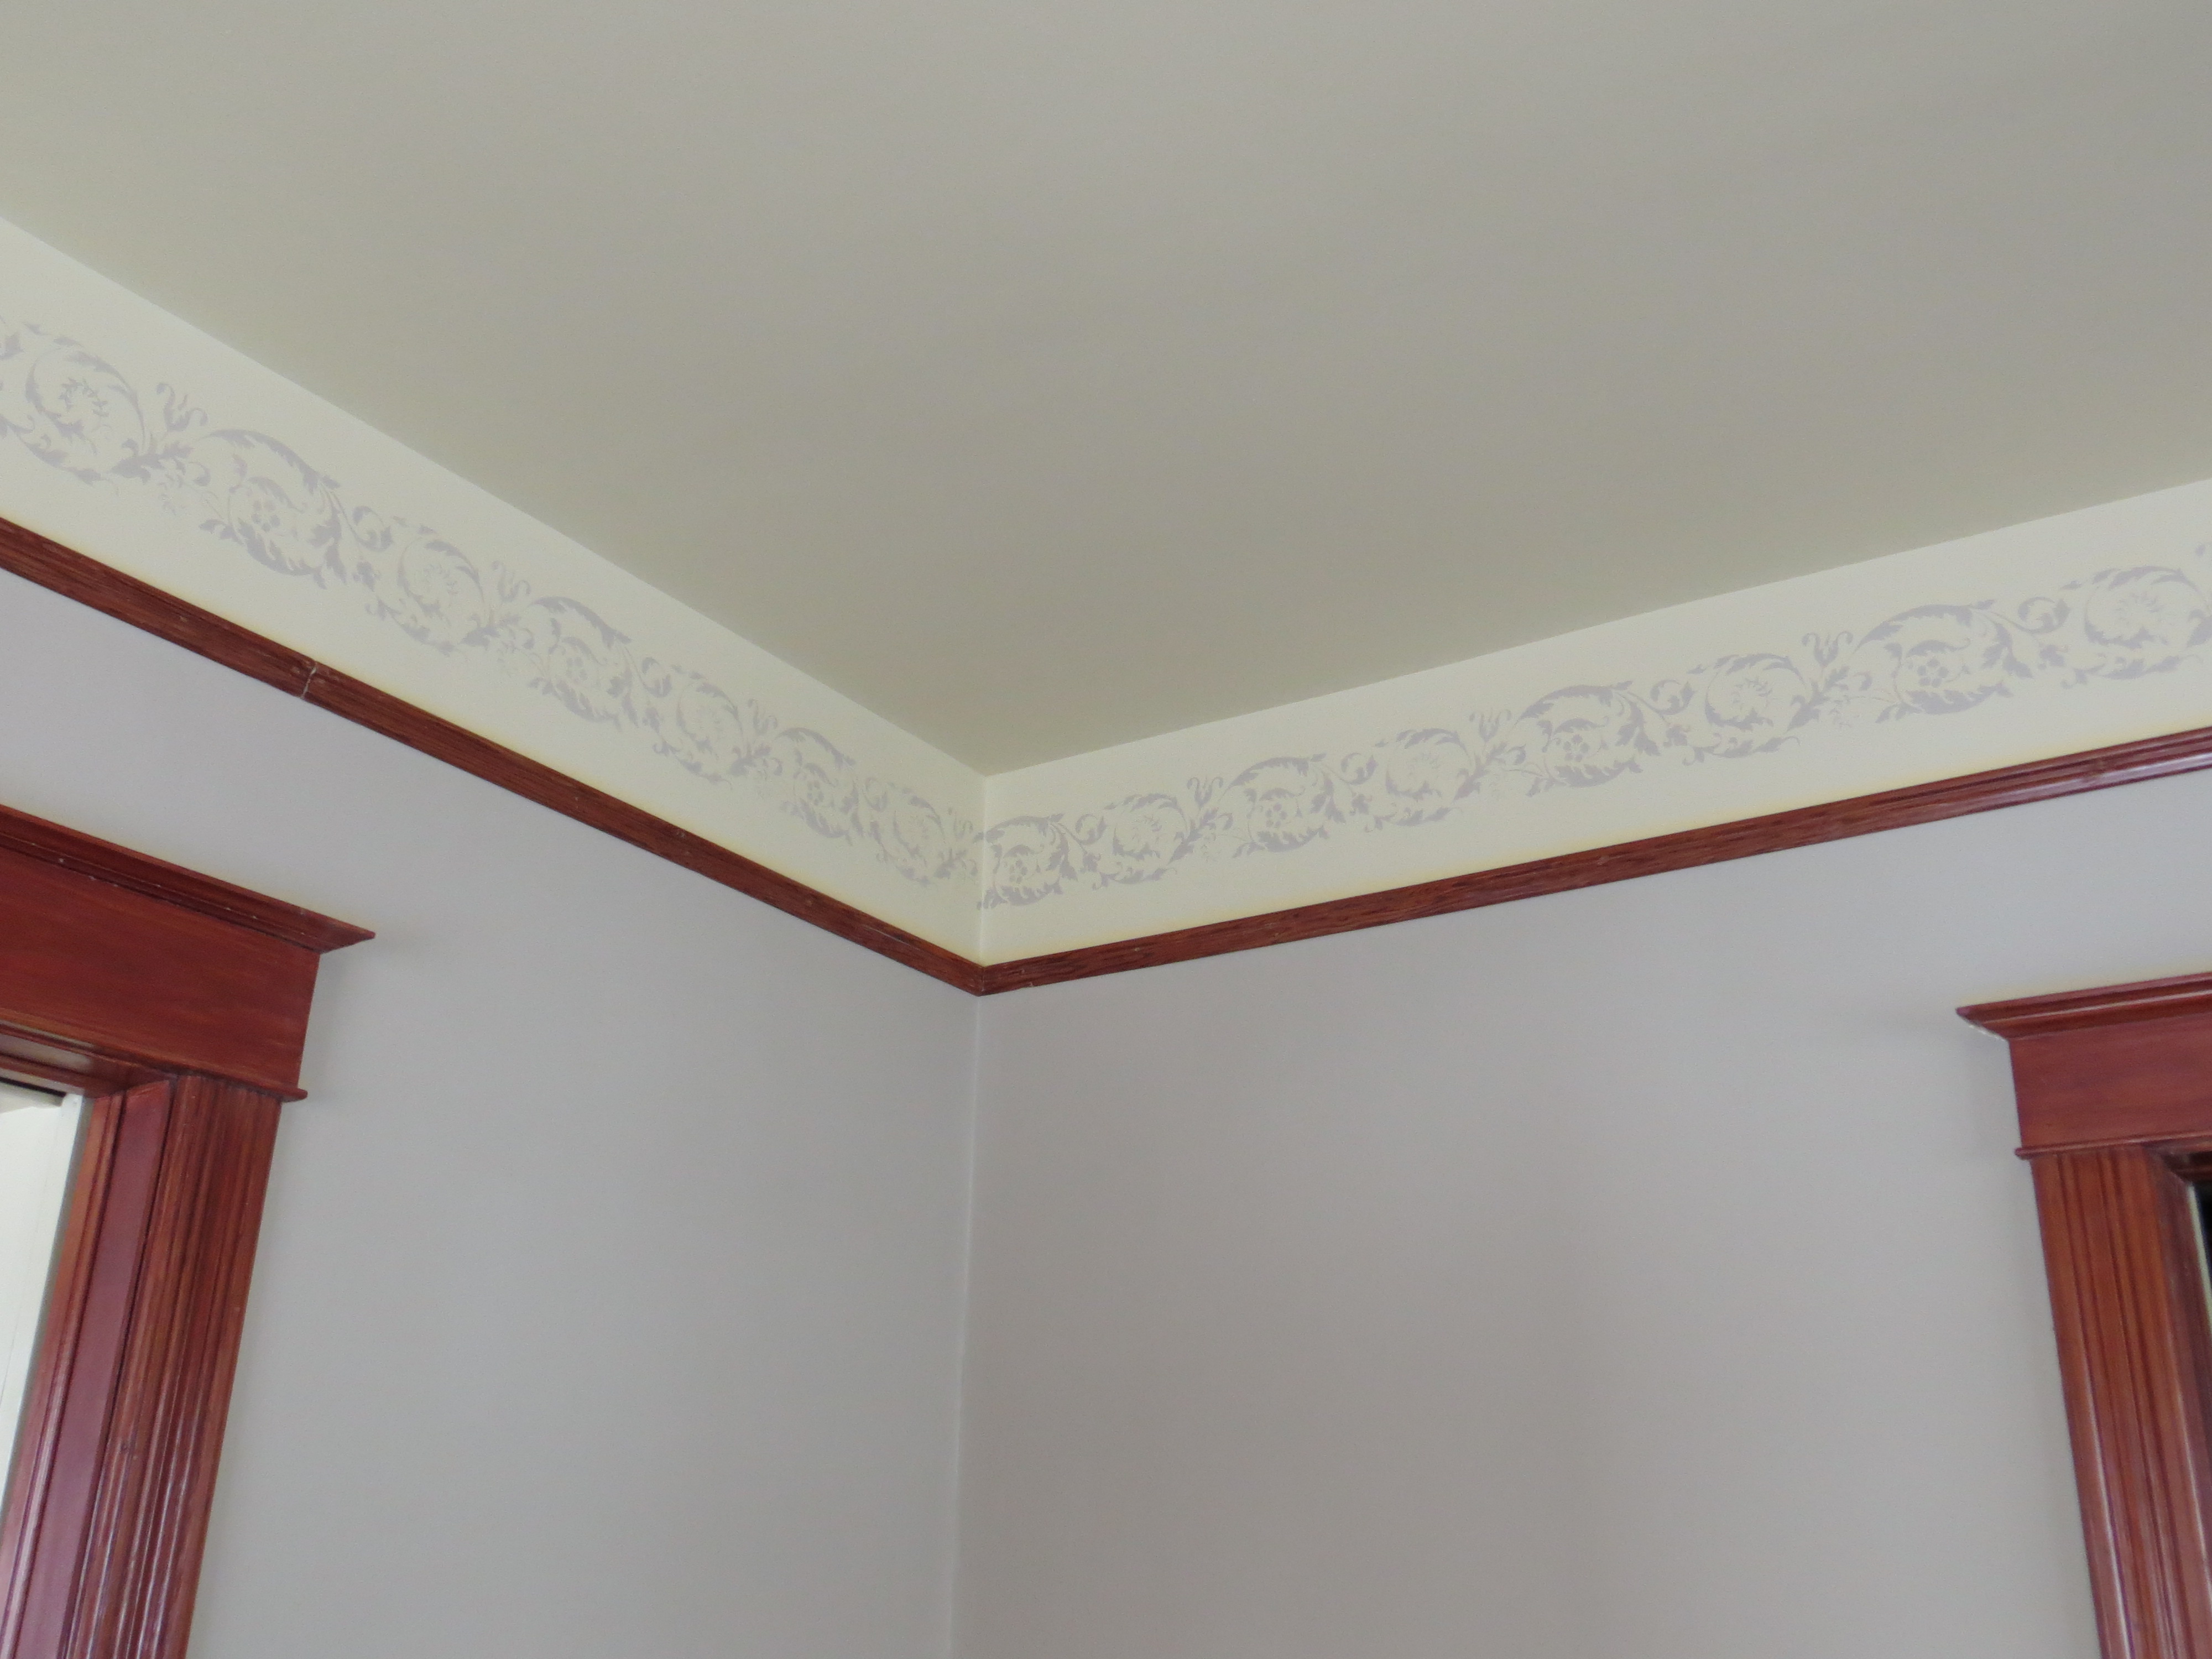
Oooh La La!
It’s amazing how this little detail changed the room. I can’t think of any way to put this without using cliches. How about a fun game of choose your own cliche…..
The stenciling
- Really finished the room
- Gave the room that extra “pop”
- Pushed the room to the next level
- Added a touch of Victorian elegance
I would stencil again, but I don’t know if I’d ever tackle stenciling an entire room floor to ceiling. We did learn a few tips along the way:
- Buy a high quality stencil. The stencil we purchased from www.cuttingedgestencils.com. It stood up well to moving multiple times, washing, and scrubbing with lacquer remover (grr). It laid down flat on the wall and I wasn’t worried about it breaking. I did notice a couple spots where the cut-out detail was quite small and it started to bend, but it still functioned perfectly.
- Do not use stencil adhesive. We did not notice that using the adhesive improved the quality of the finished product. We found that using blue painter’s tape all the way along the top and bottom of the stencil held it up and flat on the wall.
- Use a dense foam roller. These can be found at any home improvement store. Make sure you get a foam roller, not the “fuzzy” rollers.
- Make sure you roll most of the paint off the roller. I found that using minimal paint, rolling most of it off in the tray, then rolling it once on a paper towel was perfect. Too much paint will cause seepage under the stencil.
- Practice first. The stencil we bought had a little stencil with it to practice with. We practiced our technique multiple times before putting it up on a wall that “counted”.
- Take your time. Seriously. This is not a job to rush. Take a break if you need to, take a deep breath, slow down.
- Don’t be intimidated….it really was easy to do and the results look great!
Soon….very soon….I will be able to show you a full before and after of this room!!
I can’t WAIT to see the before and afters!!!
Pingback: Front Room – Before and After | Our House Journey