The history of a historic home

One thing that interests us about old houses is the history of the home.  Who lived there?  What did they do?  What are their stories?  I have always felt that our homes have “spoken” to us.  I have walked into a room, felt like it should be a certain color, then discovered that exact color originally painted after the layers of wallpaper and paint were removed.  Hubby once took a hammer to a ceiling because he had a feeling the ceilings were lowered (they were).  Is it the ghosts of residents past?  Have I just inhaled too many paint fumes?  Who knows…..

Our first old home told generic stories.  We didn’t know much about researching house history back then, so we knew only the basics.  Our second old home told more detailed stories.  The previous owner had done all the research and left us a detailed account of previous owners, their professions, and even had a couple great legends.  We were told that James Michener was friends with one of the previous owners (the local paper’s editor) and would come over to enjoy a cup of coffee in the breakfast nook of the kitchen!

But this house, this house tells us the most detailed stories of all.  Mostly because we hunted down the daughter in law of the woman who lived here the longest.  She has shared photos, told stores, and even invited us to her home to visit!  With her help and a little leg work on our own, we’ve learned a lot about the original owners and the owners since.

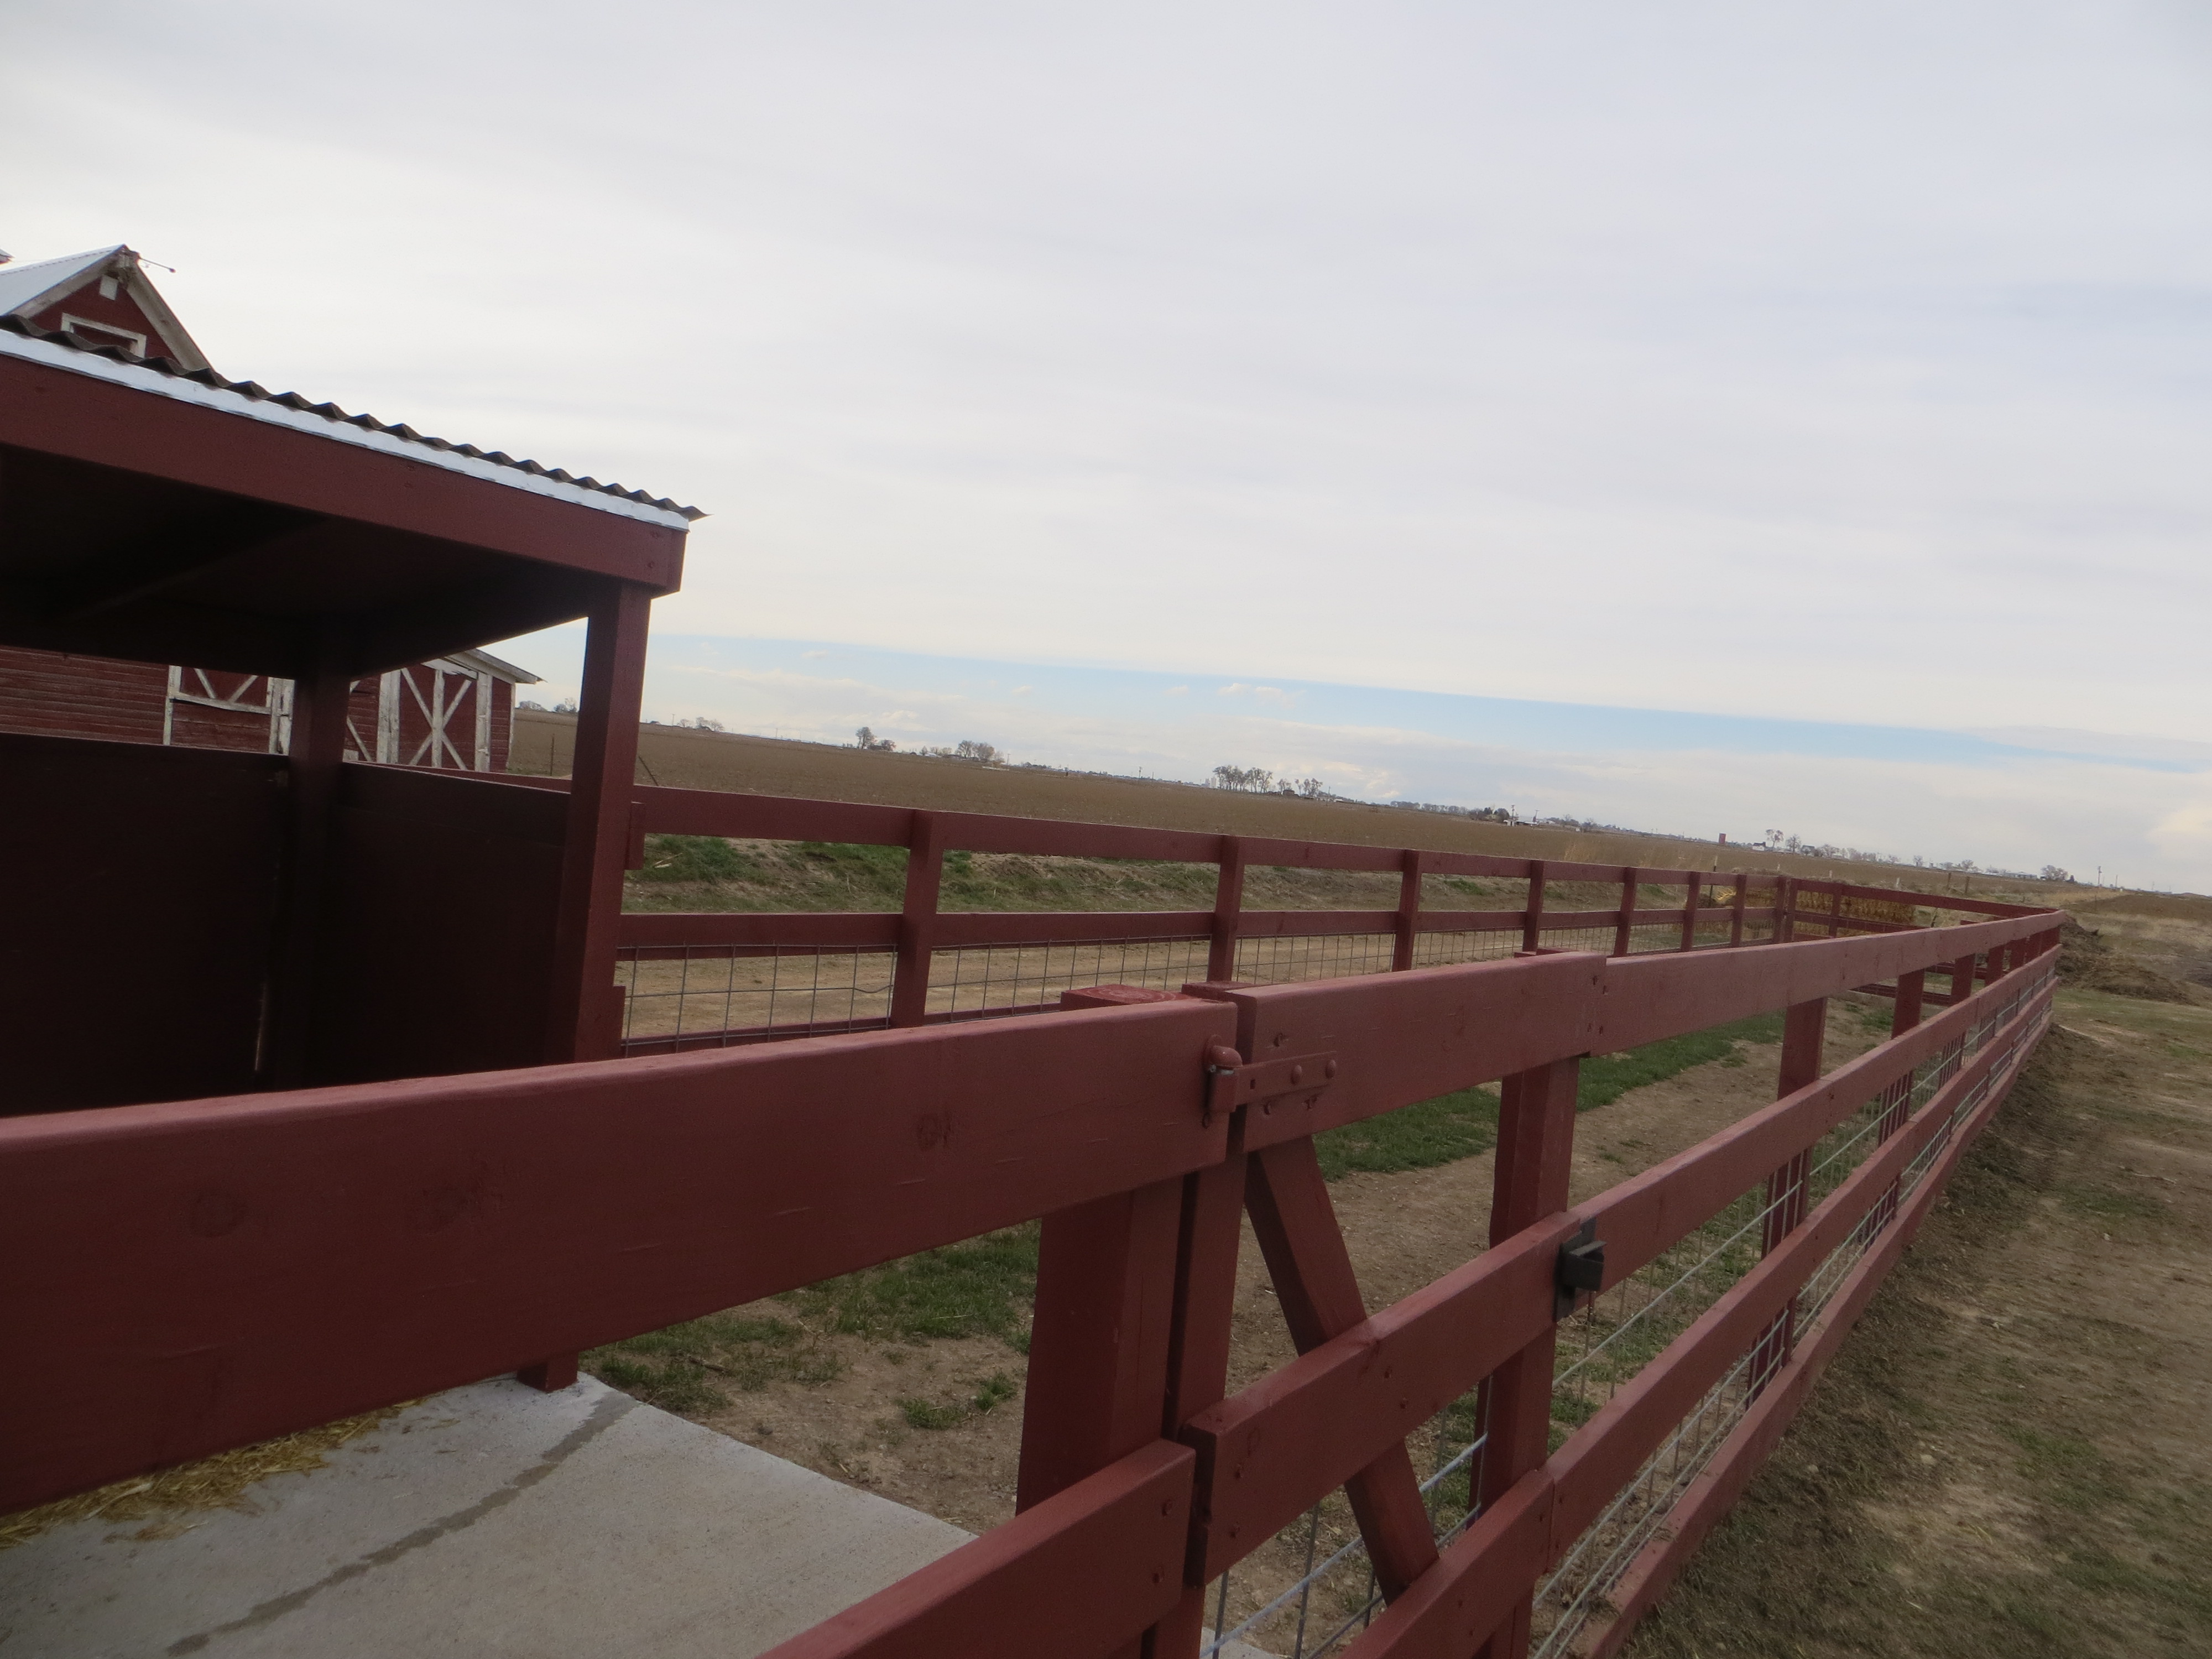
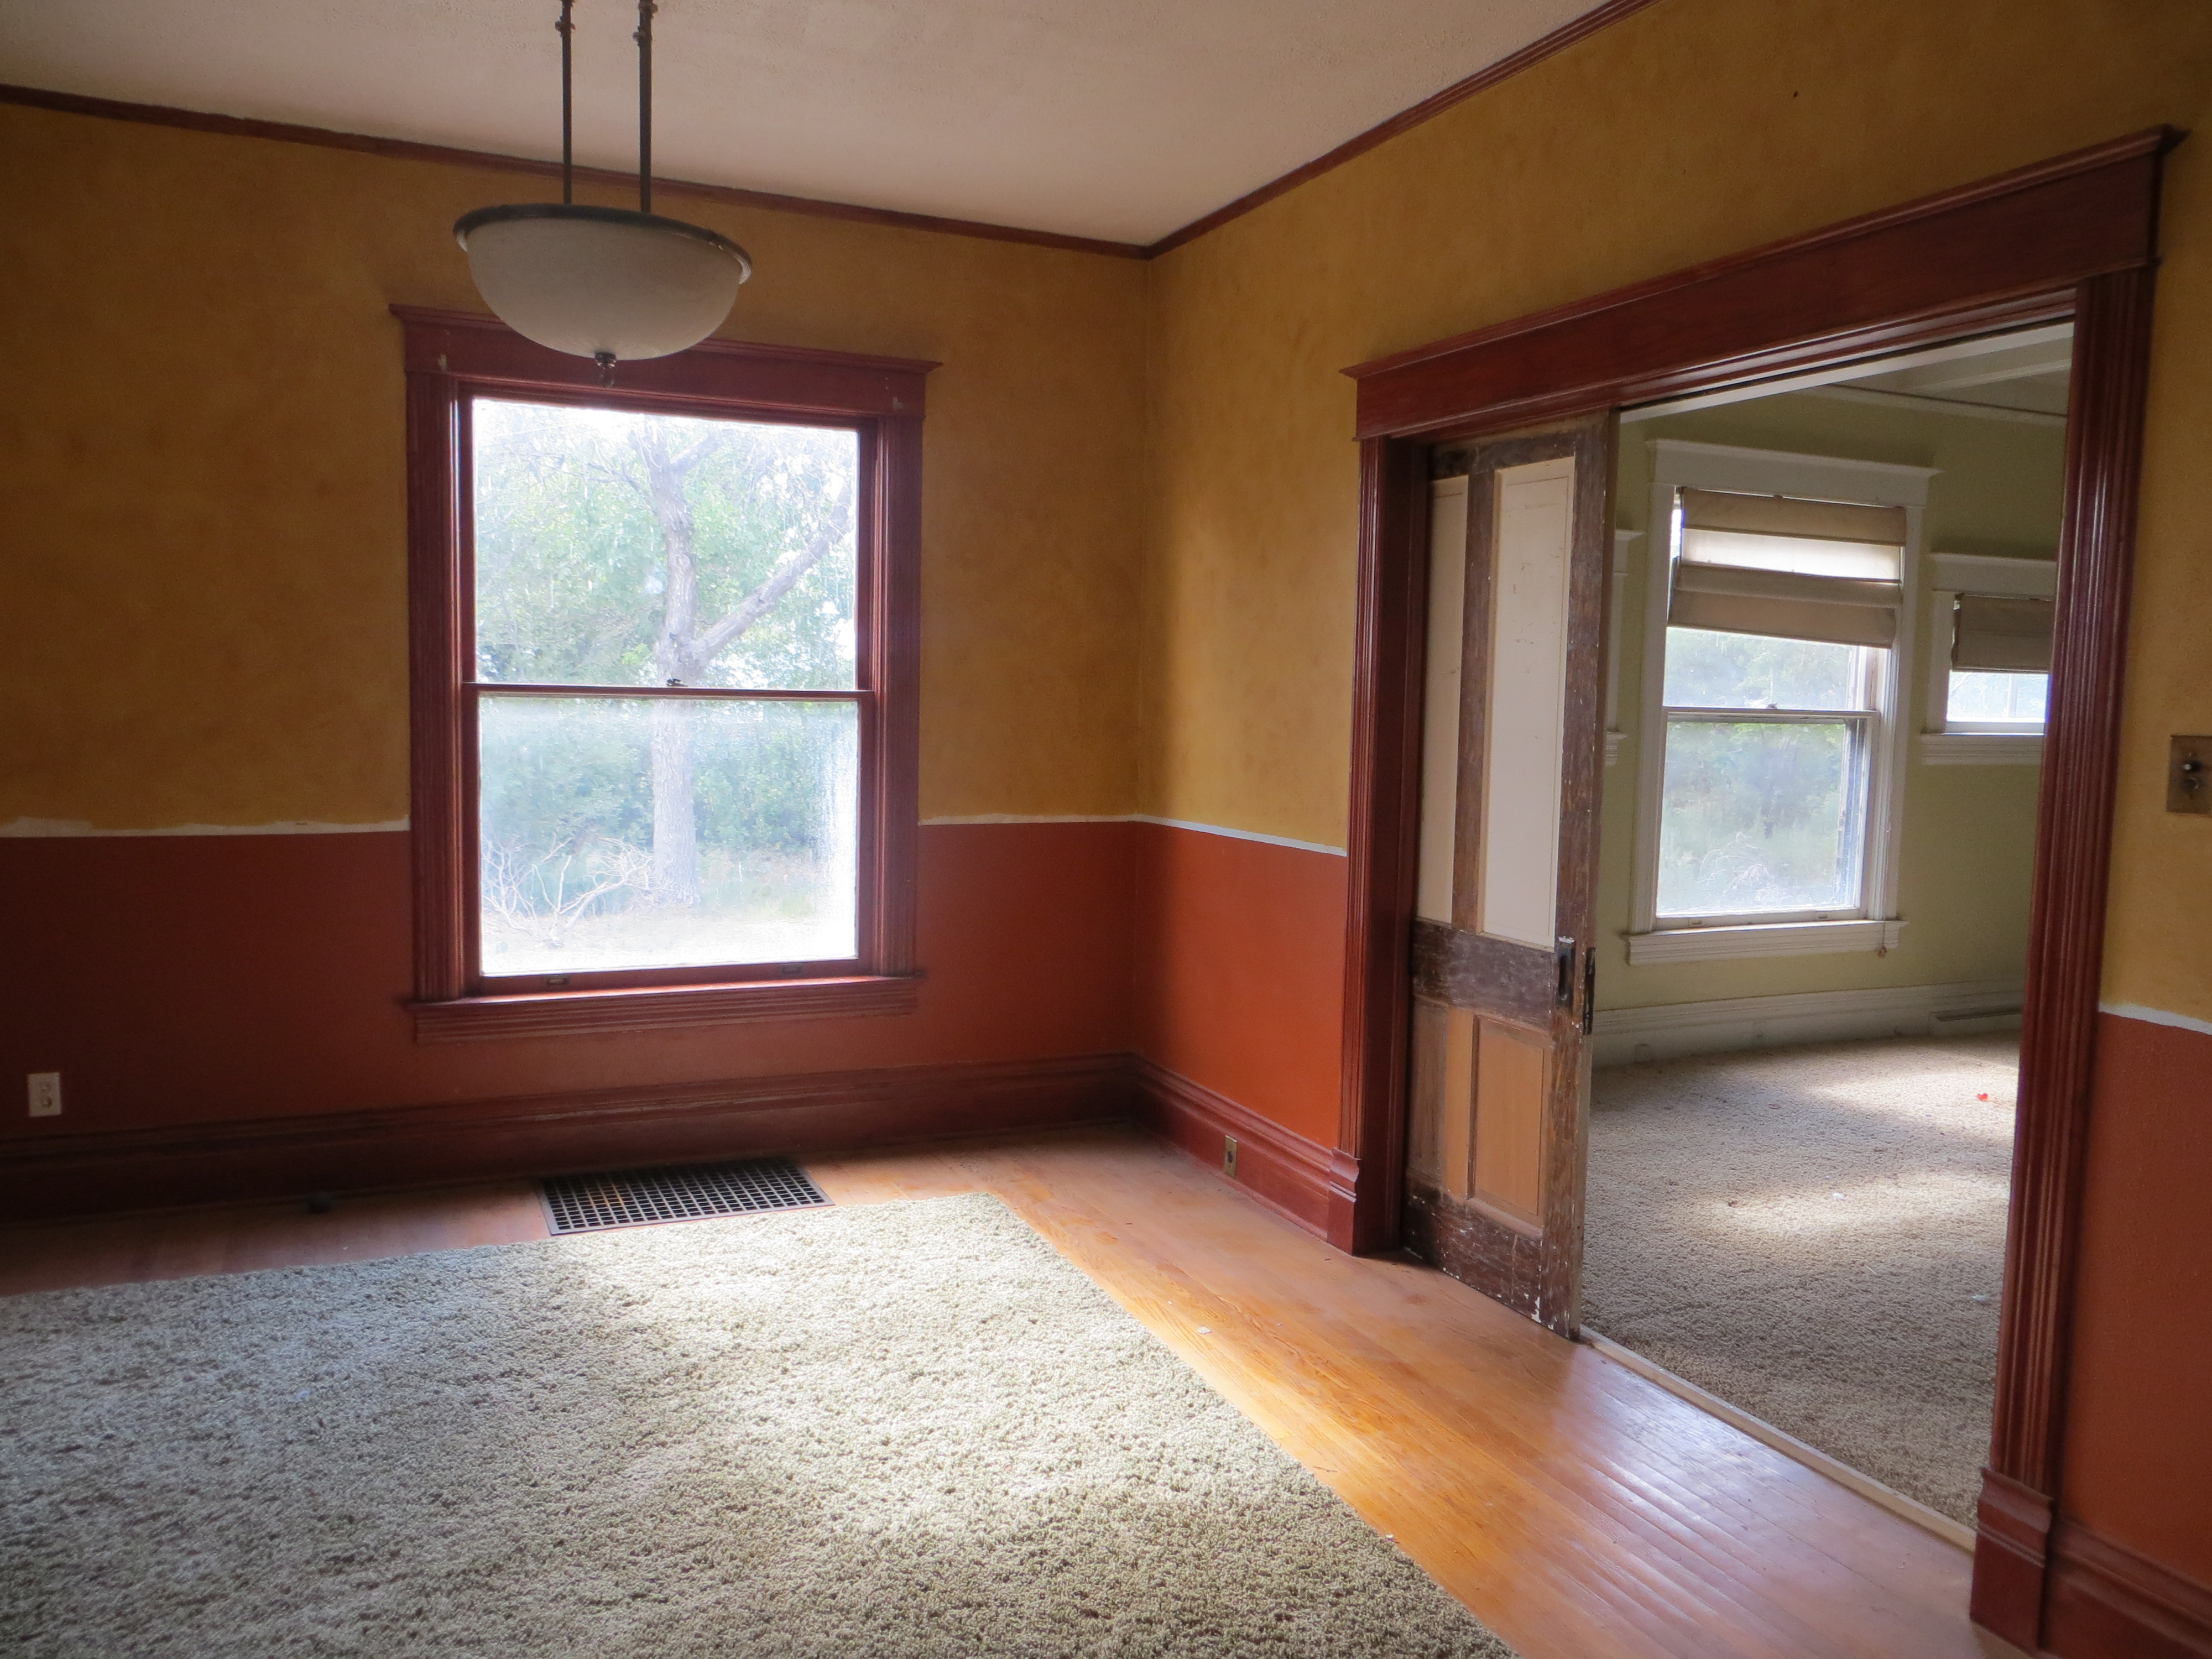
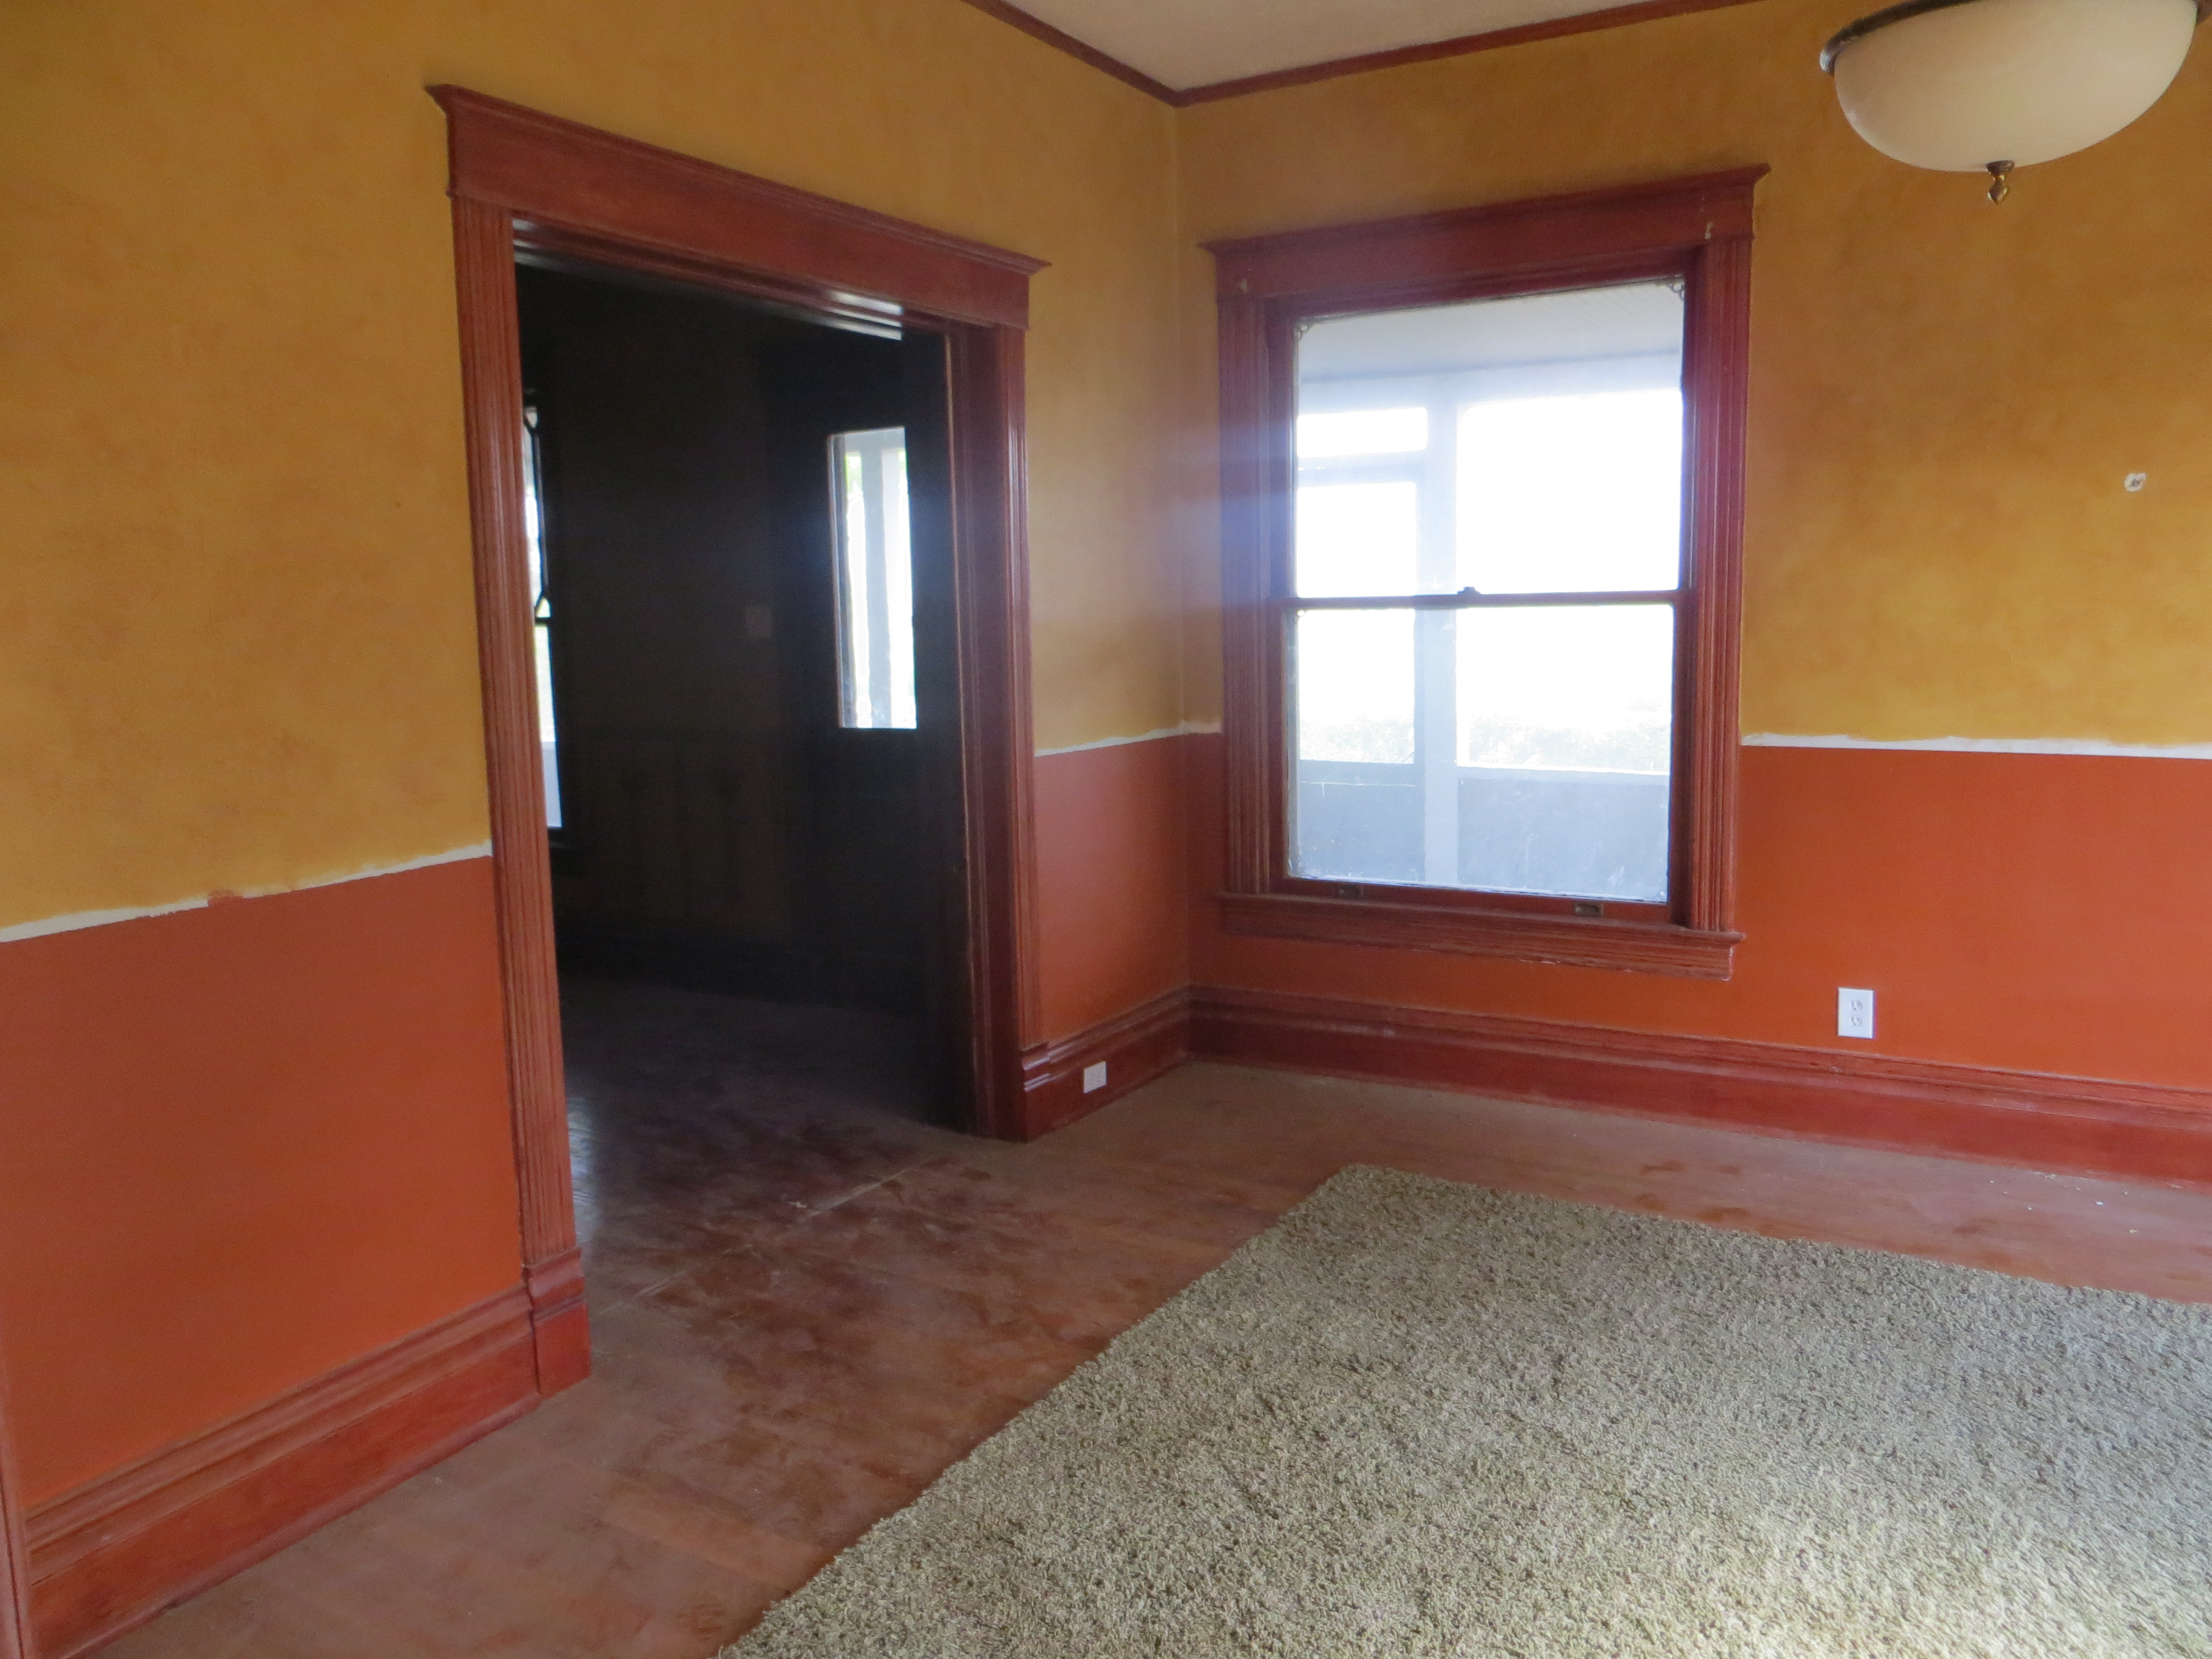
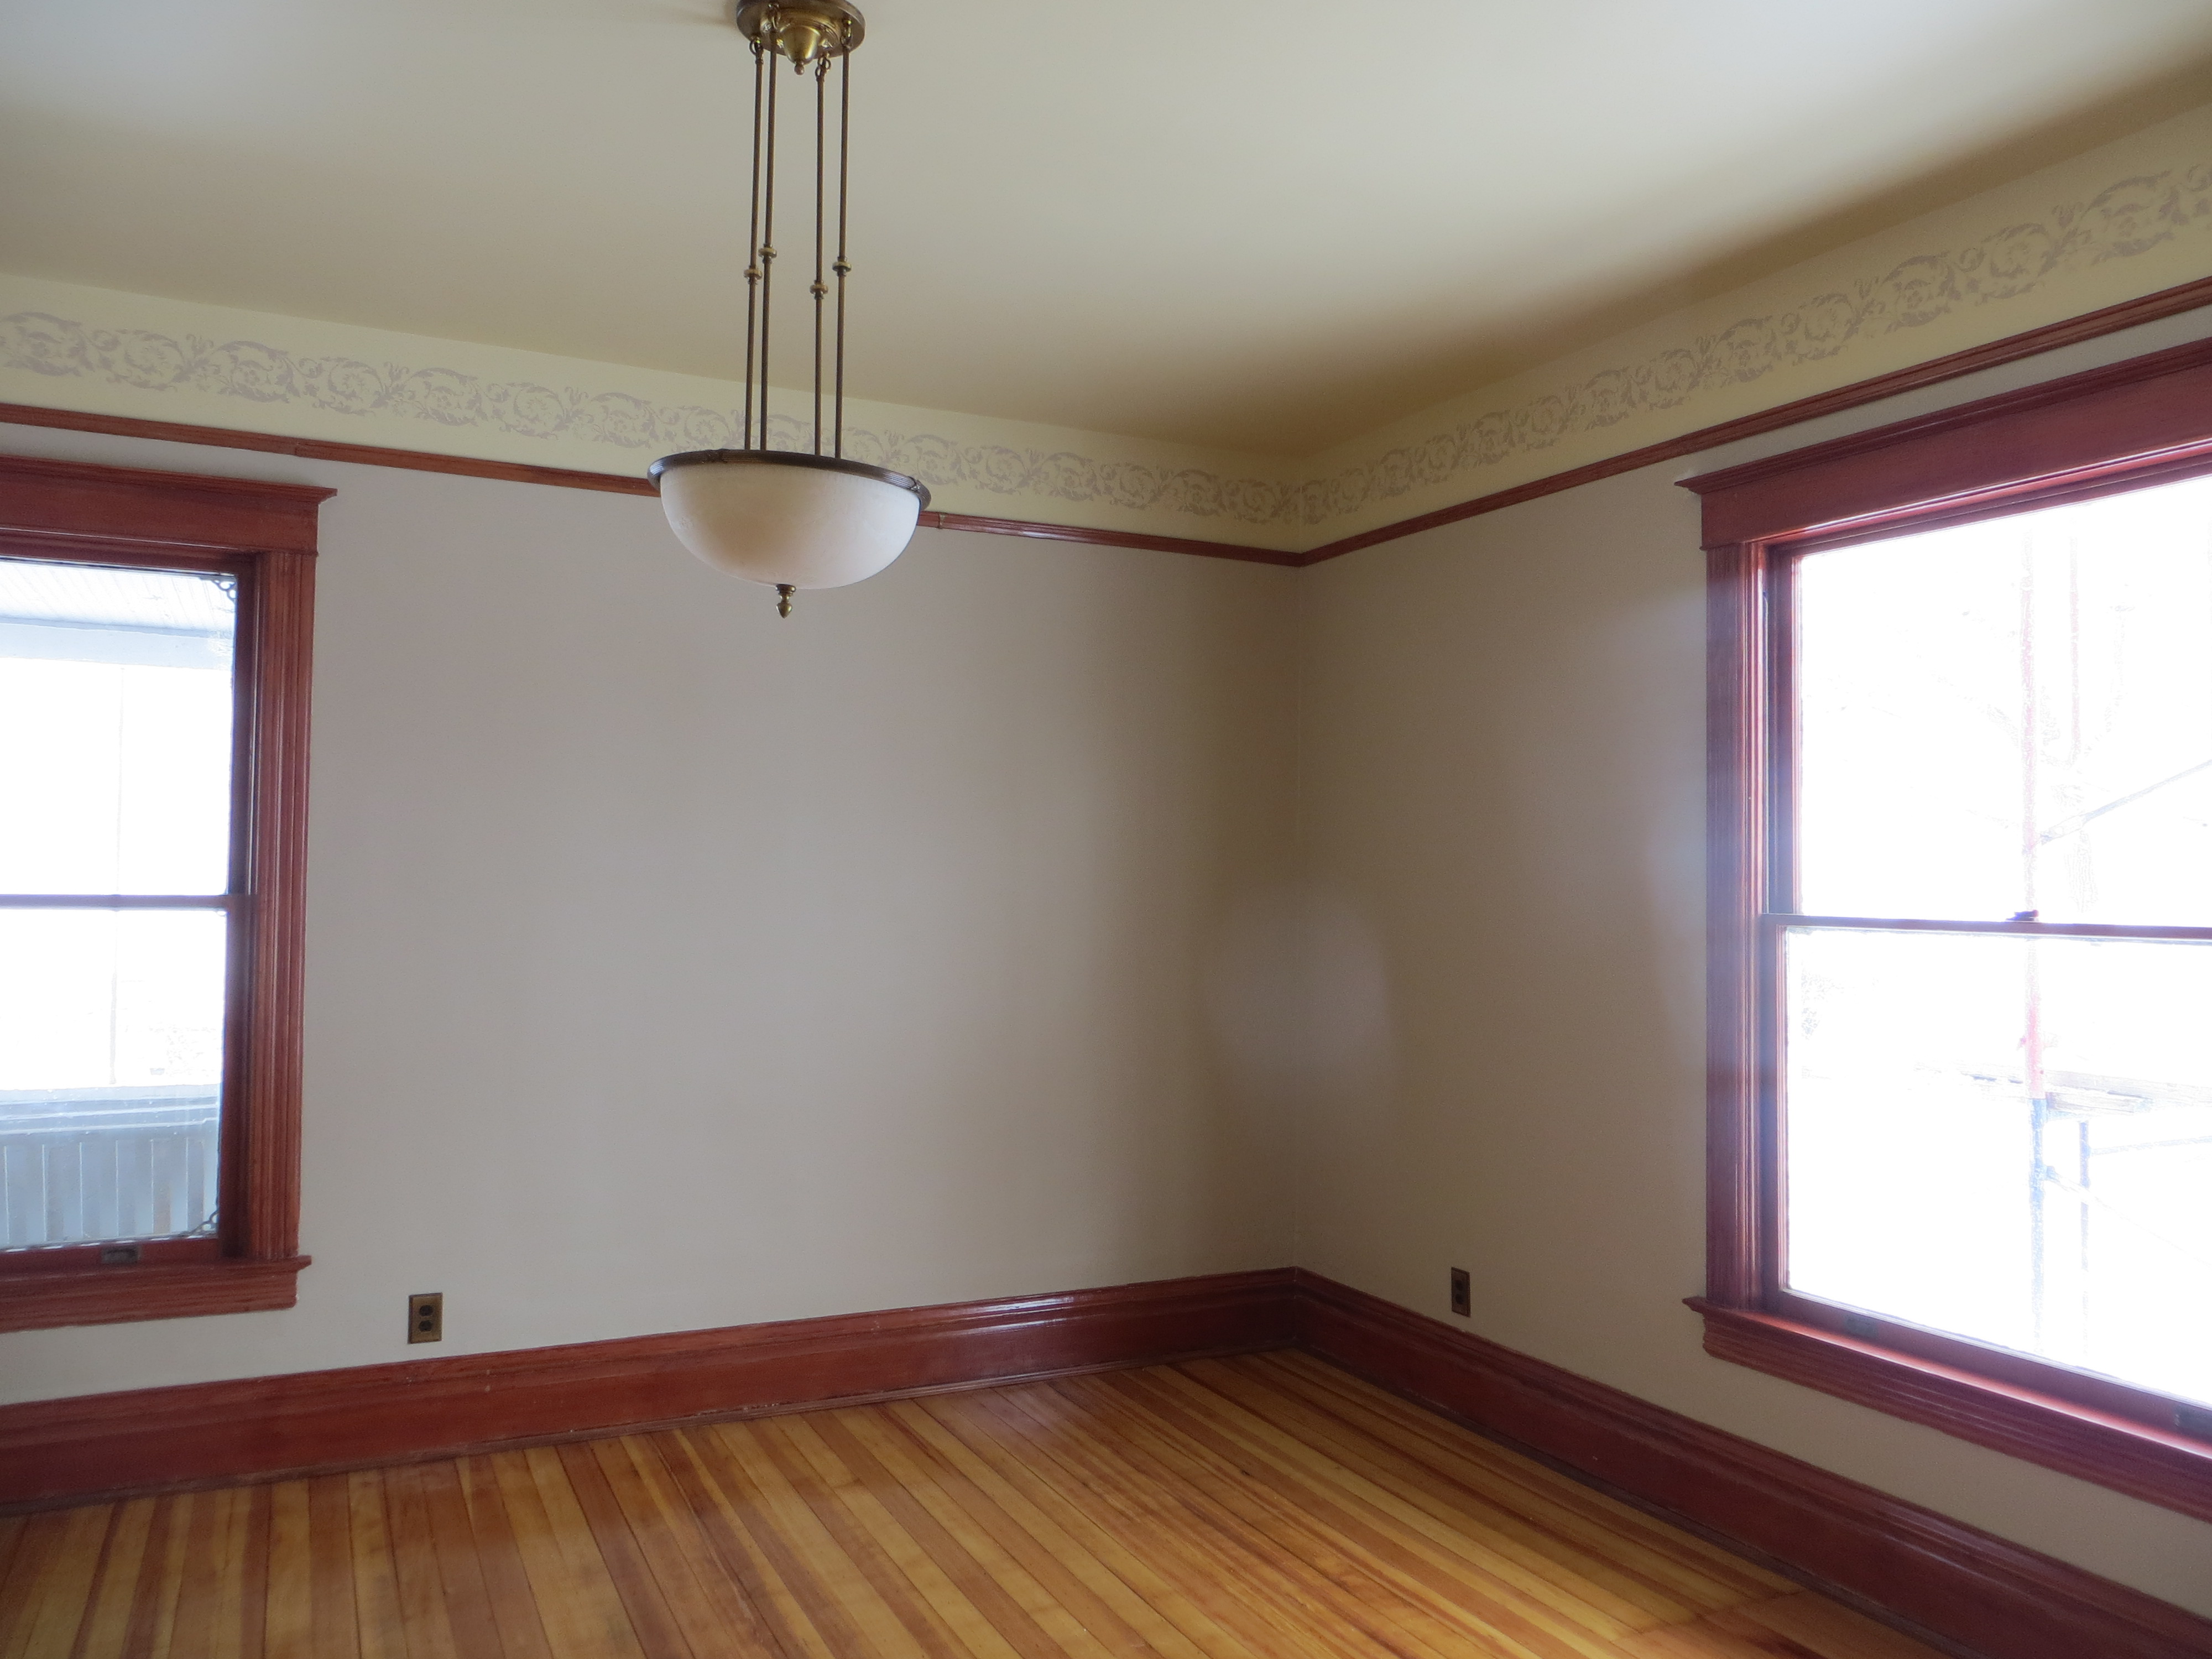
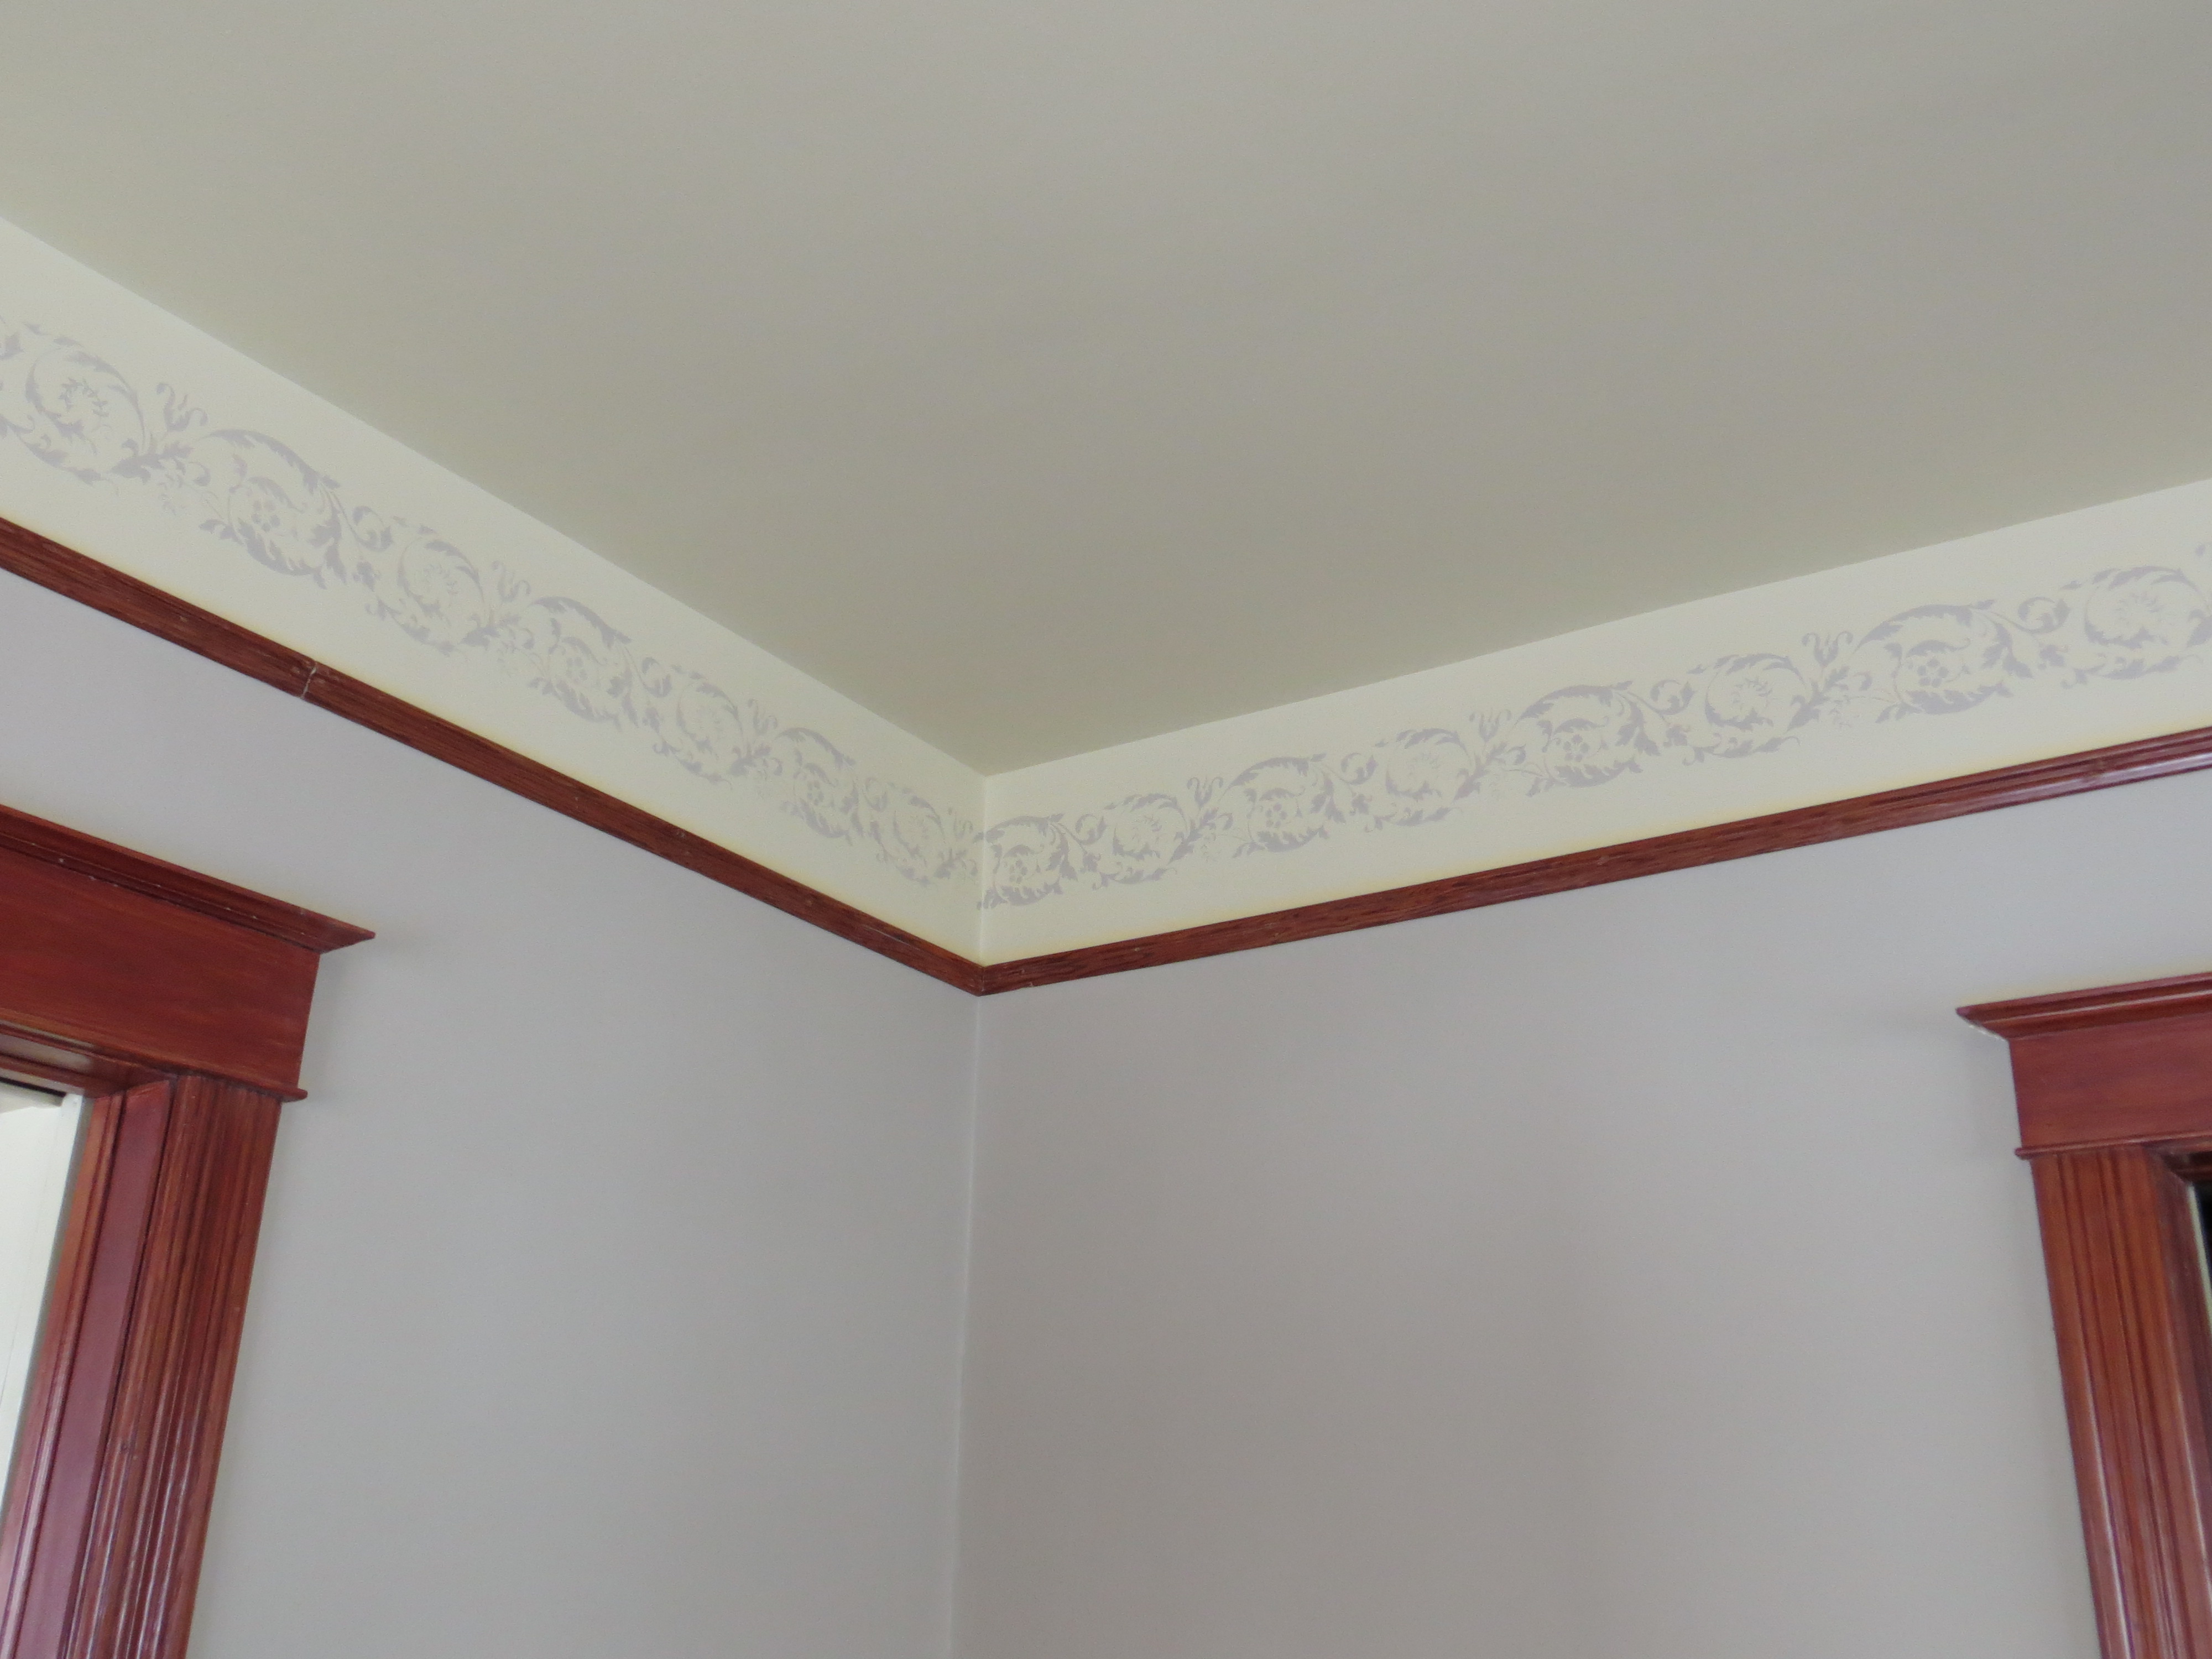
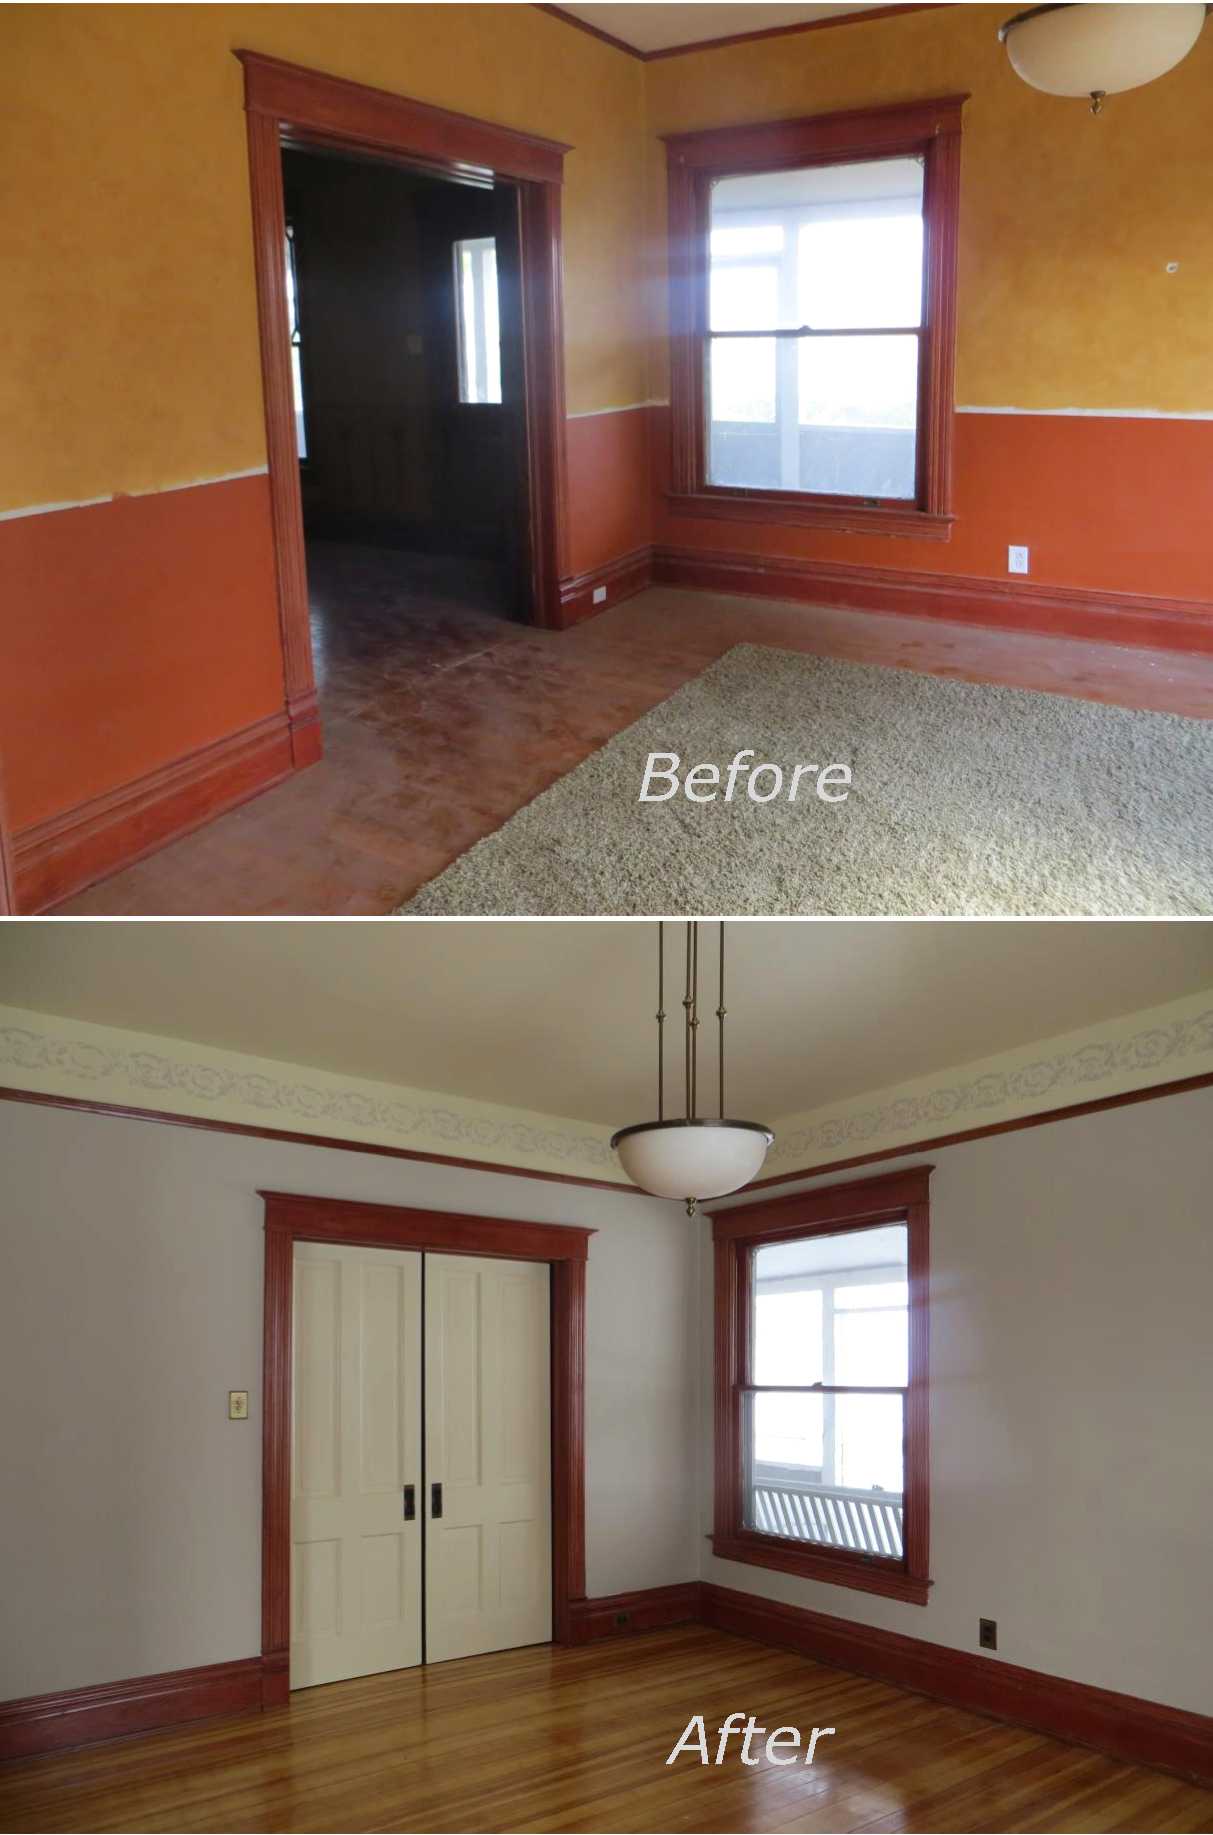
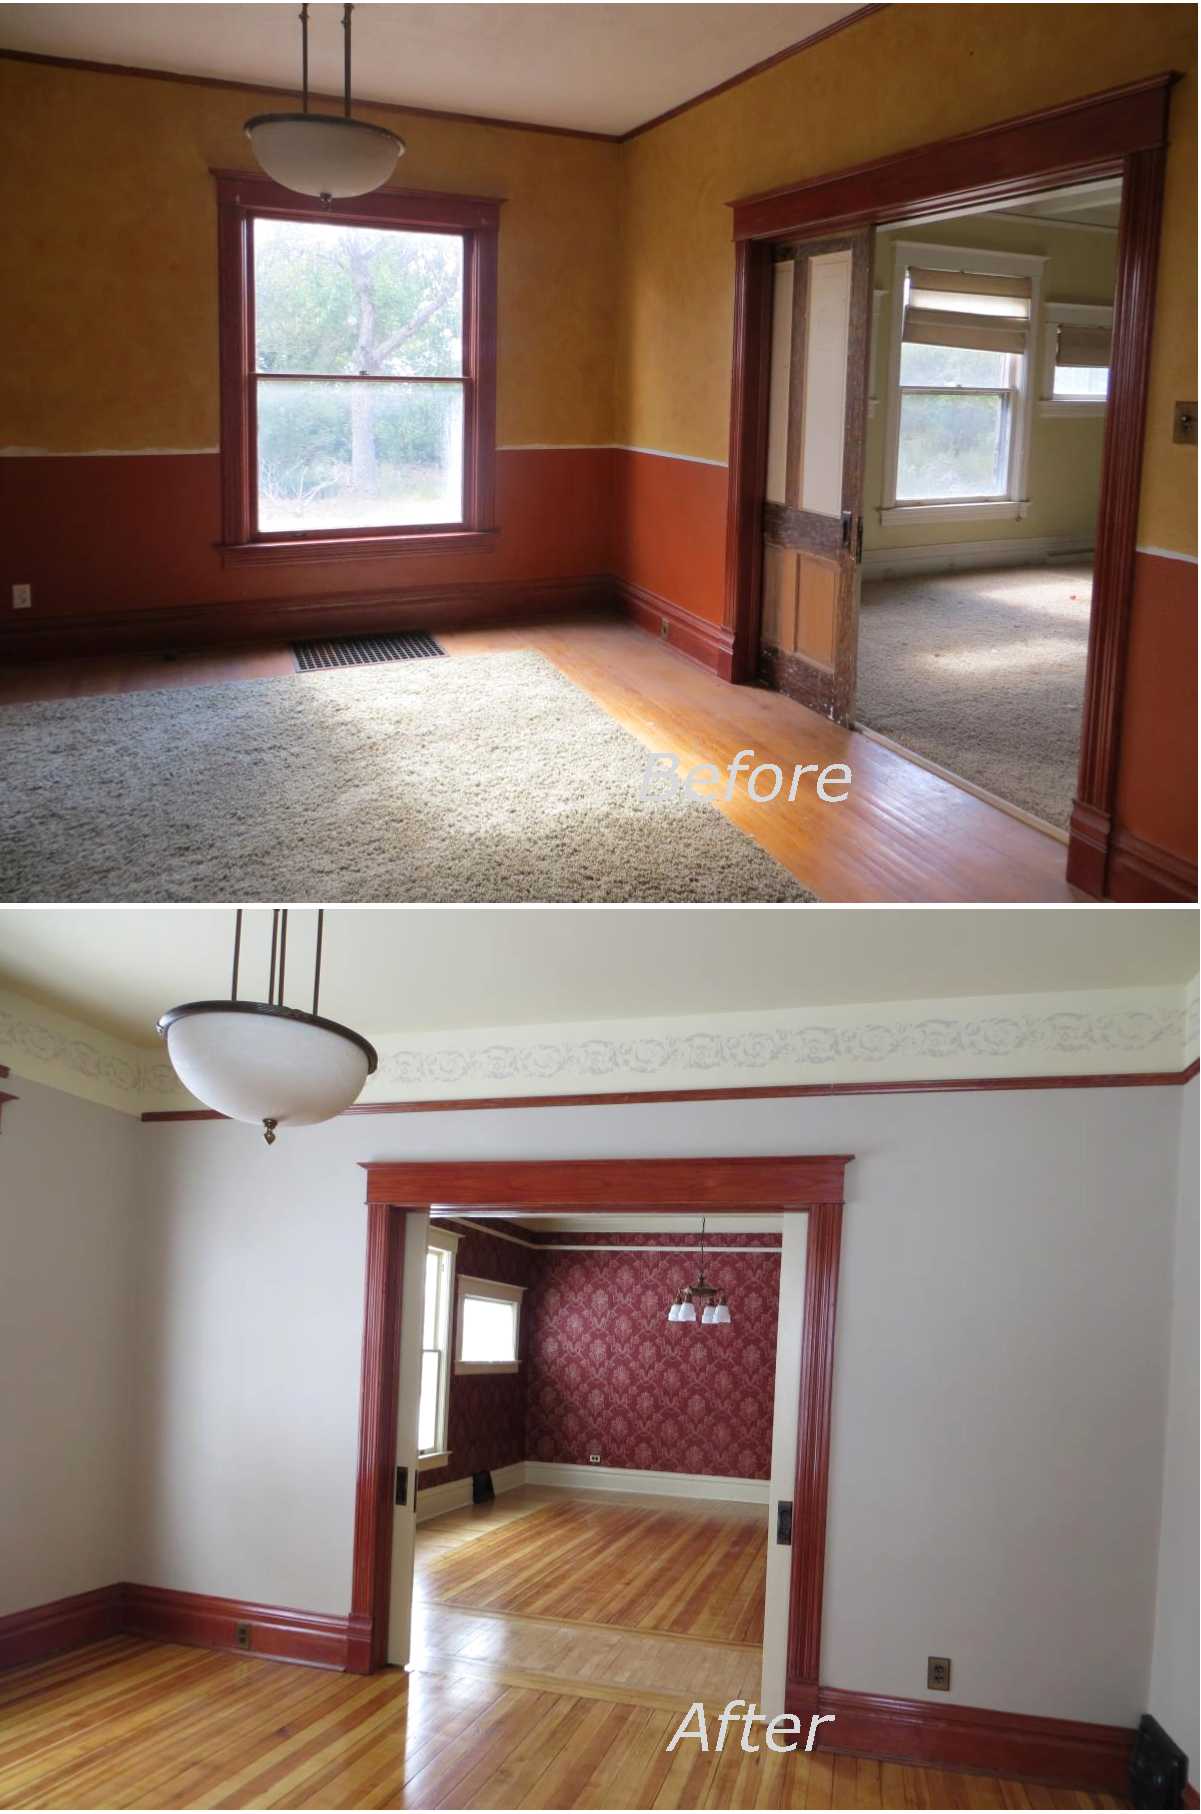
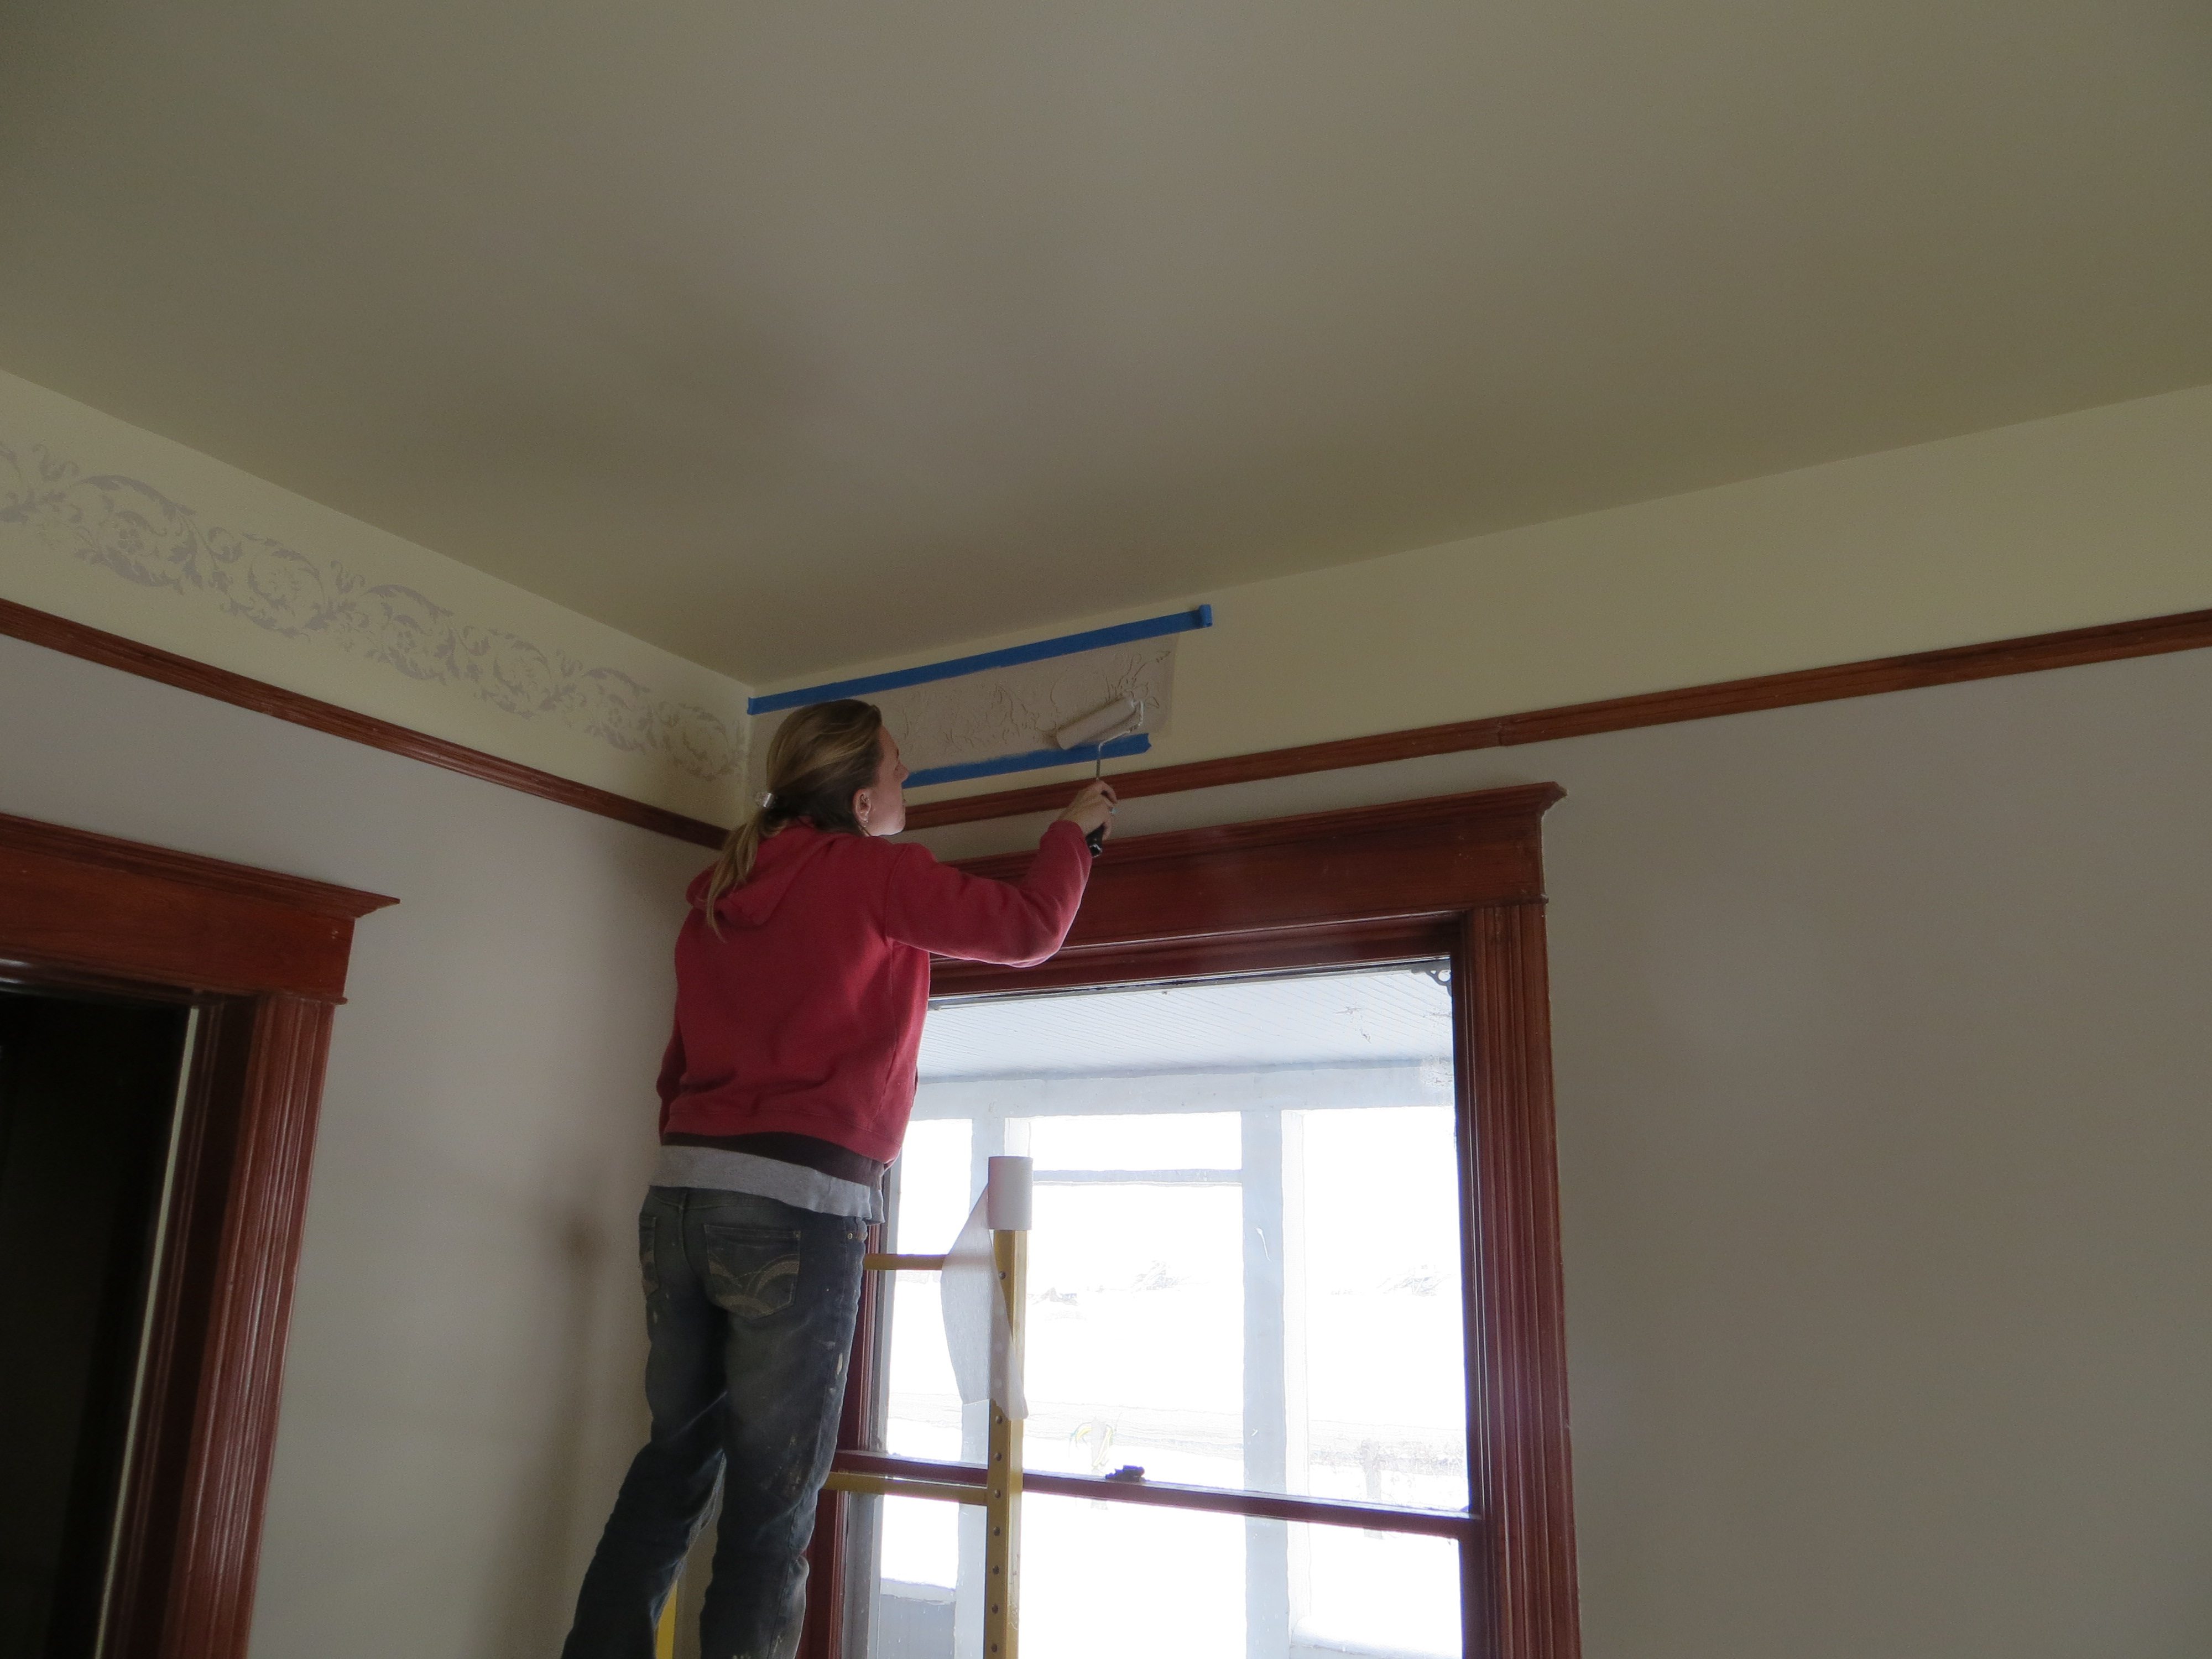
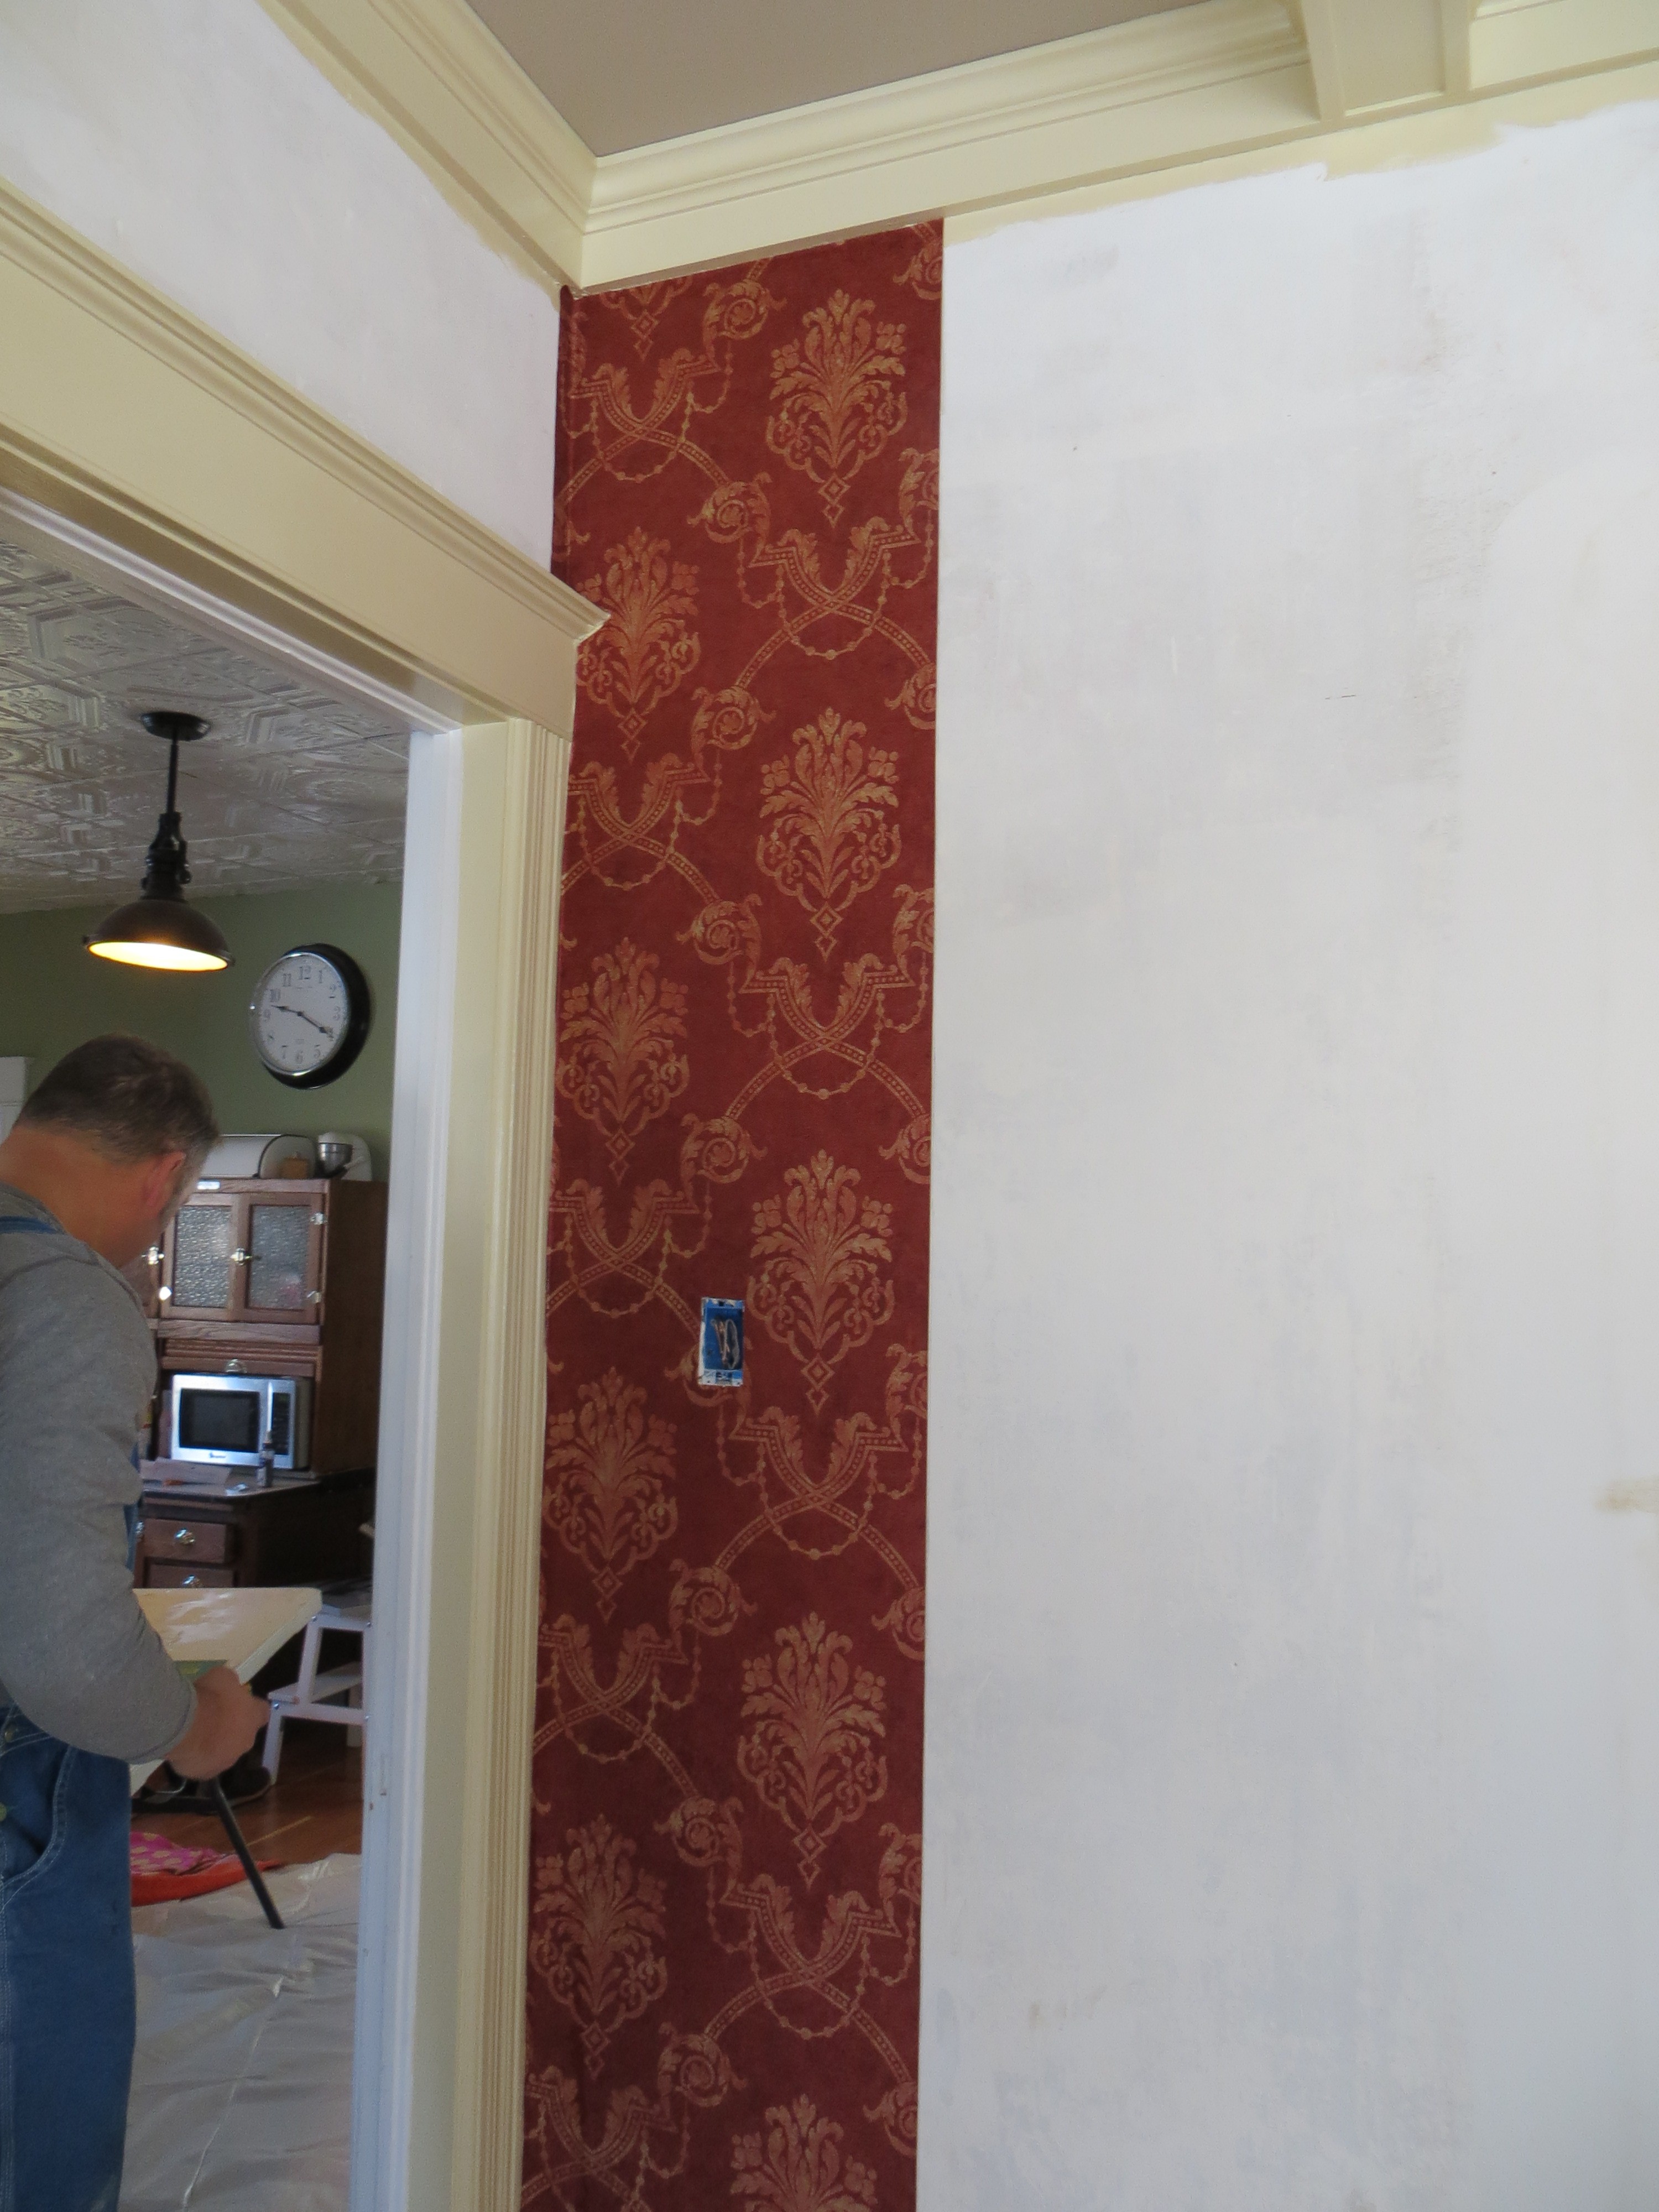
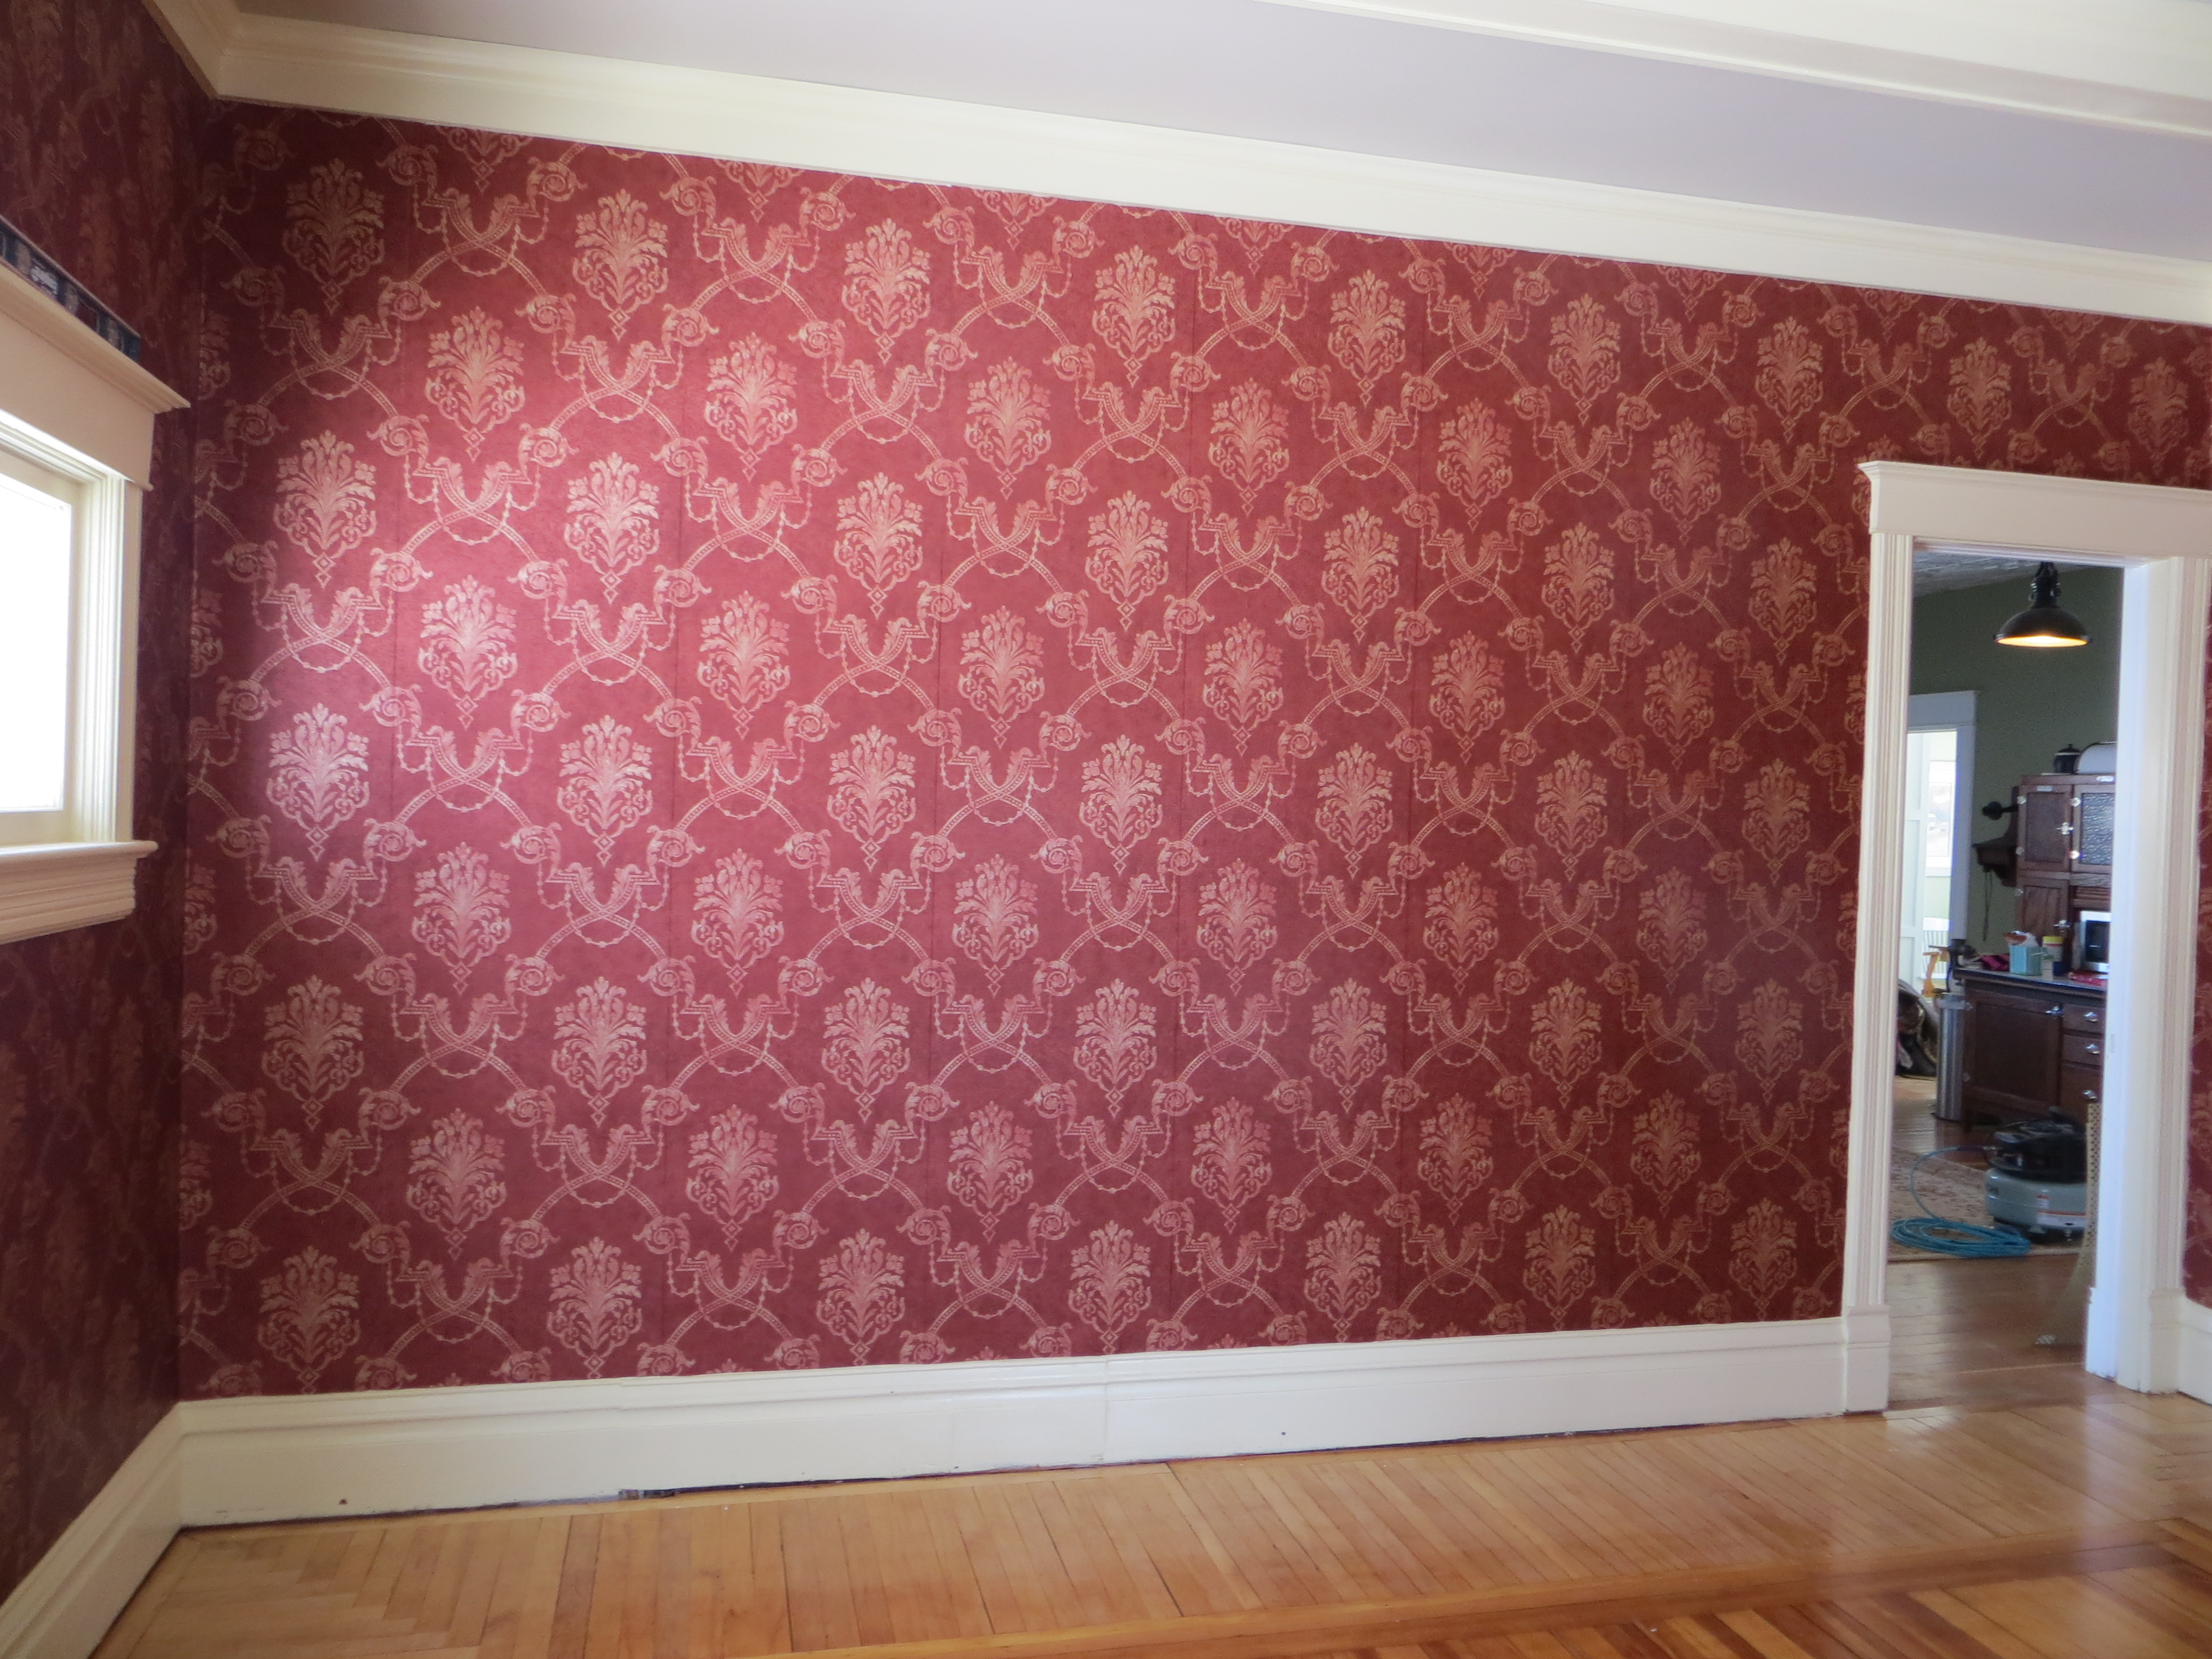
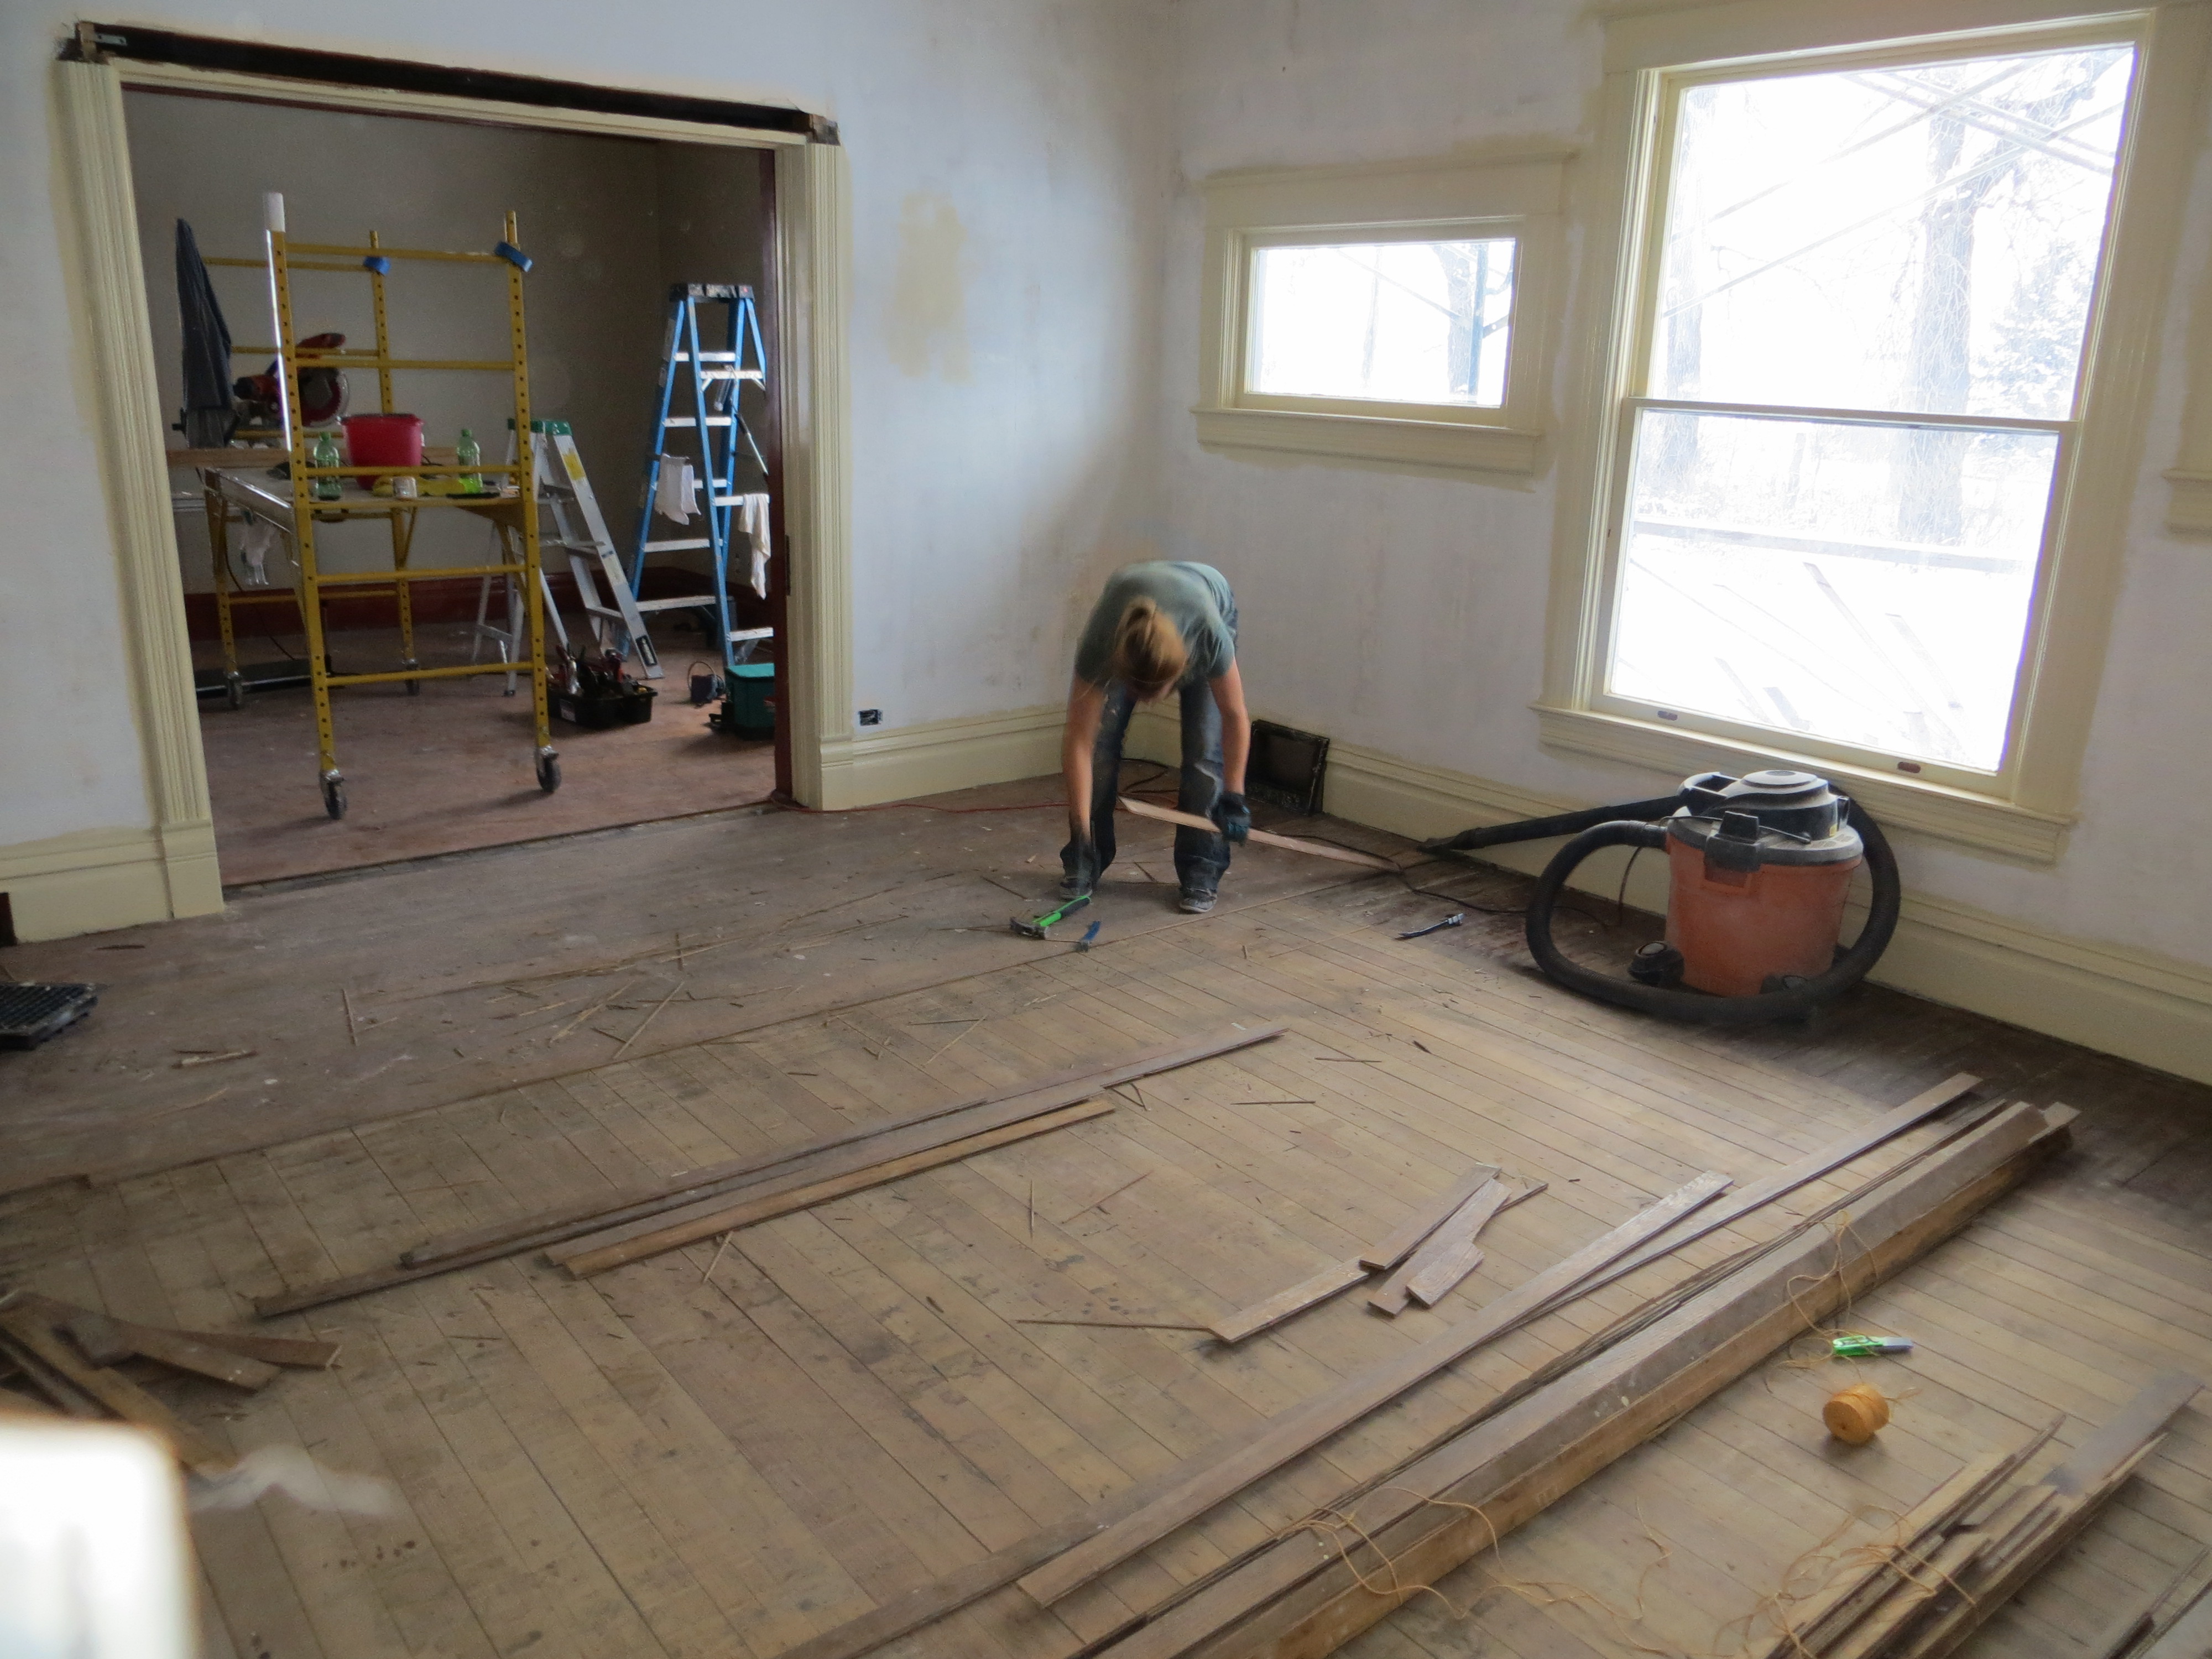
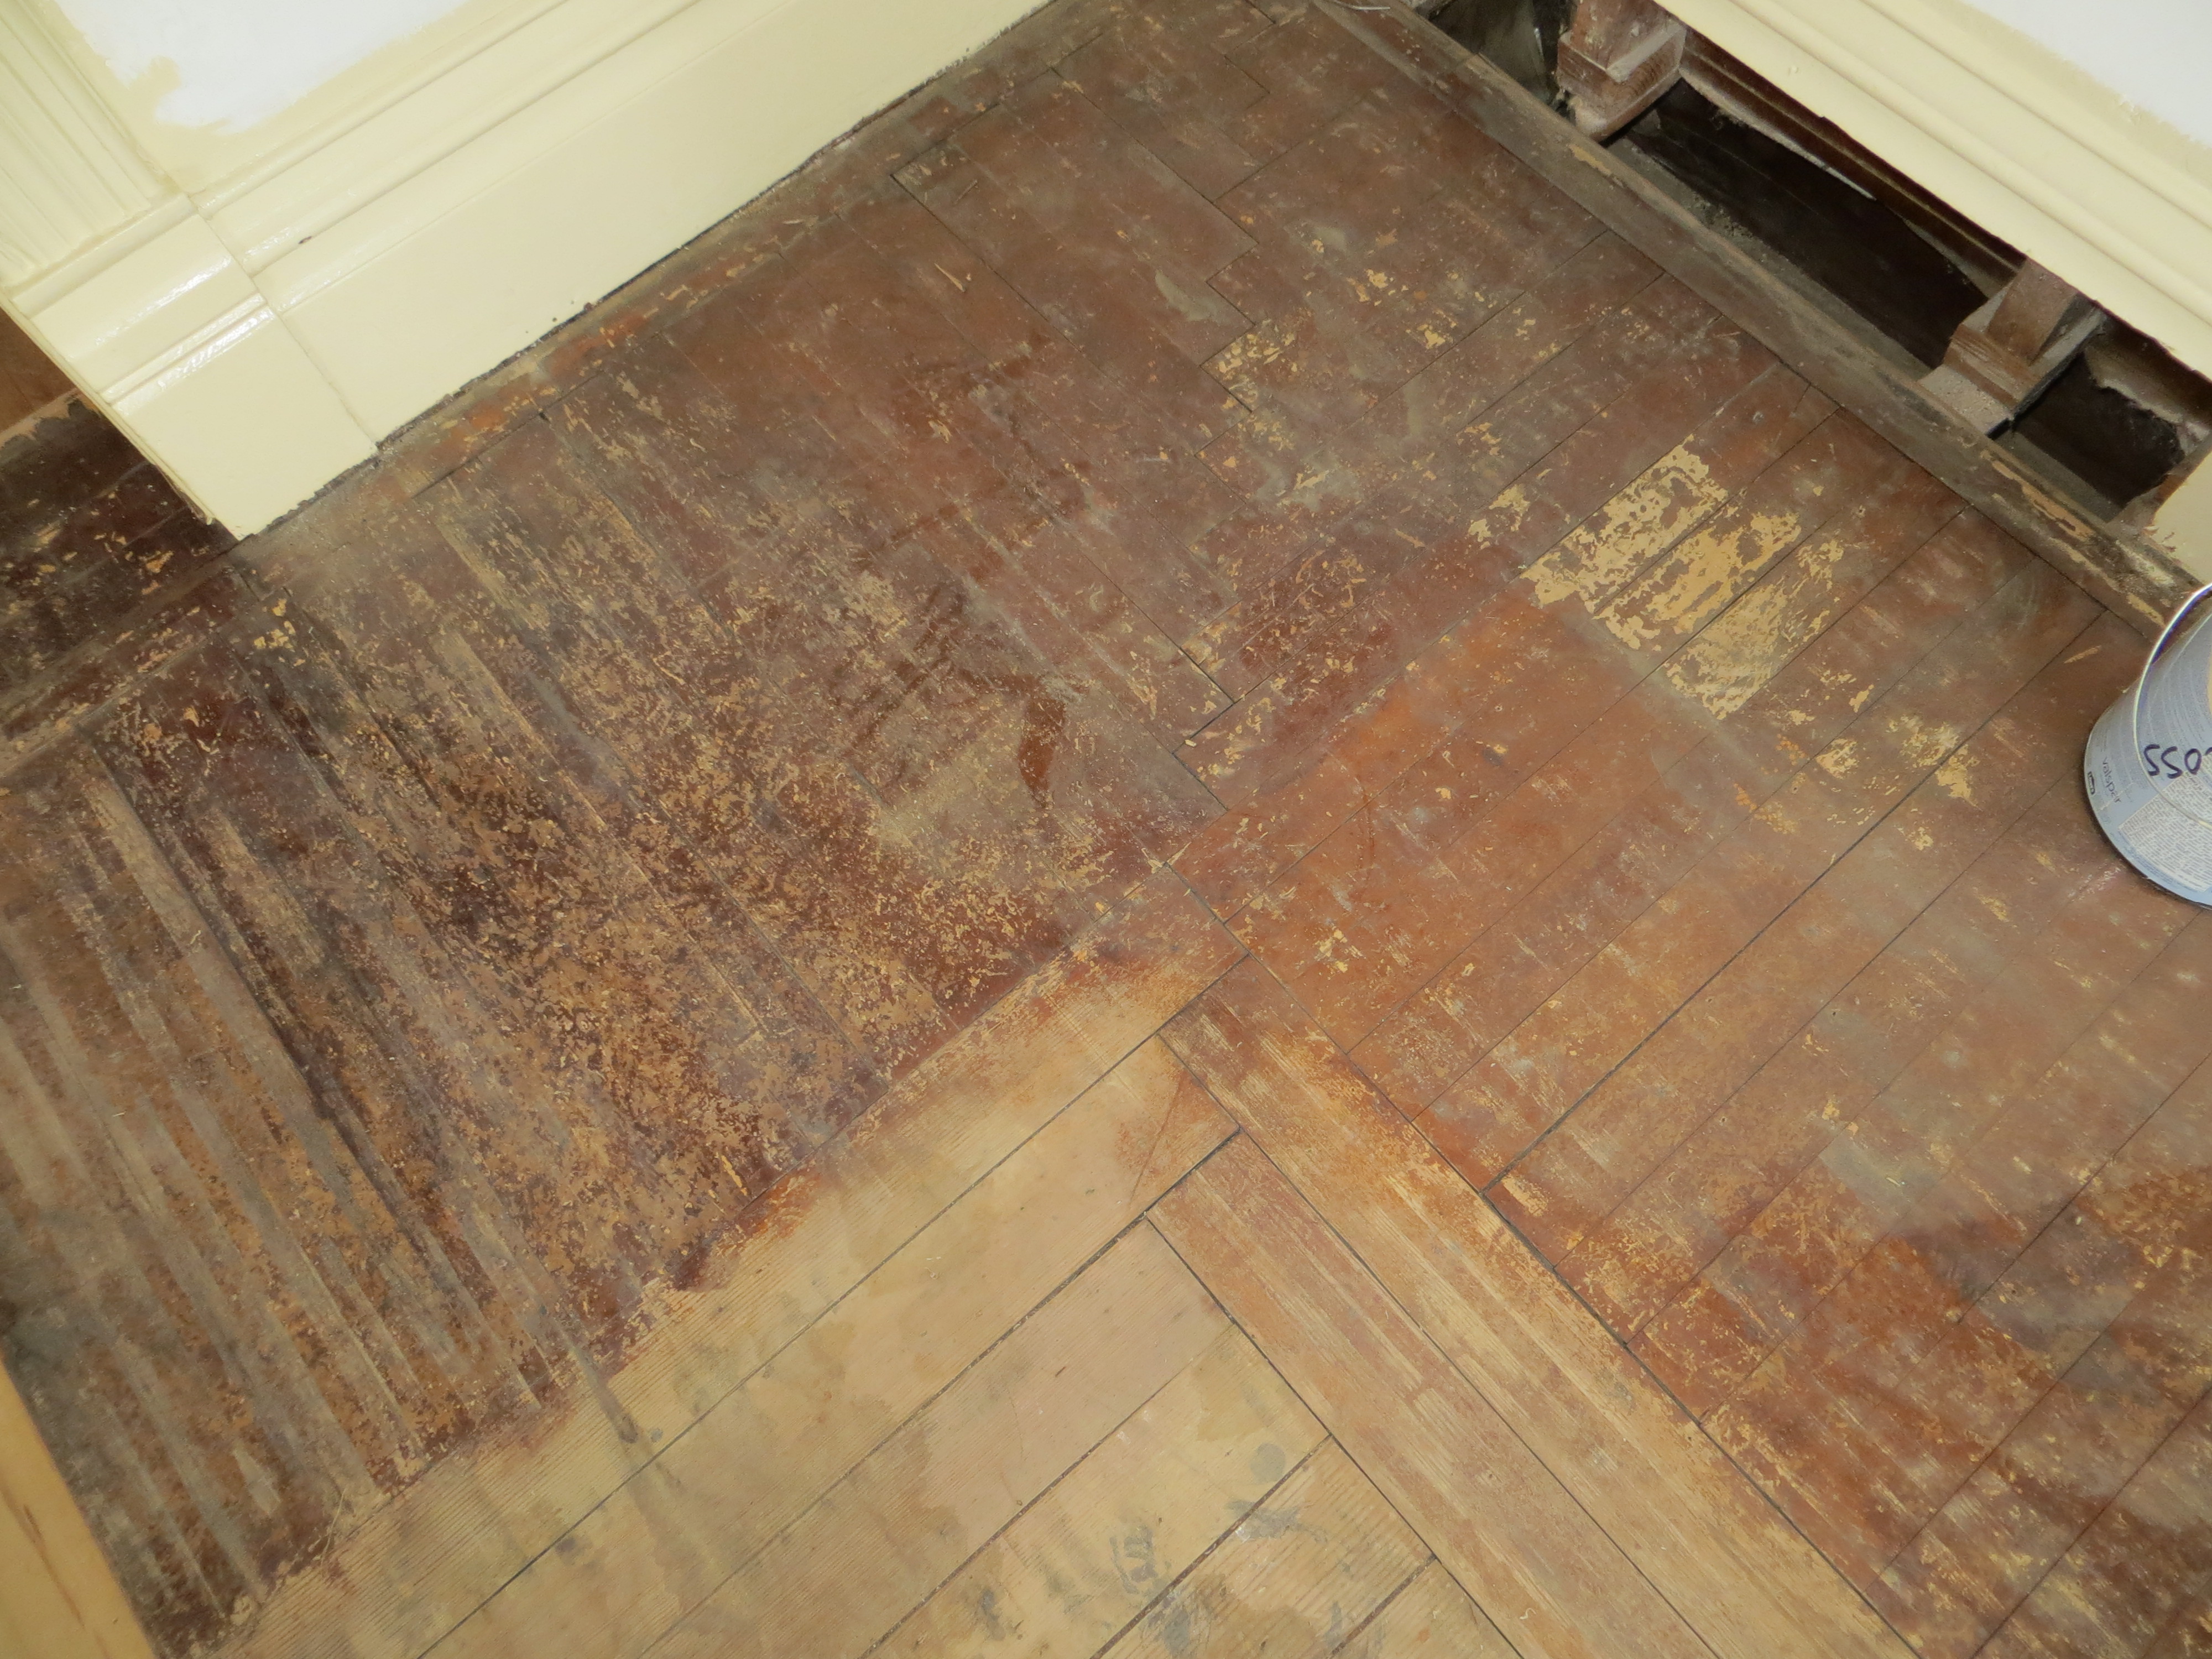
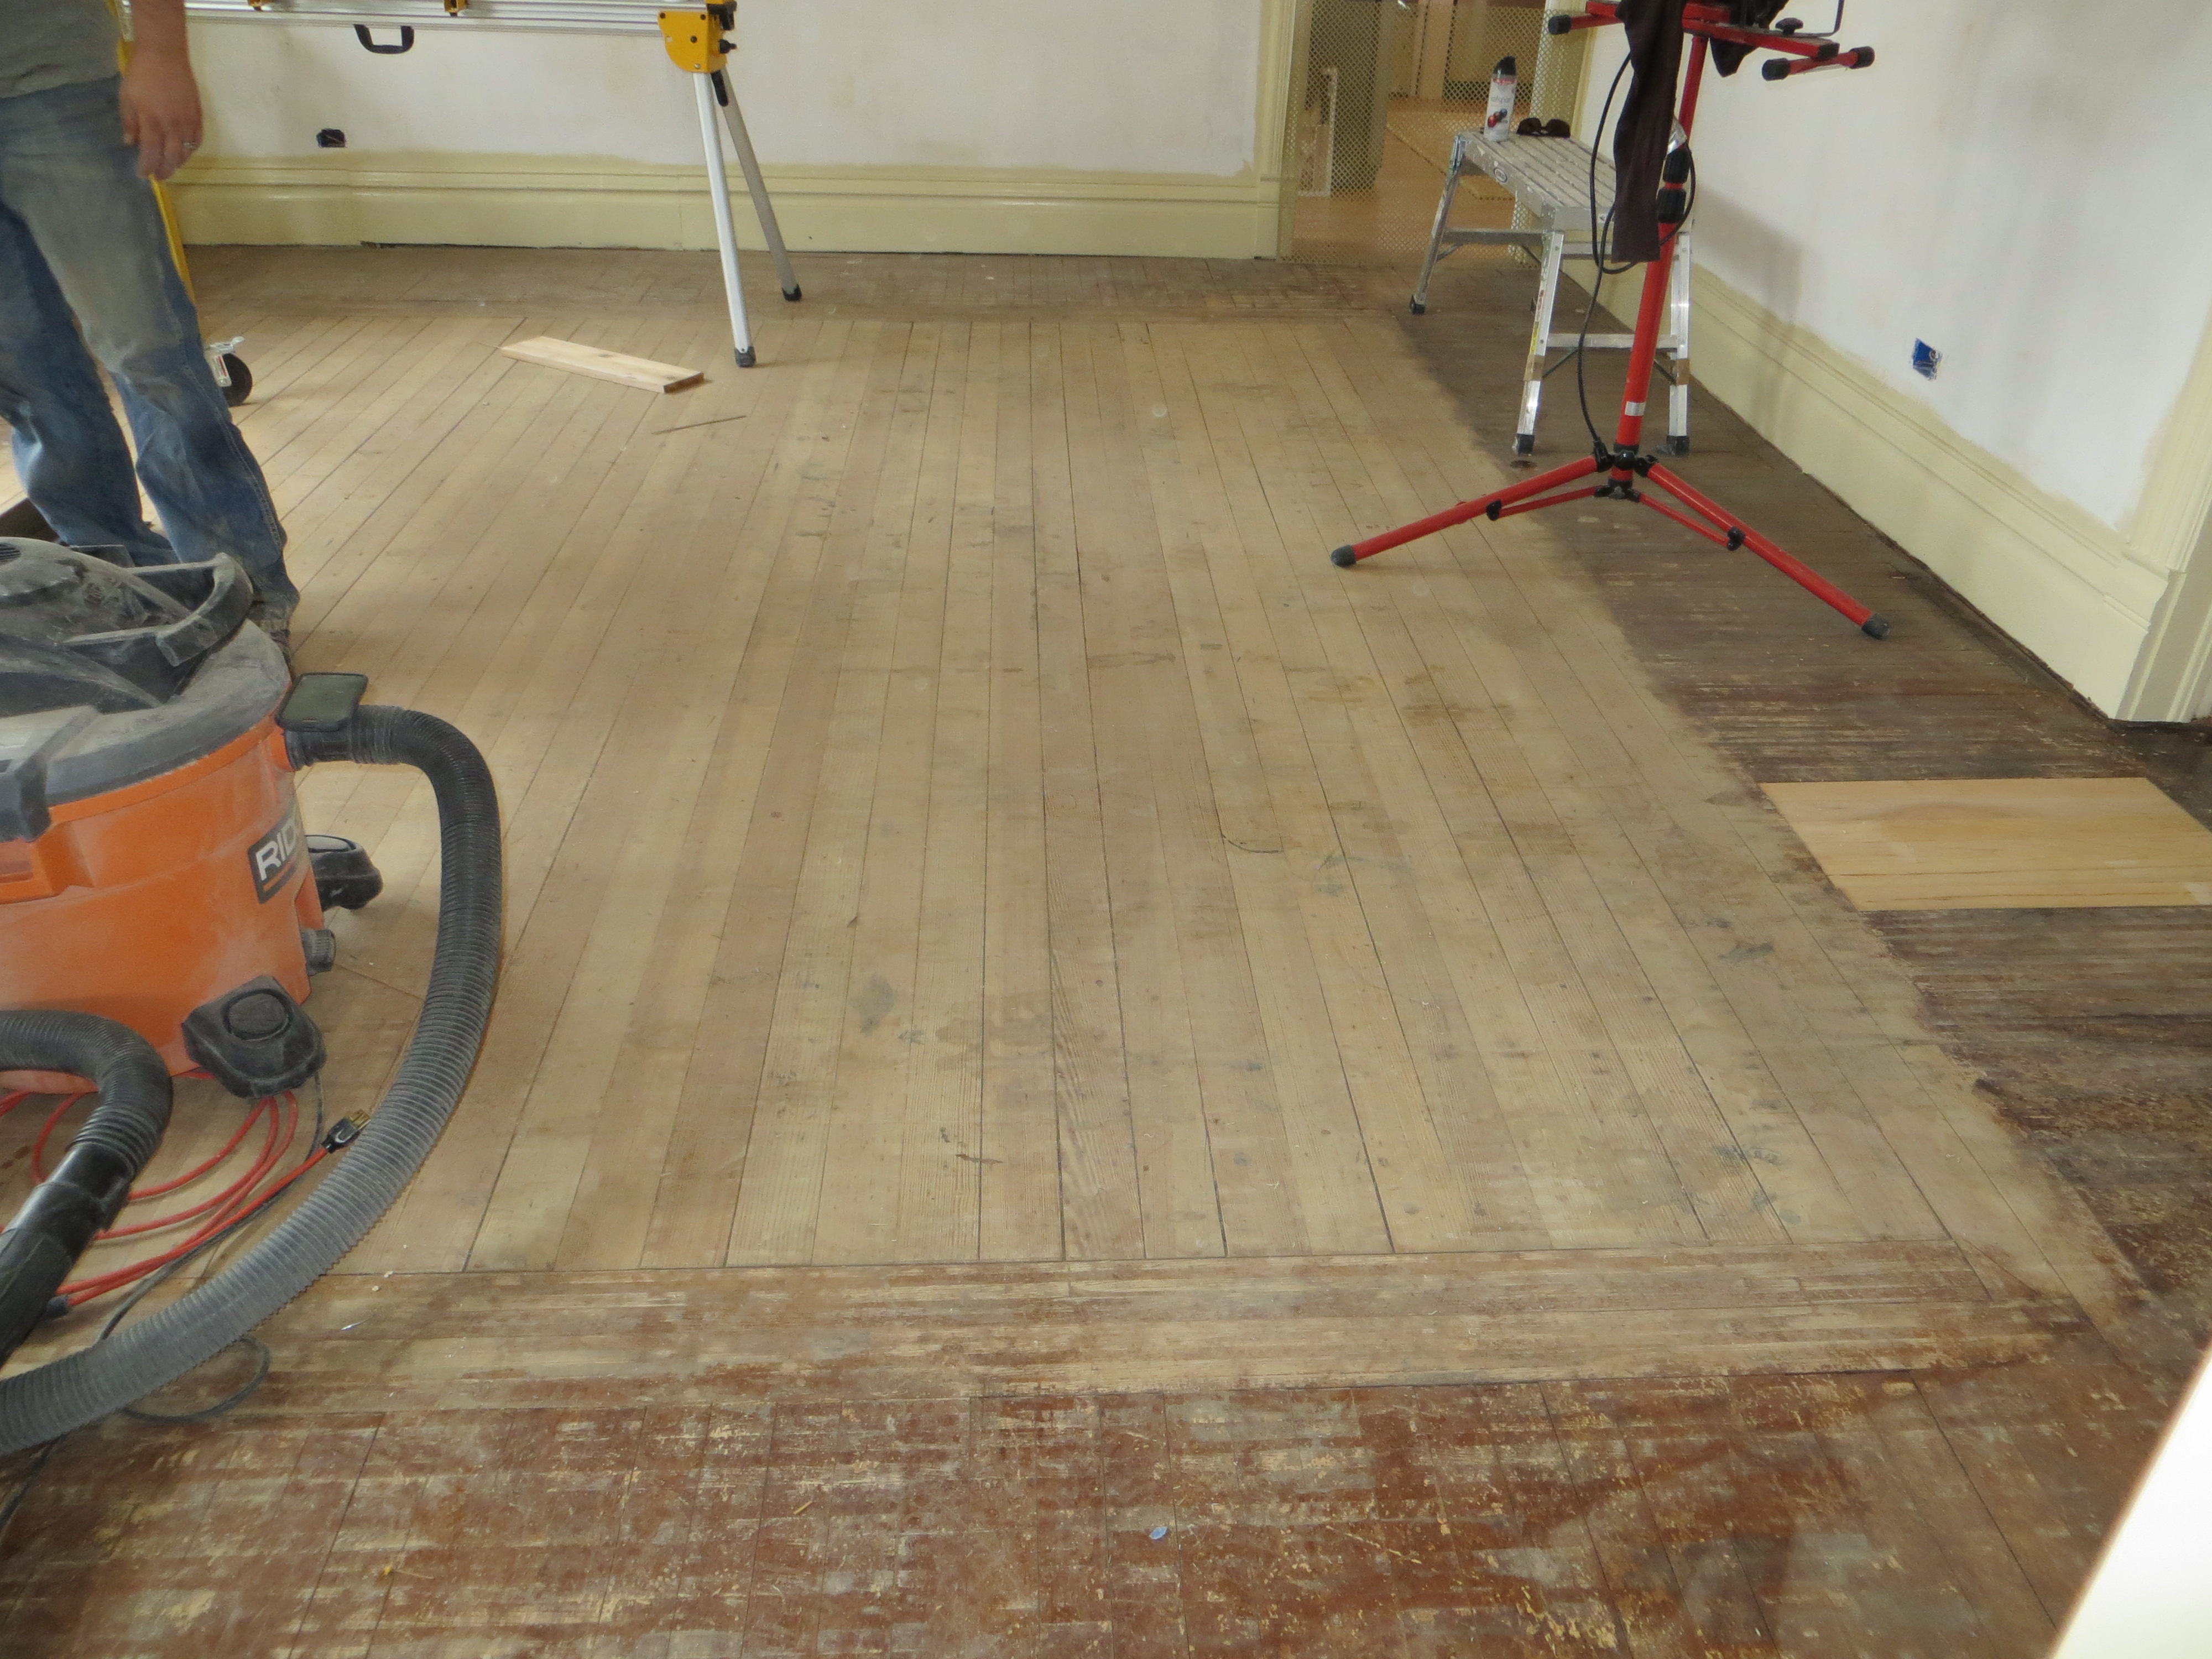
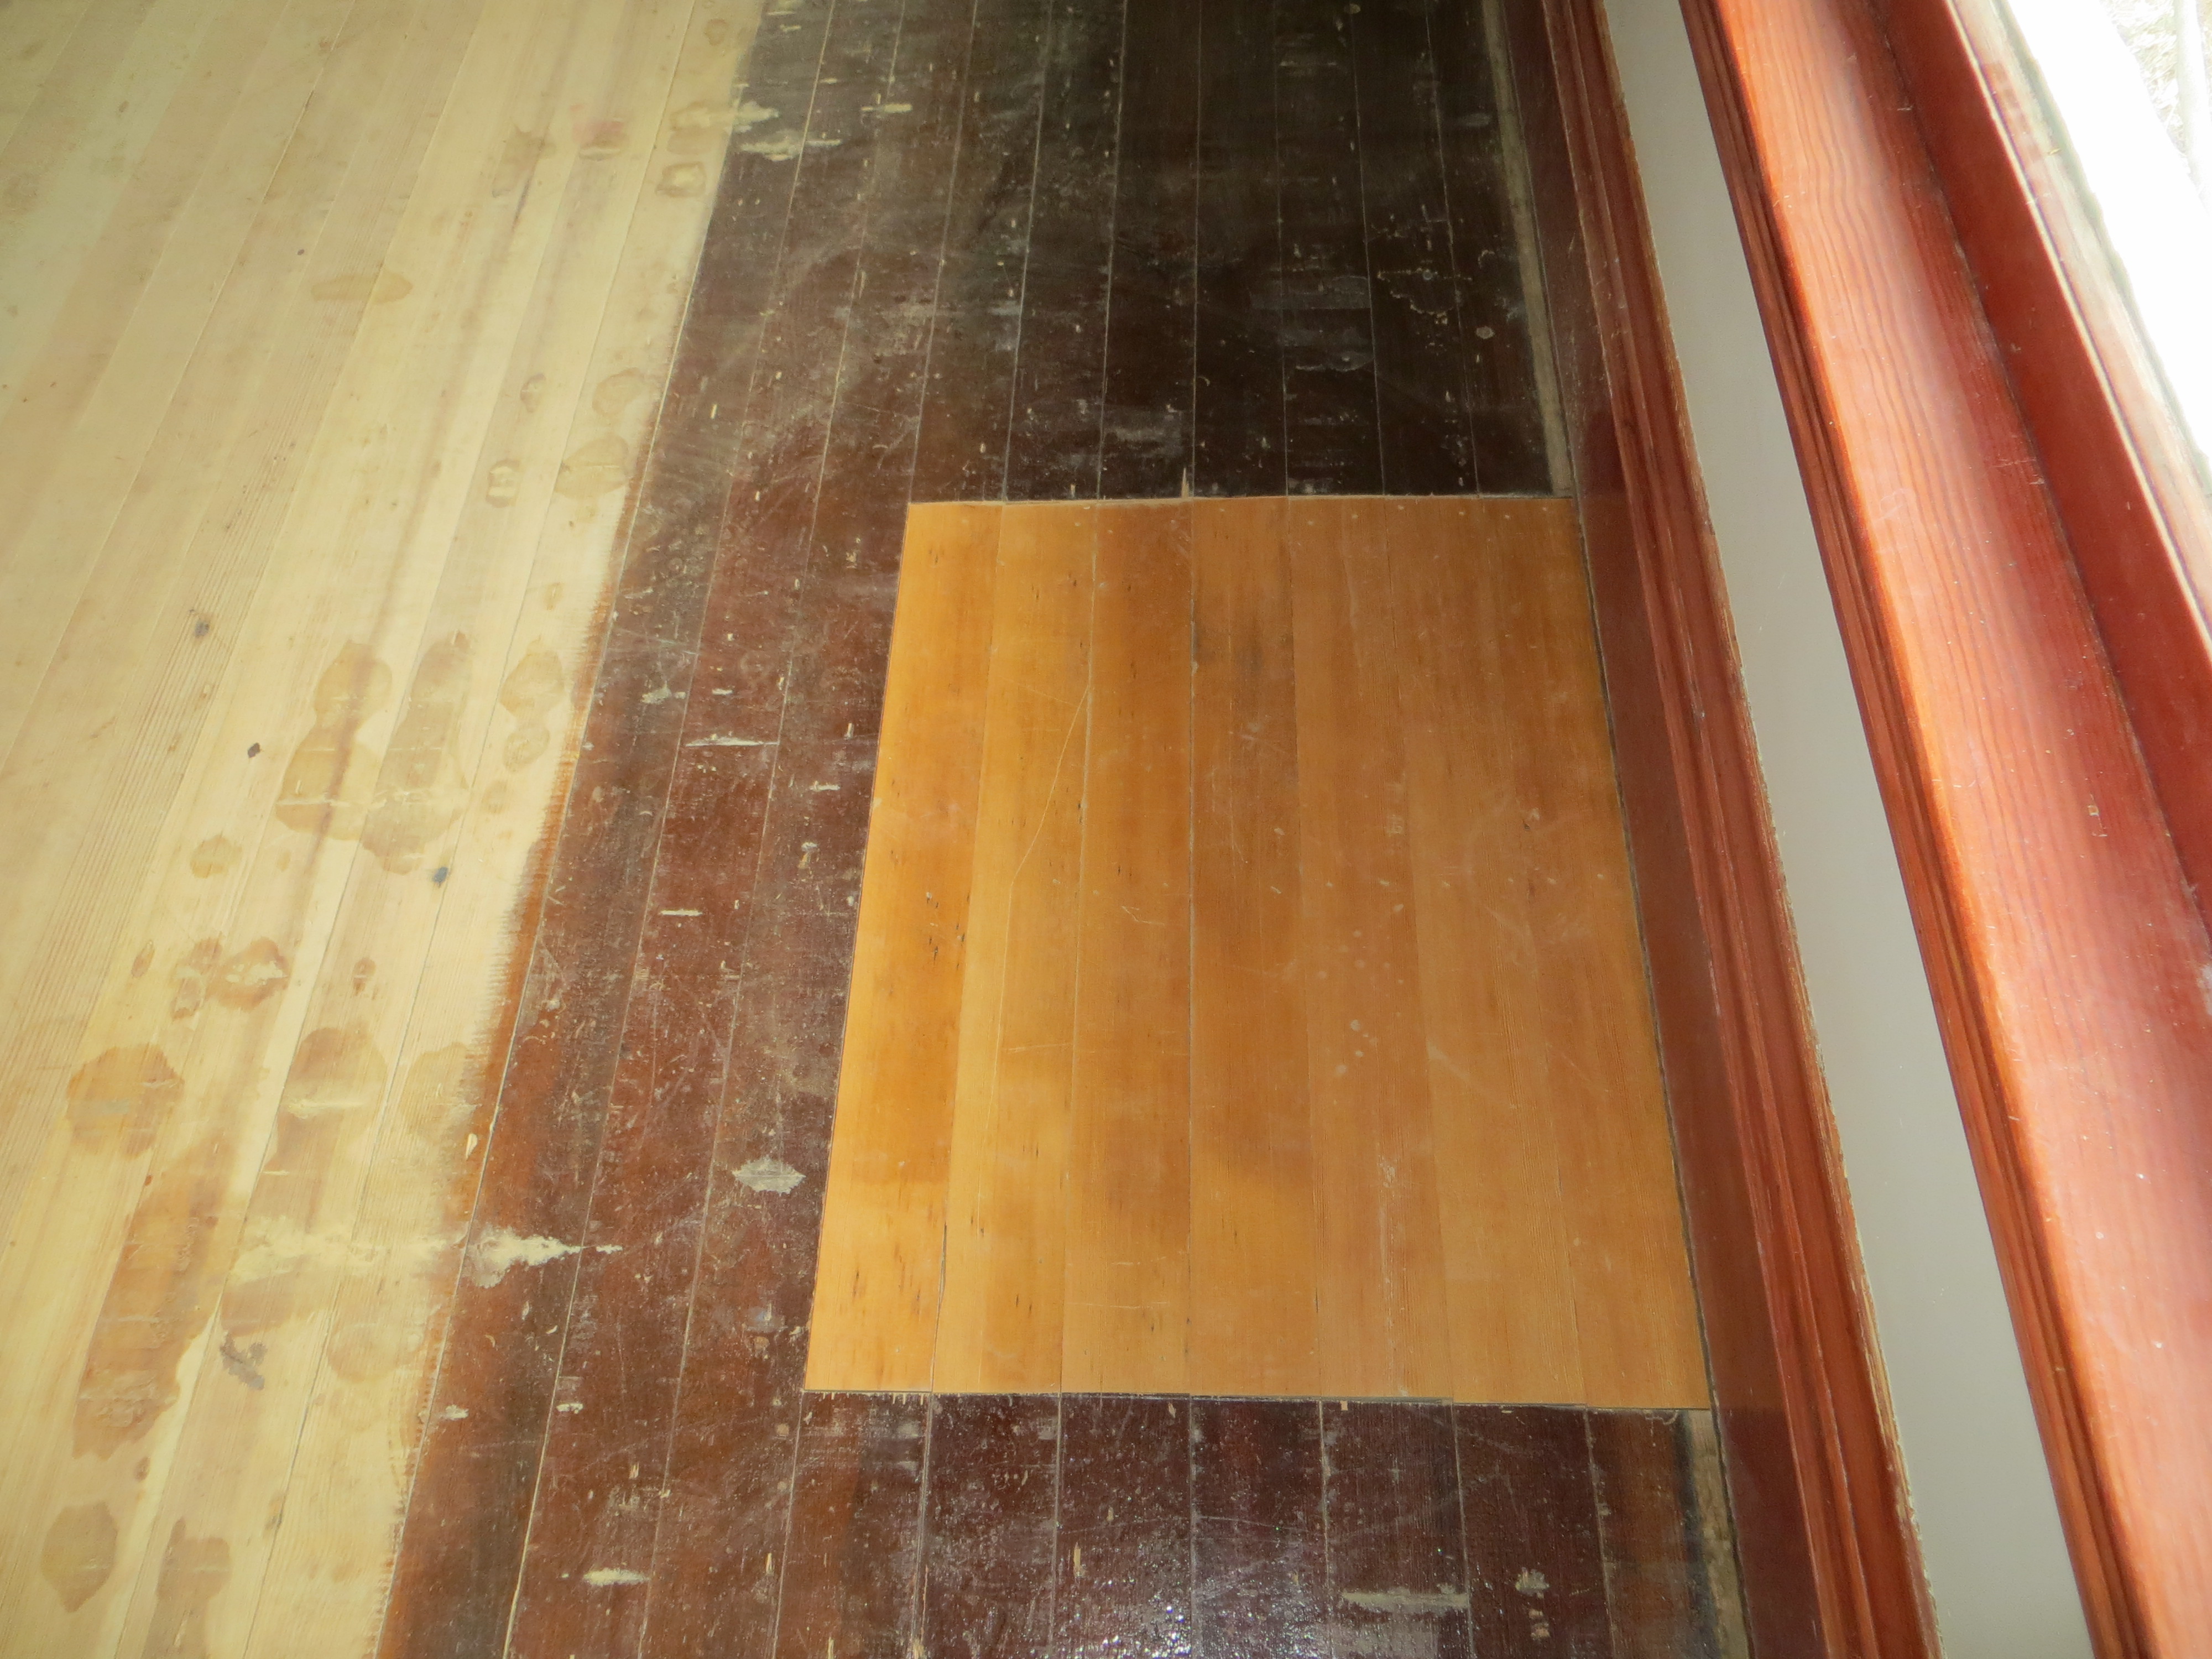
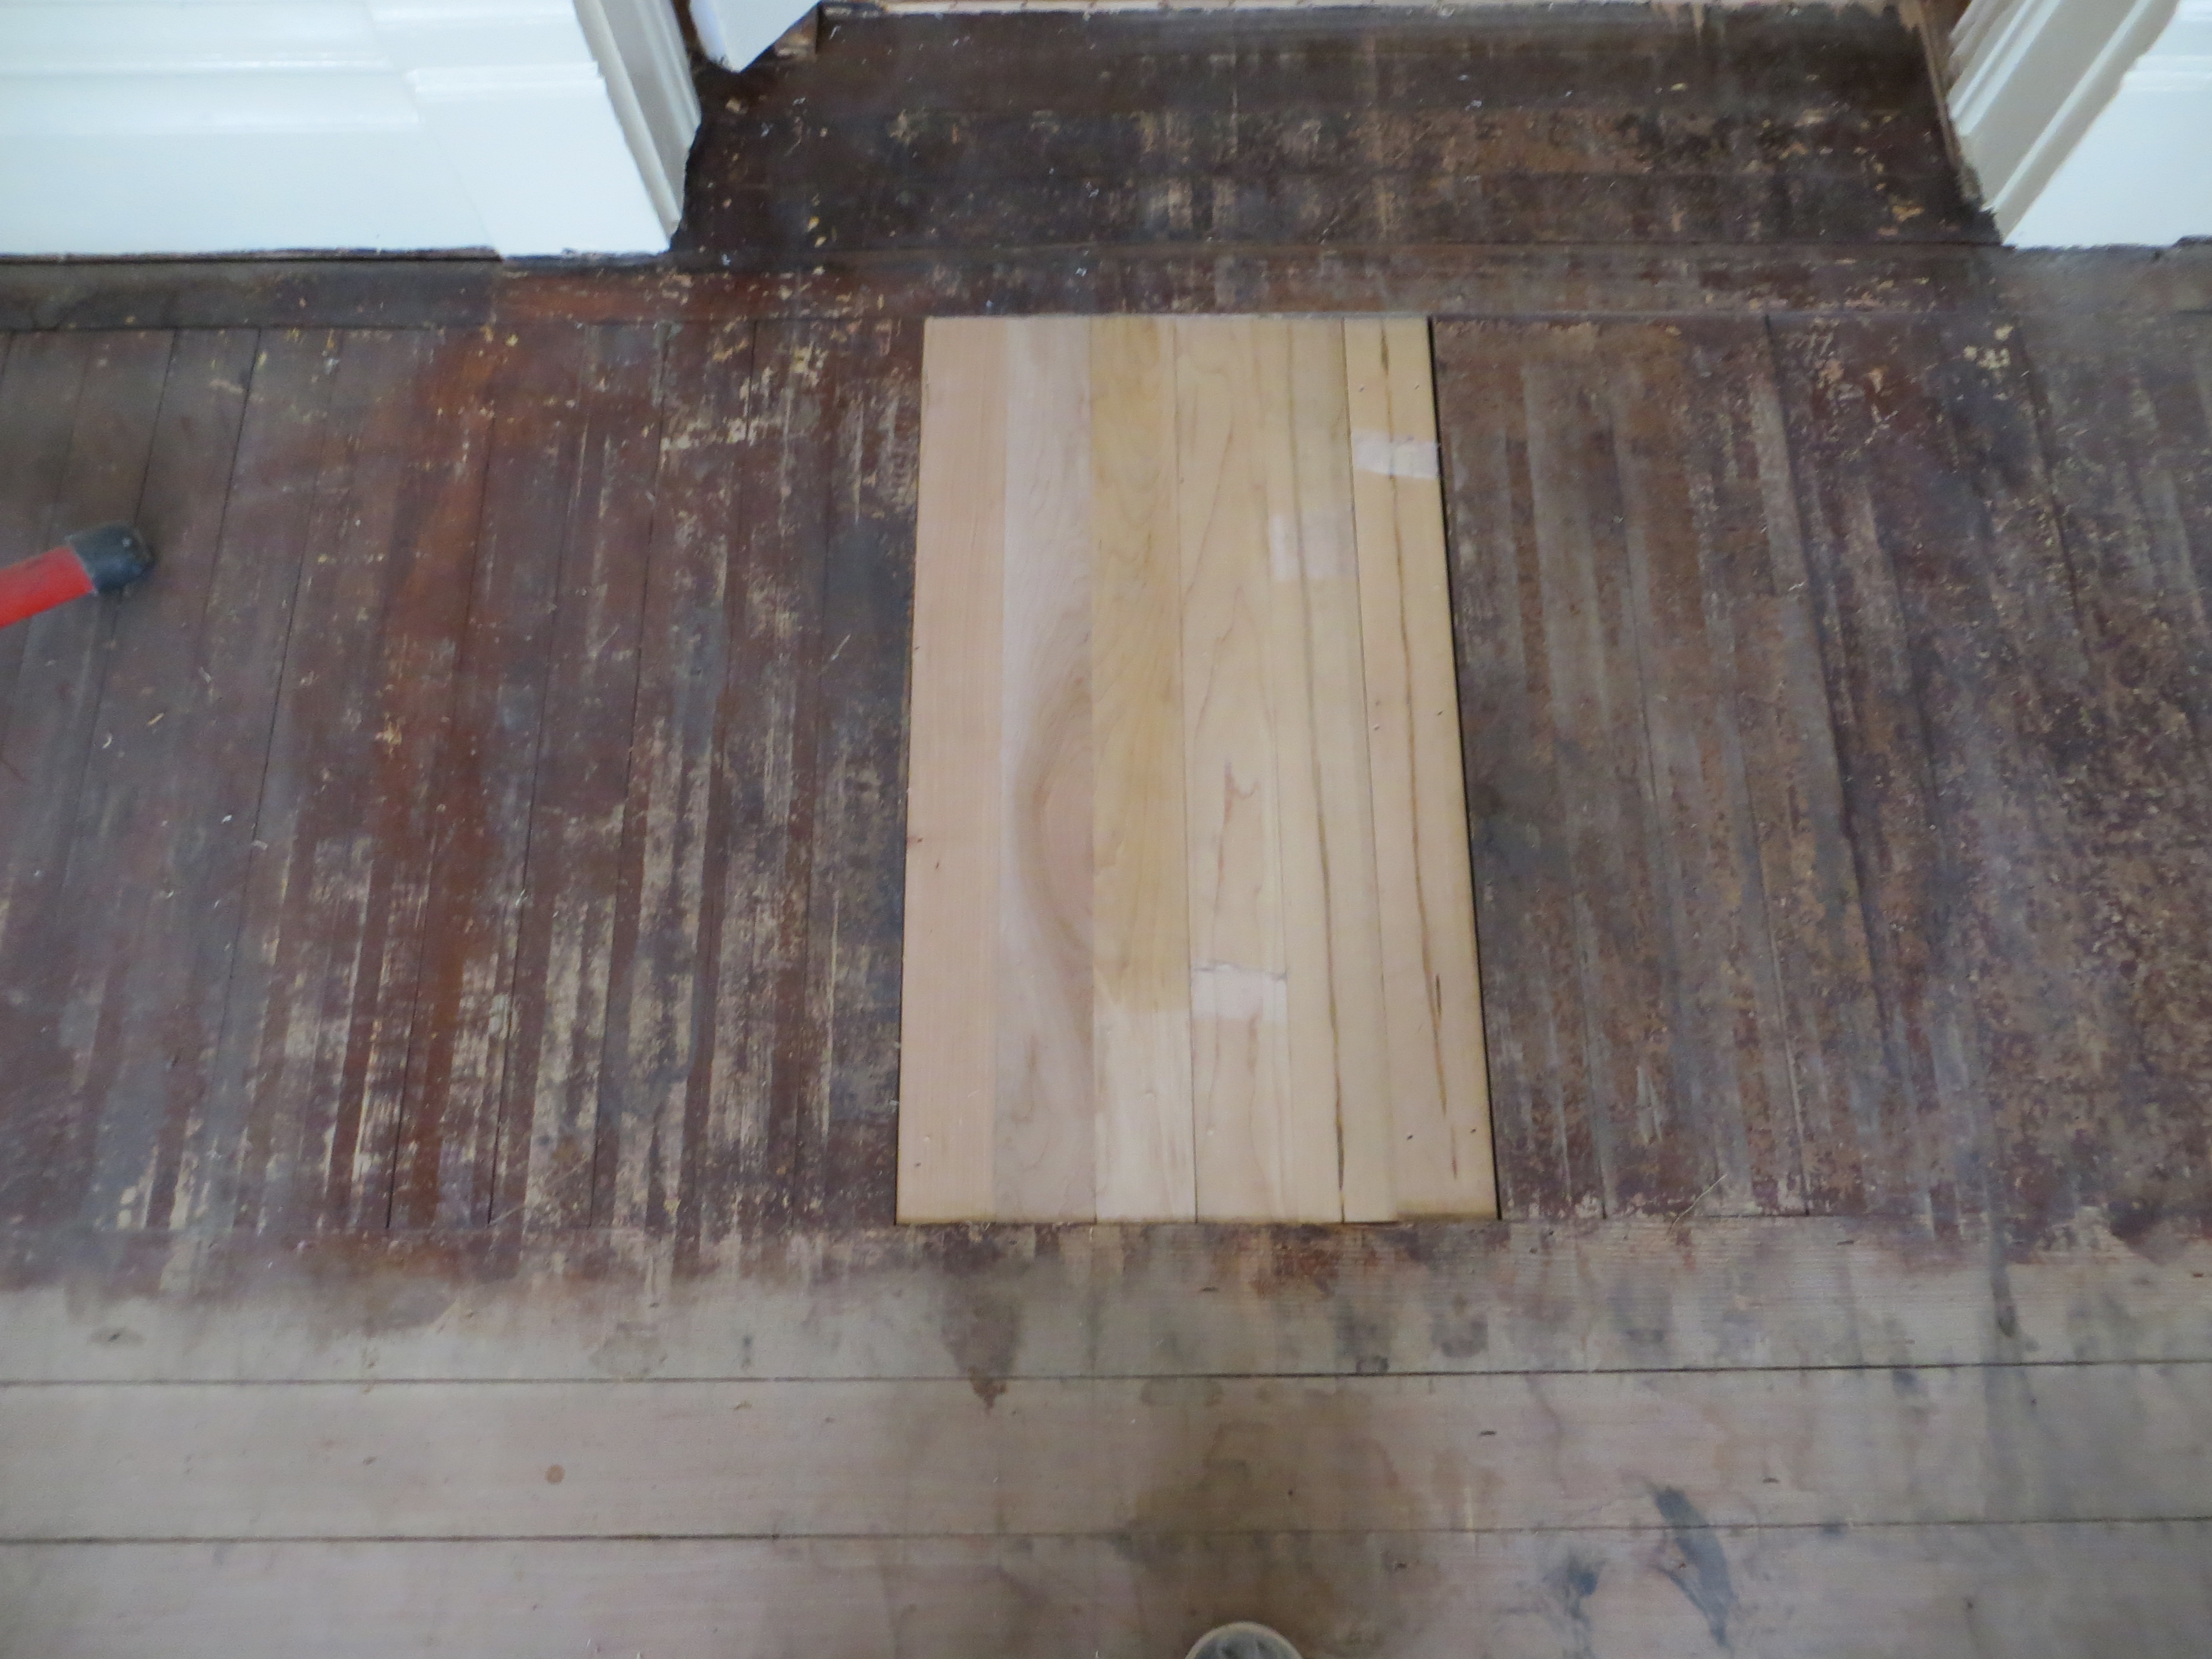
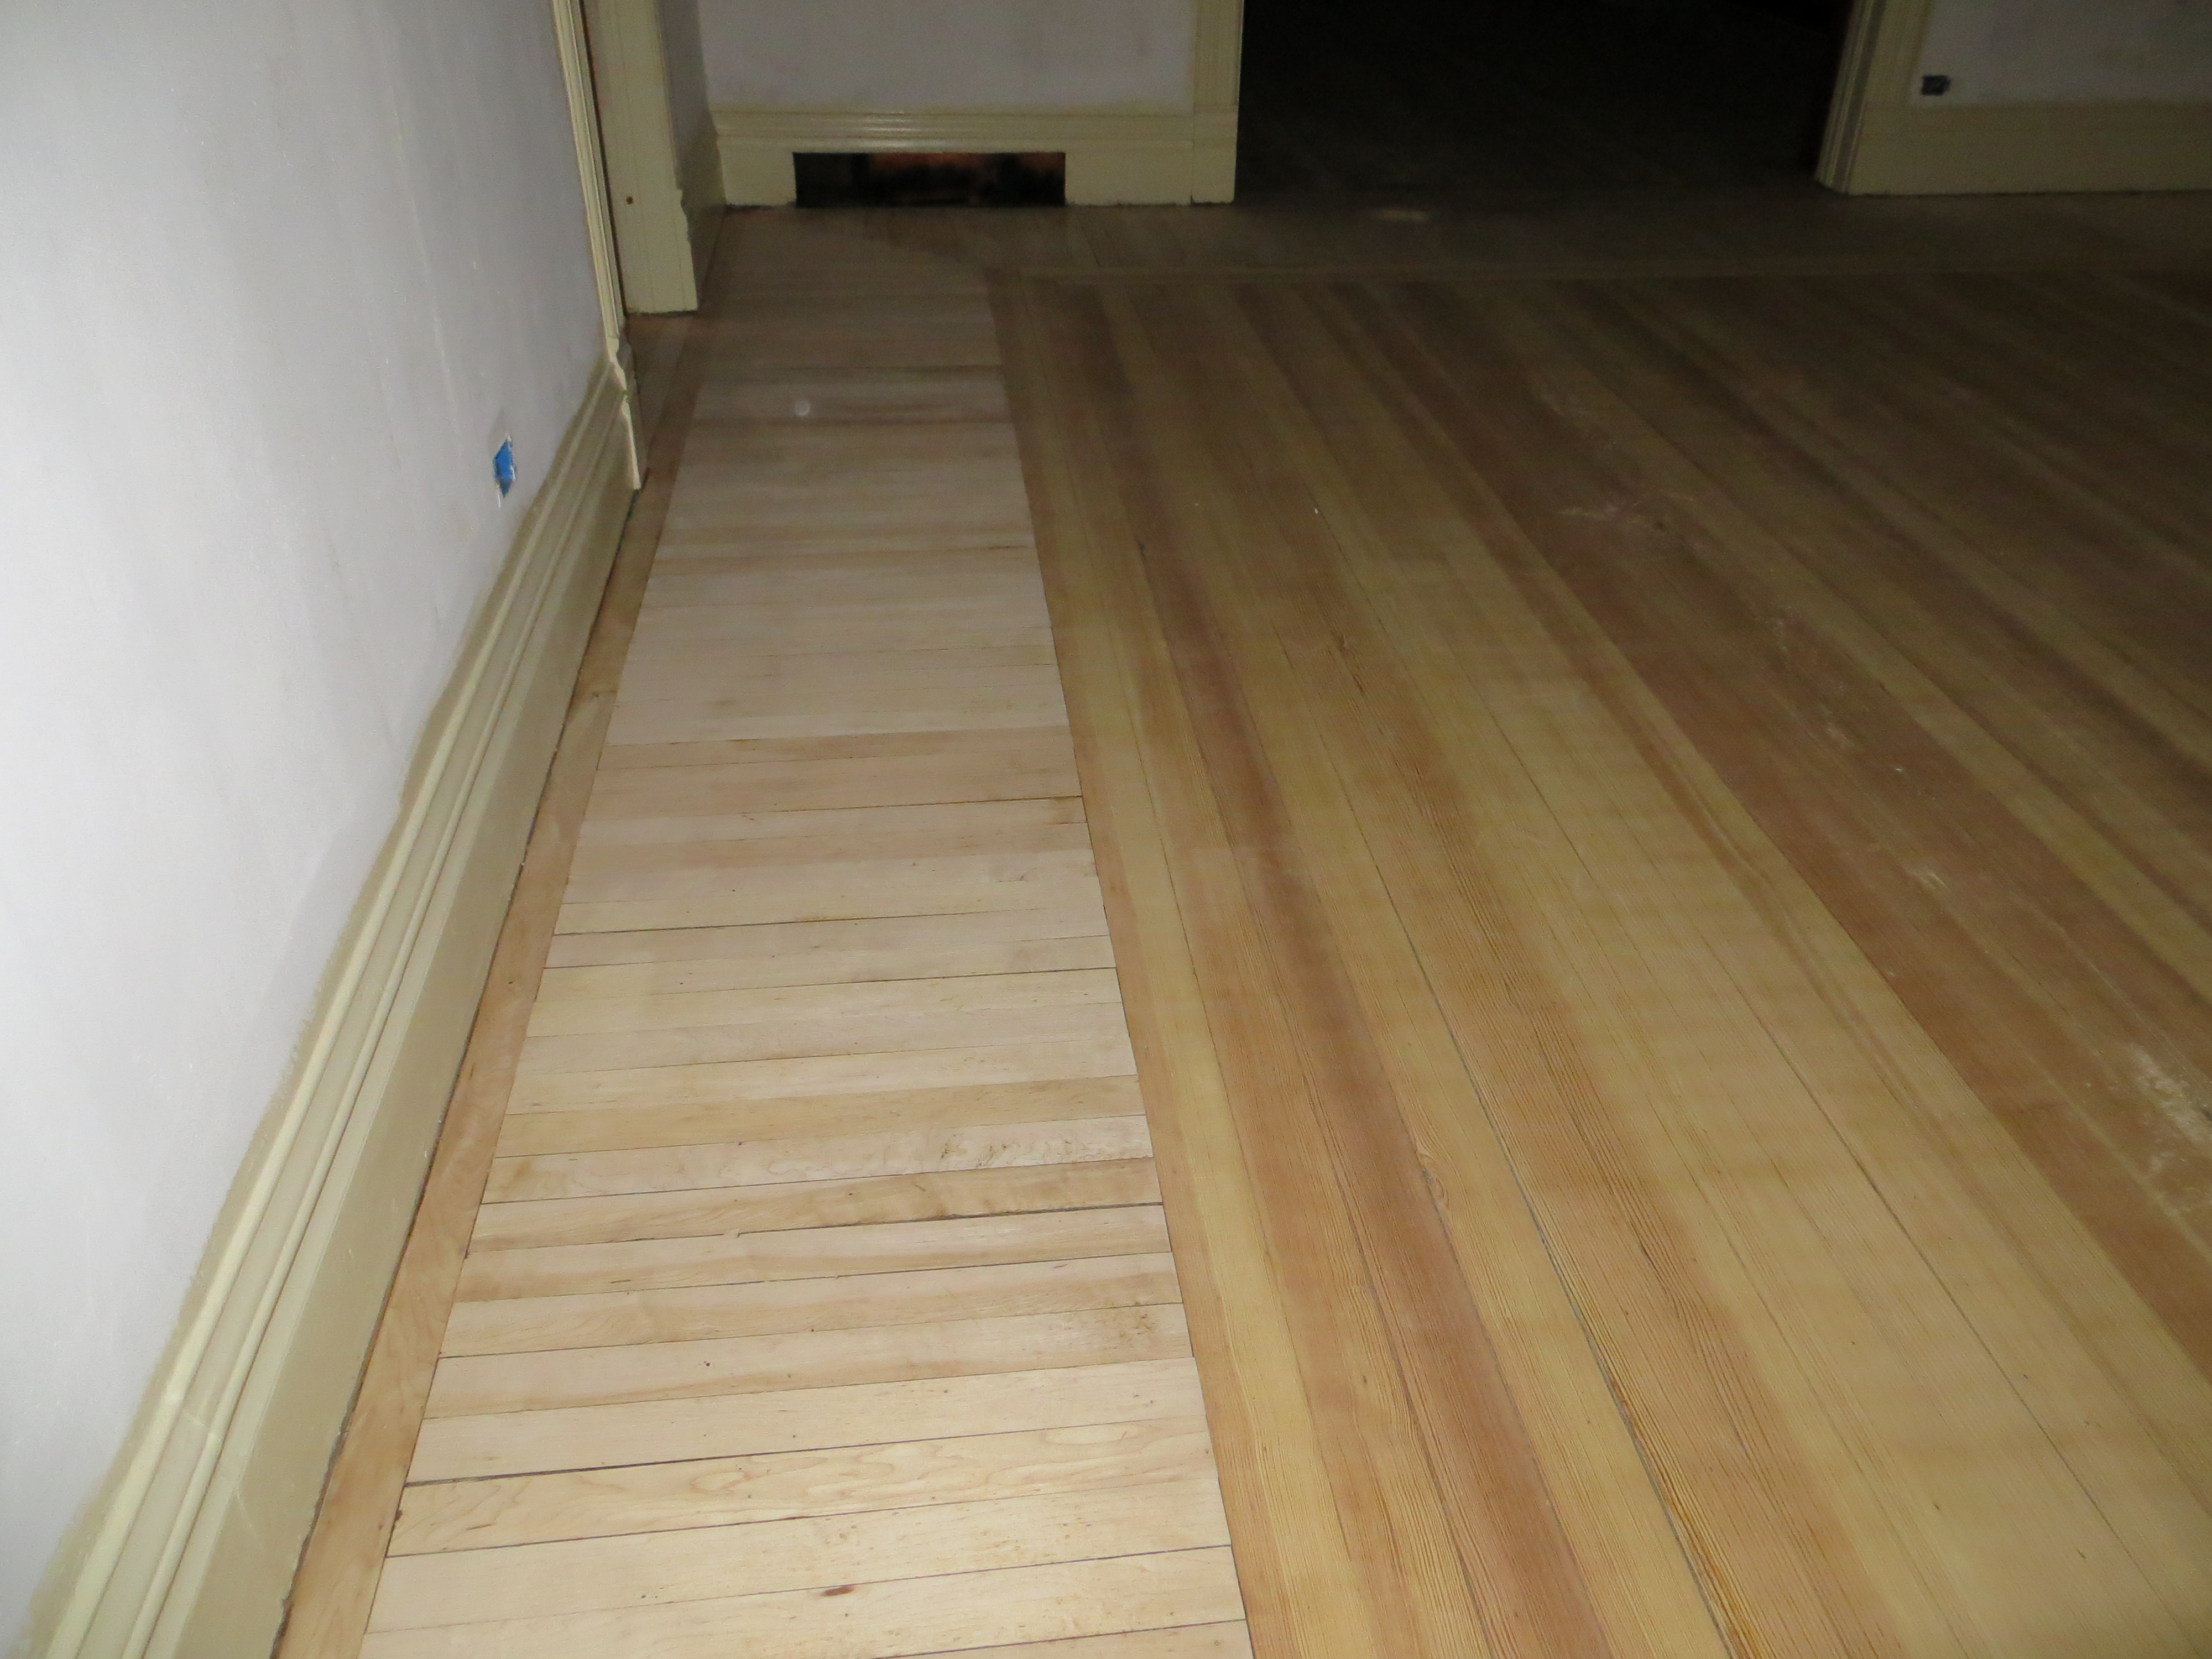
The original owners of the home were Horace and Anna Hopkins.  They built the home around 1901-1903.  In addition to farming, Horace was a prospector.  He would be gone for long periods of time and Anna would redecorate while he was gone.  We’ve unearthed evidence of these remodels as we’ve restored rooms.  We believe the large wrap around veranda was originally a simple front porch.  The two large pocket doors were added after original construction.  We discovered evidence of doors being moved around.  We found an entire roof hidden under the existing roof in the attic by the kitchen.  We found old cement steps hidden in the crawl space where the back door once was.  Knowing that Anna liked to remodel and redecorate while Horace was away, finding these little clues always makes me laugh.  It’s like Anna is still telling us her story.

After Horace and Anna passed away, their daughter Mildred and her family moved in.  Not long after, her sister Helen and family joined her.  We have been told that one of the upstairs bedrooms was converted into a kitchen while both families were living here!  Helen lived in this home longer than anyone.  She sounds like a lady I would like to know.  Her daughter in law tells a great story about Helen stopping the gas company from drilling on the property because she hadn’t received her check yet!  She was elderly at this point, probably nearing 90, and scooted over there with her walker to halt their work until her check was delivered.  I just love that visual.

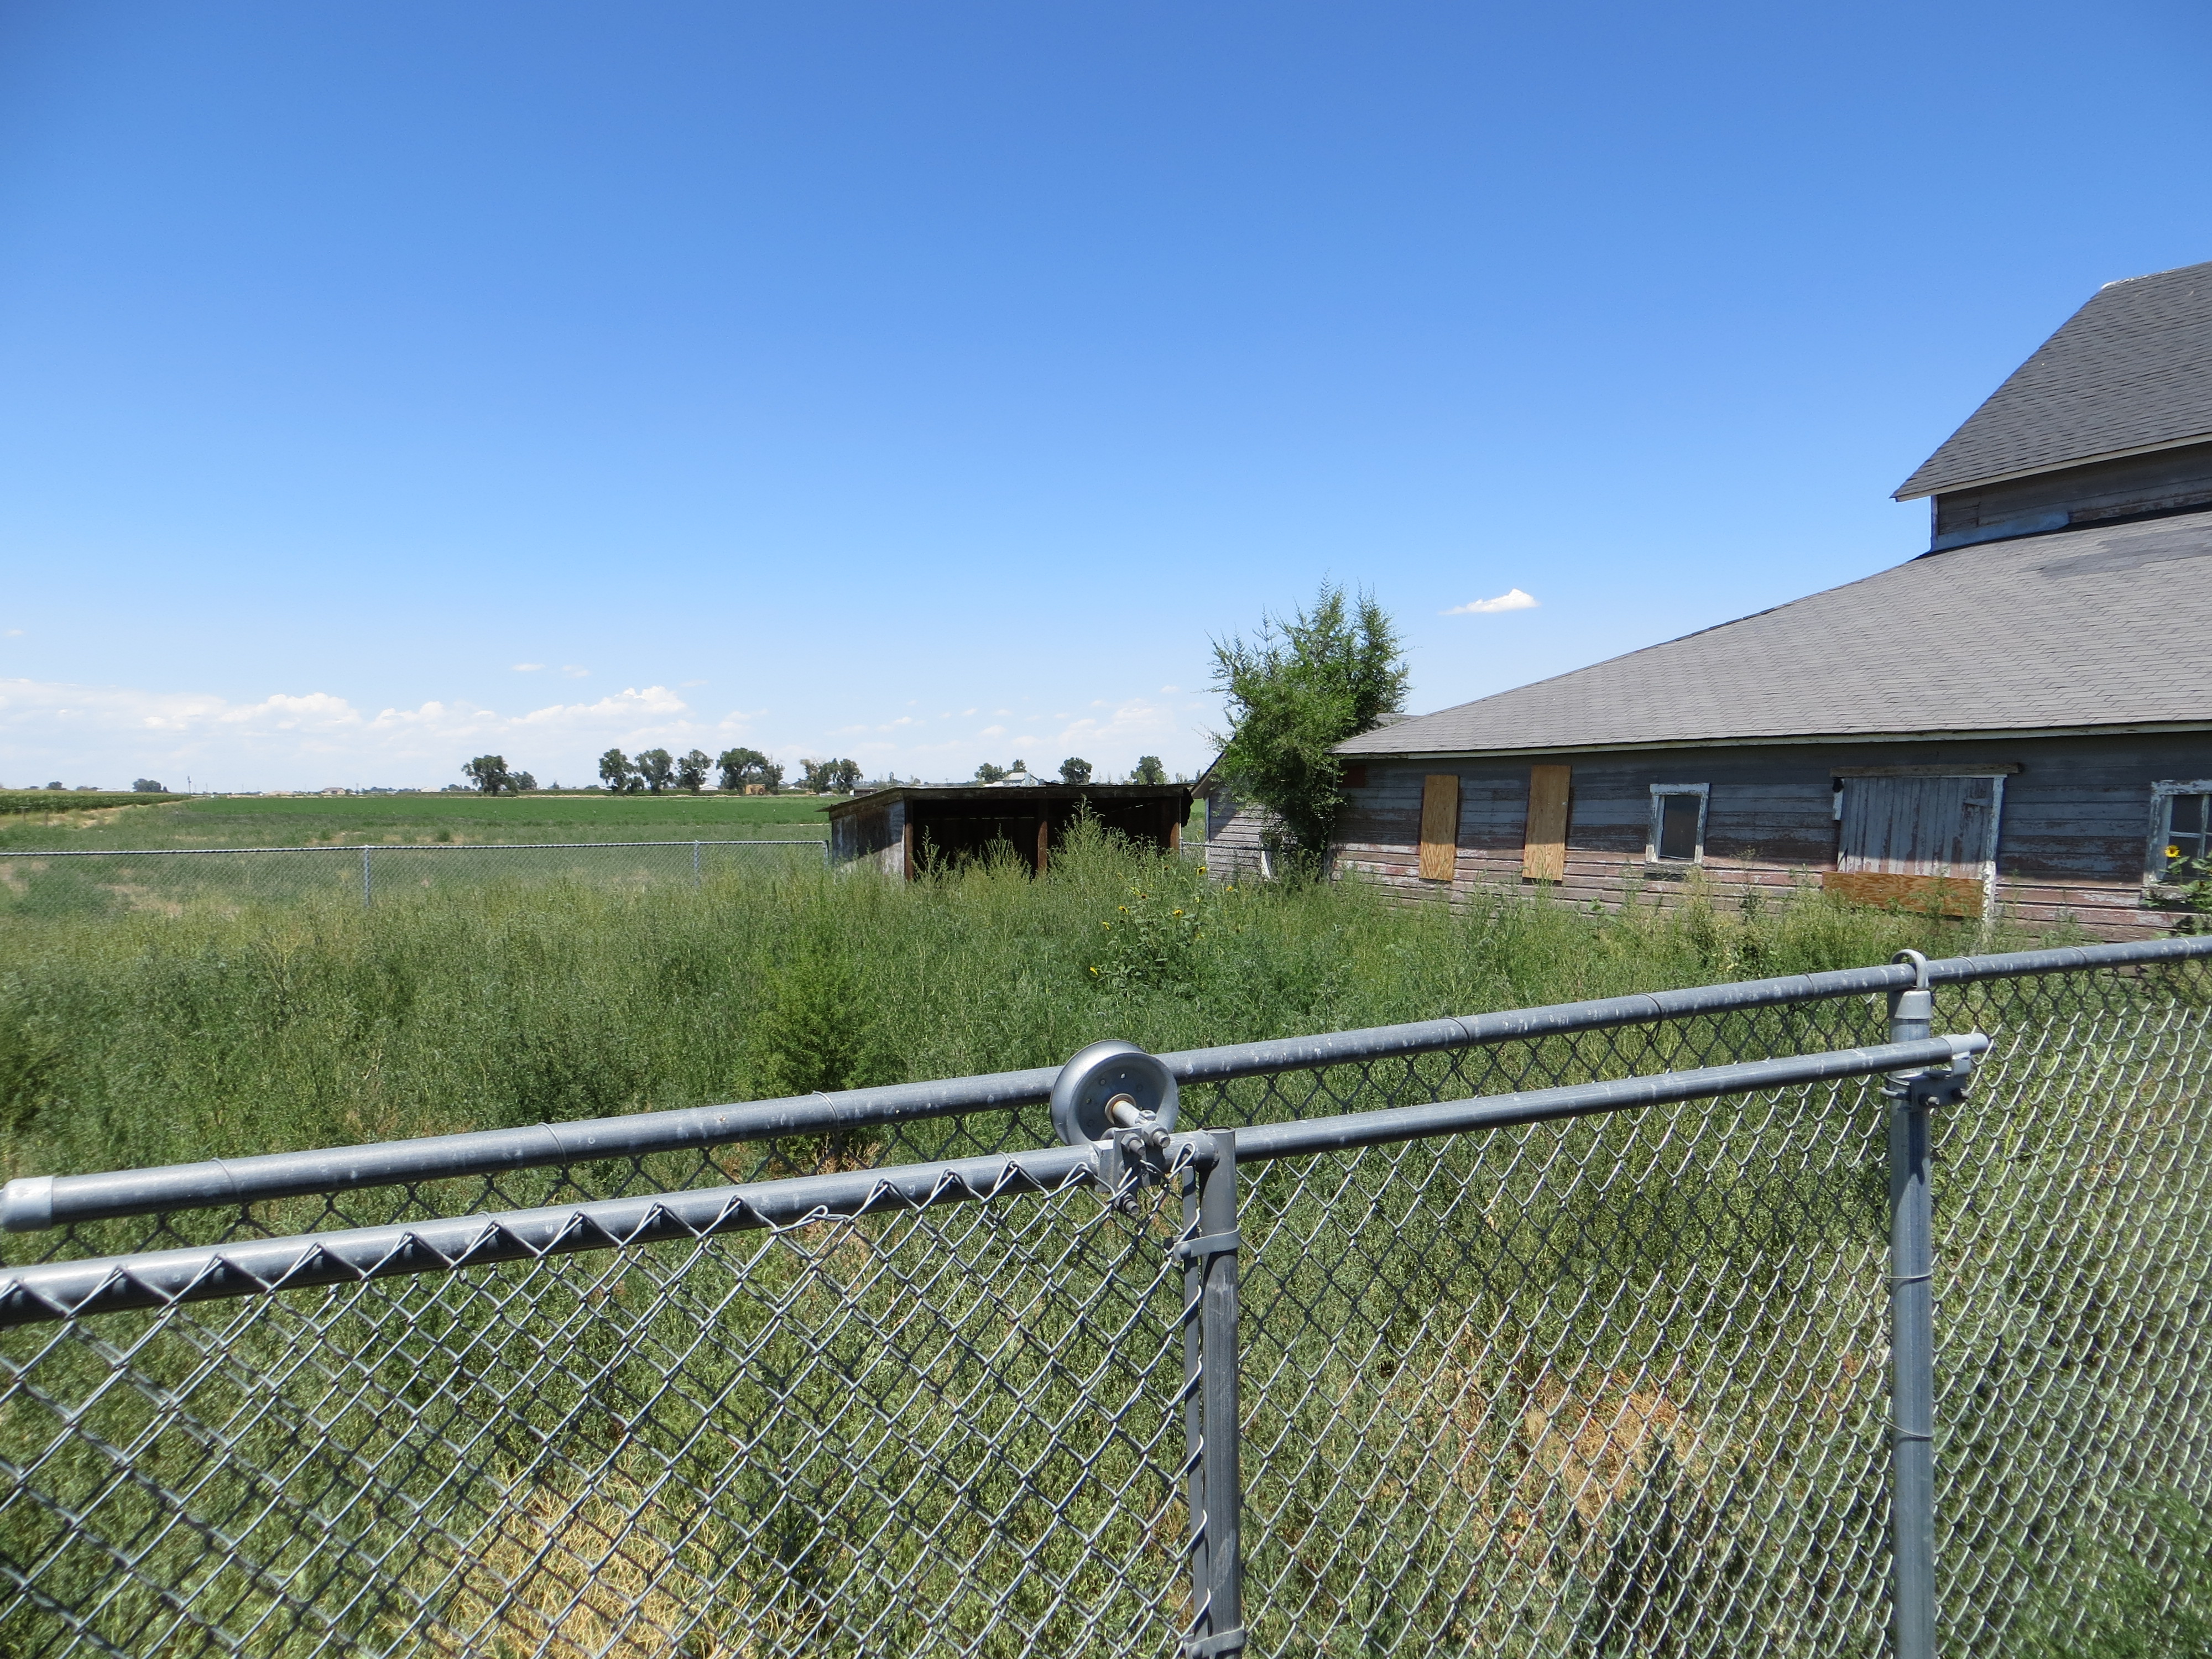
After Helen passed away and the family sold the home, the next owner lived here from 1994 to 2007.  14 years of neglect….14 years of cats peeing everywhere…..they even stole the light fixtures that were original to the home and sold them on ebay.  Blerg.

What’s crazy is that we actually looked at this home when it was for sale at this point.  I remember thinking that it was in severe disrepair and was way out of our price range.

And I loved it and wanted it……

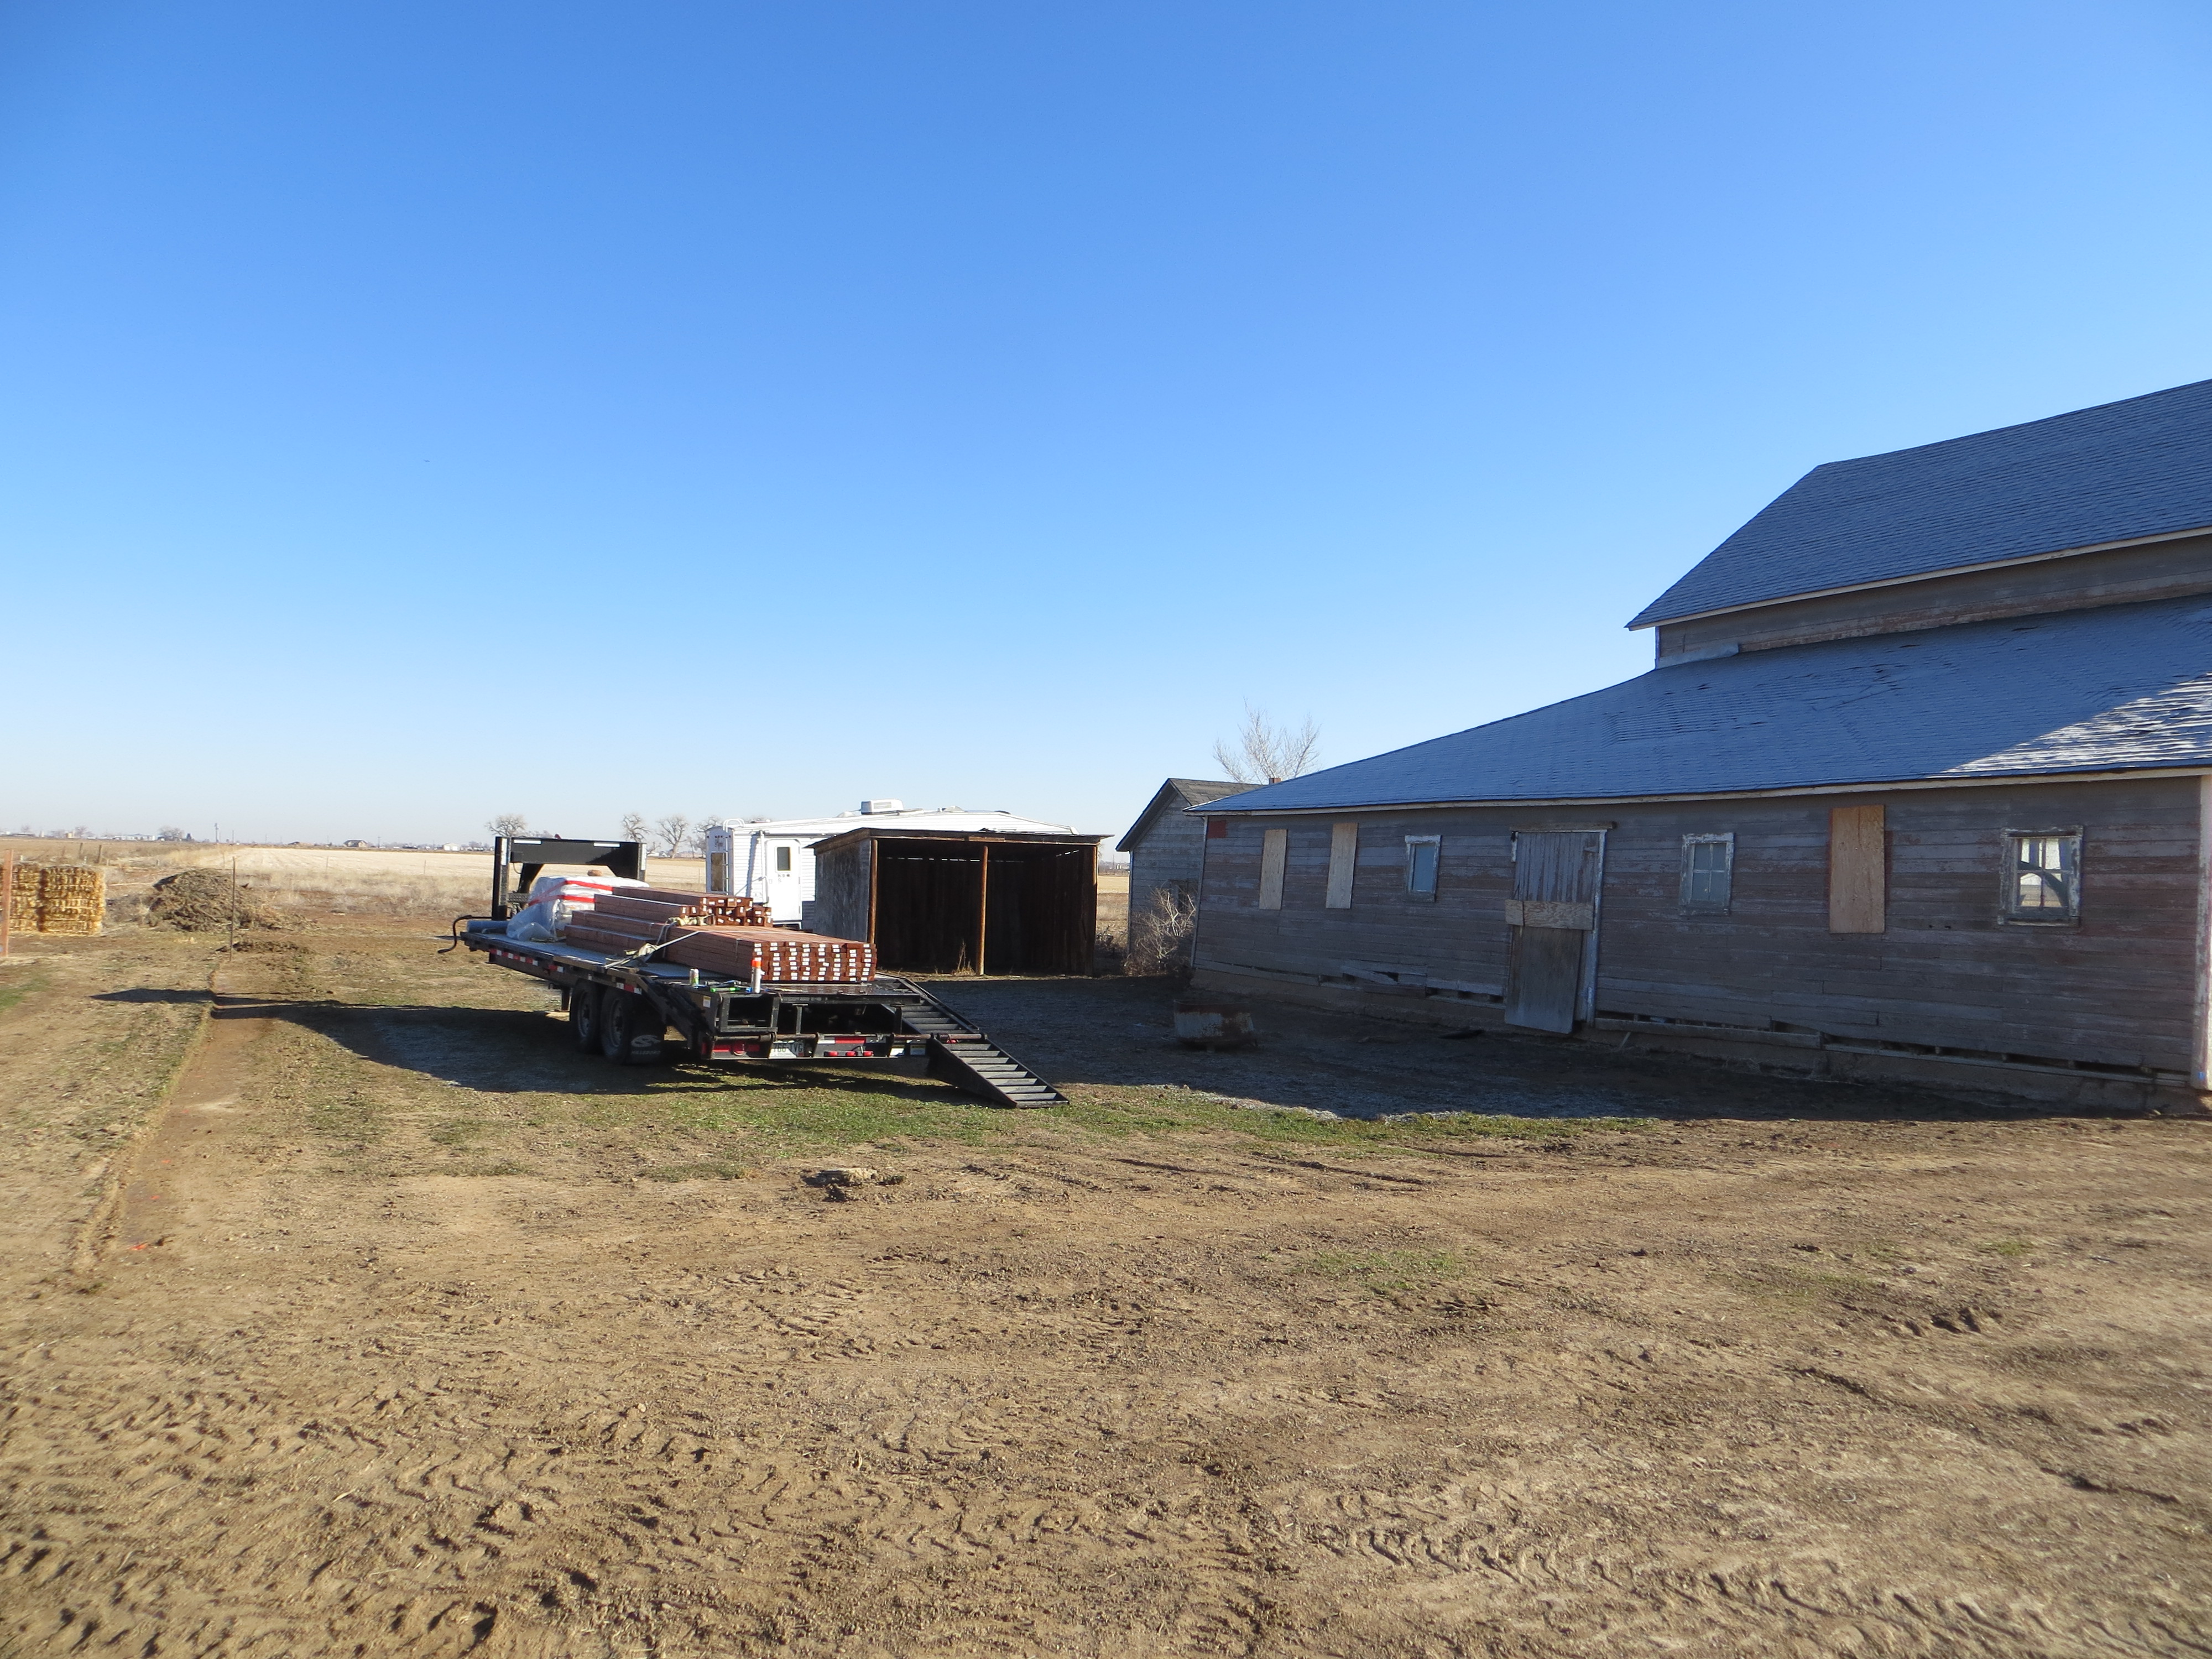
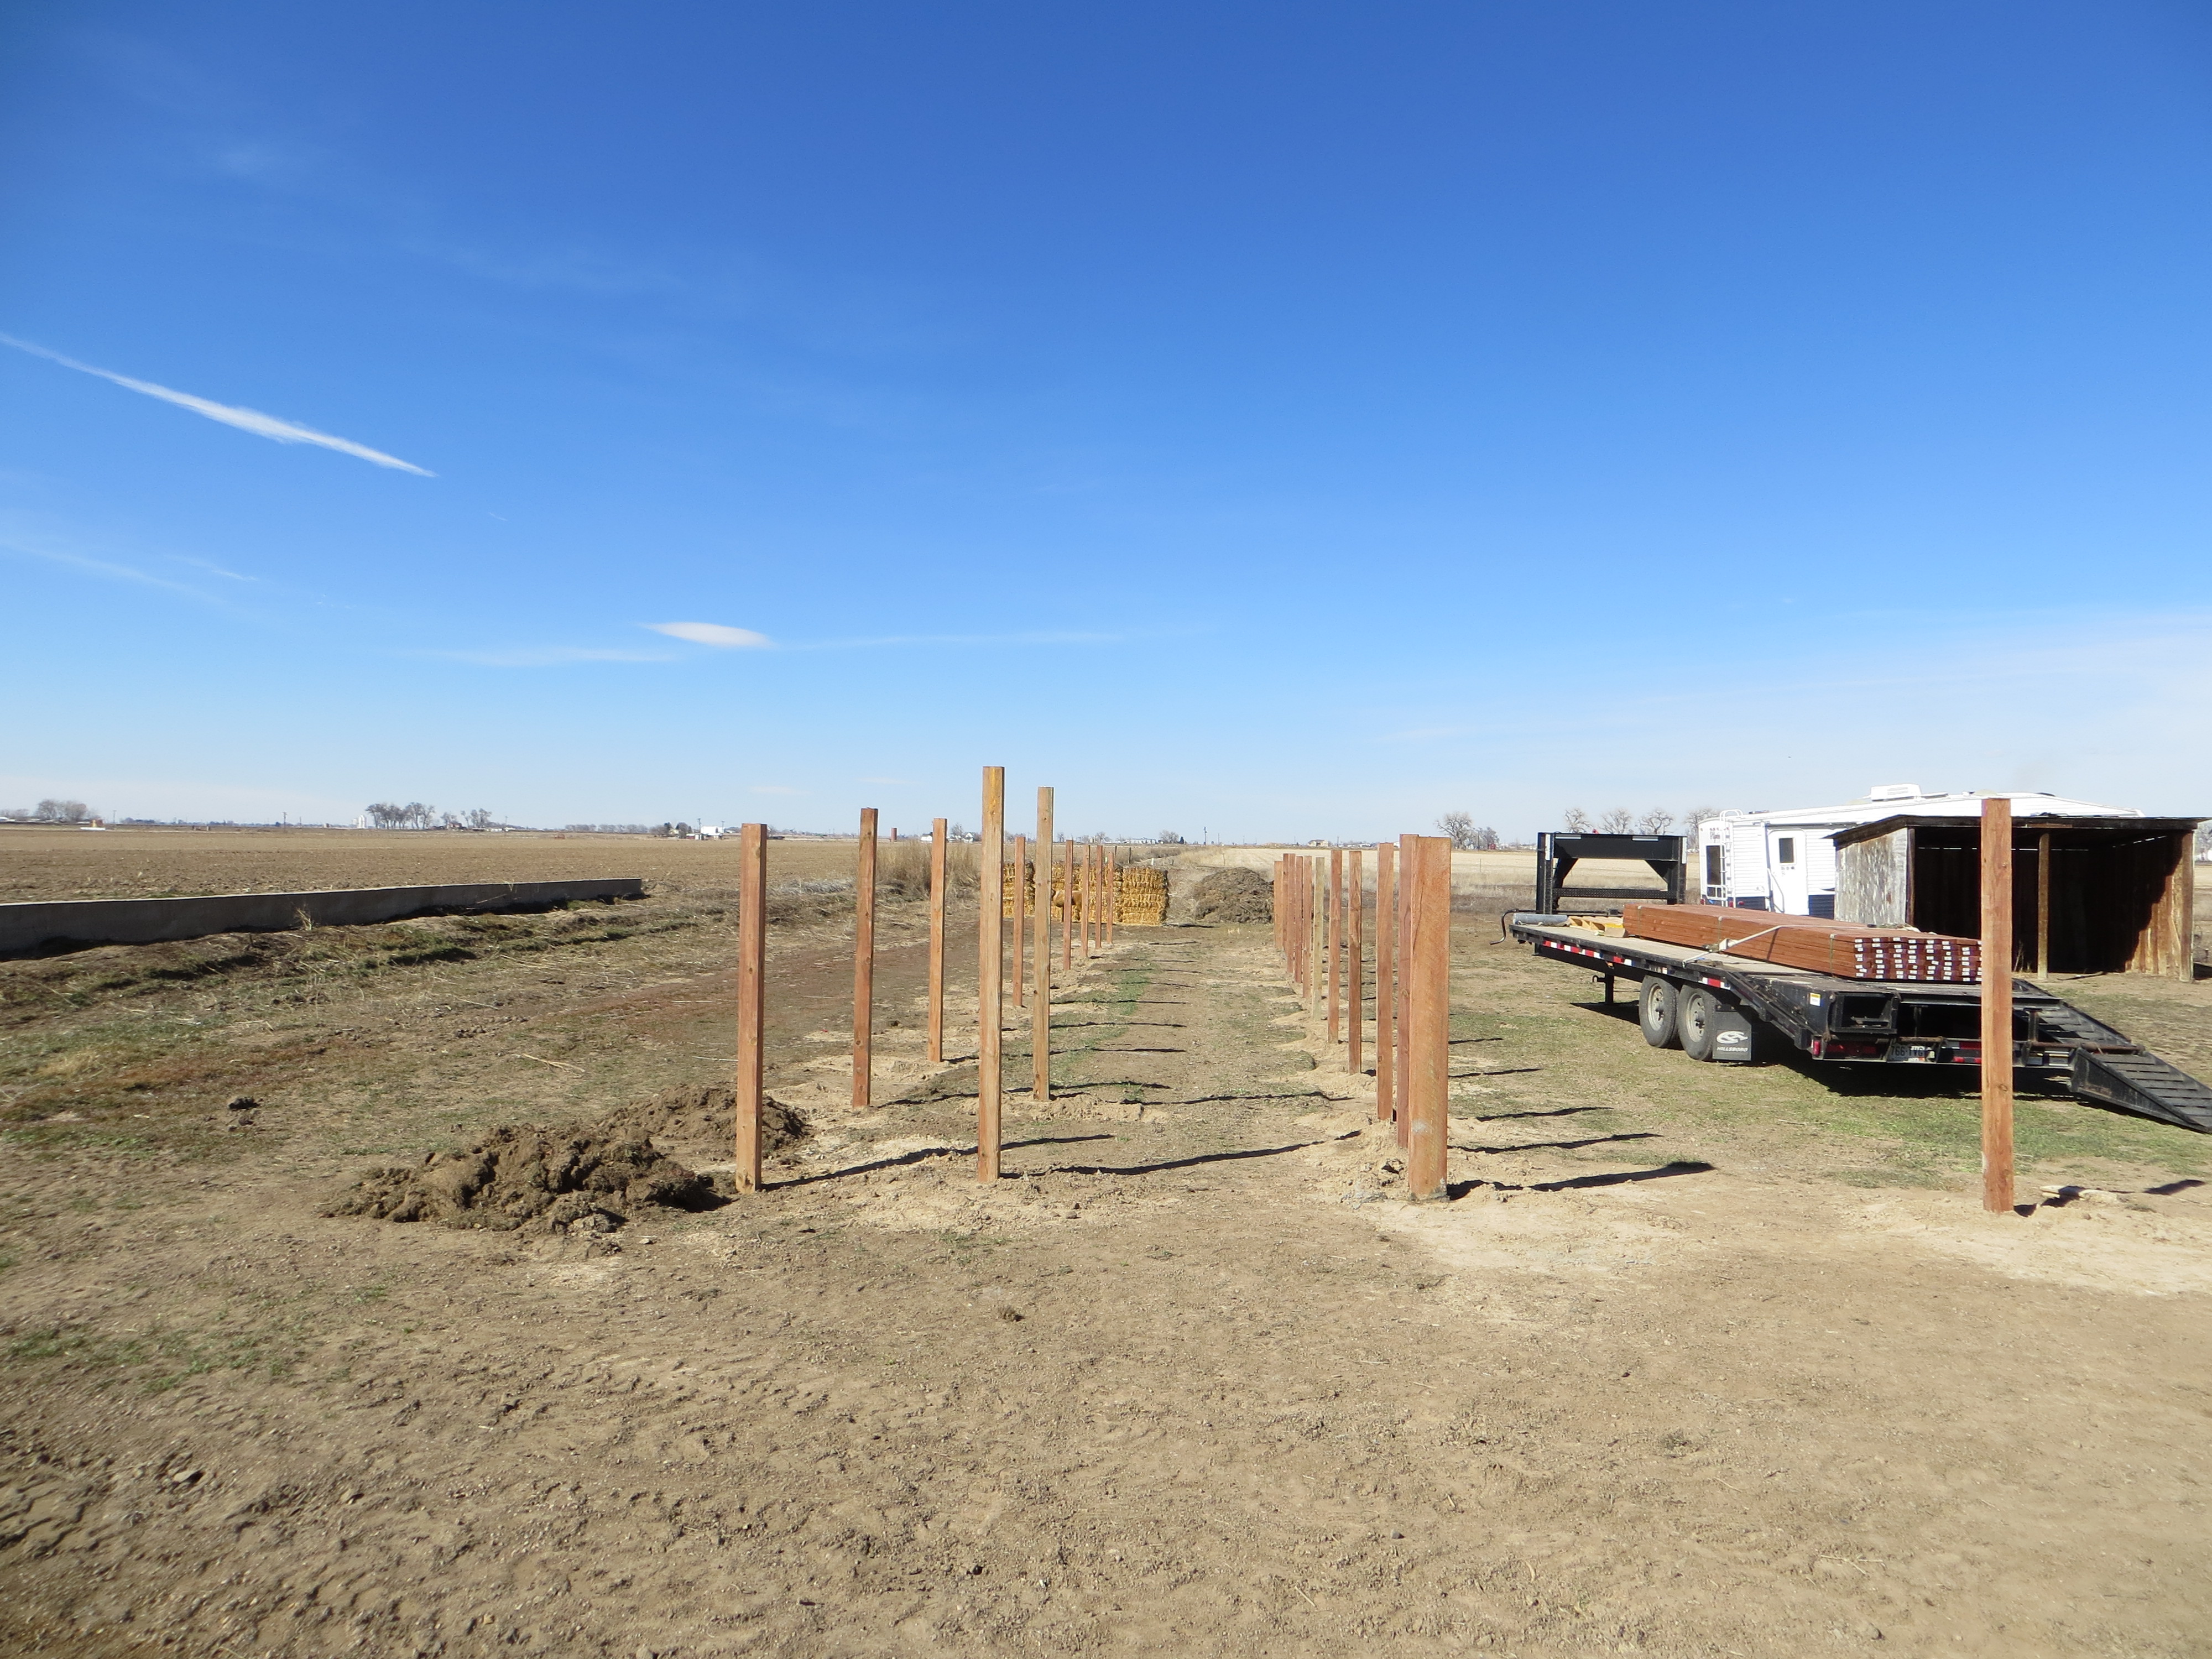
But, it wasn’t to be at that time.  Someone else bought the home.  They started to do some restorations (like ripping out the cat urine soaked bathroom floor – Thank you!), but not much happened until we bought the place nearly two years ago.  It wasn’t until after we bought the home and started digging around that we realized it was the same house we looked at in 2007.  It felt like the house needed us to save it.  Needed us to take it back to its former glory.  Needed us to hear its story.

How can you research your old home?  Start with your county property records.  Most counties have this available online.  Go back as far as you can with those records.  Then, you can check out your local museum.  Many of them have local records dating back 100 plus years.  We also used ancestry.com to research previous owners and look at census records.  This is how we learned who living relatives of the longest resident were.  From there, we connected through Facebook.  We are extremely grateful that Facebook, with all its drama, connected us with Helen’s daughter in law.  The stories she told and the joy she had knowing that someone was taking loving care of the home meant so much to us.  I feel fortunate to have that connection.

Now, we are part of the story of this home.  We are letting the home speak to us.  We are honoring its history and securing its future.

Posted in Meanderings | 3 Comments

Zombie Moths

I haven’t written in a while.  I’m so sorry.

I’ve been at war.

War with an army.  An army of army cutworm moths, that is.  Otherwise known as “miller moths”.

One of the disadvantages of living in a drafty, poorly sealed 112 year old house is that it is easy for bugs to get inside.  We’ve had a few ants, some spiders, a couple crickets, but by far the worst creature that sneaks its way into our peaceful home is the miller moth.  I hate these little creatures so much that I have gone on a moth killing rampage.  A mothaccure, if you will.

My first real experience with these moths was when we lived in our first old home.  I remember screaming when one flew near me.  Shuddering at the sight of them, not being able to go to sleep if there was one in our room.  One summer, the invasion was exceptionally bad and I had to face my fear.  I remember coming home at night, turning on the ceiling fans full speed, and listening as the moths hit the fan blades.  Tink….tink….tink….  Then, we would run around slapping them again with fly swatters to kill them (the fan just stunned them), and cleaning up all the bodies.  In the morning, opening the trash can became an exercise of wills because a few of the casualties from the night before would fly out at me.  Zombie moths.

Now that I think about it, they are very zombie like.  Covered in dust, flying towards any light blindly, crashing against things over and over again, refusing to die unless their brain is destroyed.

Menace Moth - Don't let the lace fool you.  This is not a fancy moth.

Menace Moth – Don’t let the lace fool you. This is not a fancy moth.

Our cat is in the best shape of the year during miller moth season.  He has a constant supply of erratic toys to play with.  Play with, kill, eat, repeat.  This is great until he horks up a pile of partially digested moths on the rug.

Today, my moth phobia (mottephobia – it’s a thing) is gone.  Well, not really gone.  I will admit to screaming at least once a day because of one of these little devil bugs.

To limit the number of screams per day, I have a war plan which, if followed, does a reasonable job of controlling the invasion.  Meet my method of moth destruction…..

My method of moth destruction

My method of moth destruction

That little puppy takes down 50-100 moths per day.  The **ffffttttt** sound of their little bodies being sucked into the vacuum is very rewarding.  Now the challenge is emptying the vacuum canister without screaming…..they are always ready to attack.

Posted in Meanderings | 4 Comments

There must be a hole in my kid gloves…

If ya didn’t know…..I have an animal science degree from Colorado State.  I worked in veterinary hospitals as an assistant/technician starting at the age of 16.  I still occasionally assist a friend who is a house call veterinarian.  I know a fair amount about animals and their care.

That being said….animals are dropping dead, getting sick, and getting injured all around me.

First, one of our pullets died the 2nd day we had her.  How?  She pasted up.  What is pasting up?  Why it is when the bird’s poop gets caked up around its butt.  This results in the bird not being able to poop and it kills the bird.  Nice, huh?

Soon after, our dear pig George Washington died.  He lasted 4 days with us before kicking the bucket.  We’re pretty sure it was worms and pig lice that got him.  Even though he was allegedly de-wormed, de-loused, and vaccinated.  Abraham Lincoln (George’s brother) got a dose of de-wormer/de-louser and the bedding was all treated with lice powder after that event.

George was quickly replaced with Cinderella.  Three days after she arrived, she got a runny nose and runny eyes.  After an extremely long work day, the hubby and I had to chase her around the pen, catch her, and give her an antibiotic so she didn’t follow in the footsteps of Ole’ George.  A regular pig rodeo at 8pm….lots of fun.

George is on the right.  The white dust on them is lice dust.

George is on the right. The white dust on them is lice dust.

Then, a couple days ago, I went out to the chicken coop to find one of my year-old hens, Pepper, dead on the coop floor.  She hadn’t shown any sign of illness, was eating and acting fine the day before, then….boom…..dead.  I cut her open (my scientific mind was curious) to see if I could figure out what killed her and she had NO breast muscles.  Seriously, there was no muscle where it should be.  It was the craziest thing!  I think she may have had an impacted gizzard or some sort of digestive issue that caused her to not absorb nutrients.  This resulted in her body cannibalizing itself for energy.  While trying to figure out what killed her, I did some research online and found that the “backyard hen” community (yes there is one) actually has a name for this……Sudden Chicken Death Syndrome.  No, I’m not kidding.  RIP Pepper

Pepper modeling her chicken "saddle" in her living days

Pepper modeling her chicken “saddle” in her living days

The day after Pepper died, I came home to a bleeding pig!  Seems that Abe and Cindi had a bit of a scuffle and he had bitten her ear.  She was bleeding like a…….wait for it……stuck pig!  There was blood all over the concrete, the feeder, their fur and at first, I didn’t know where it was coming from.  The eldest came out to help me clean Cindi up.  She helped hold her down and wipe the blood off so we could find out where the injury was.  After our pig rodeo, we were covered in poop, blood, bedding, and hair.  The wind was whipping around and it was cold out.  My daughter looked up at me and said, with a huge grin on her face, “That’s the first time I’ve felt like a real farm girl!”

I’ve learned a couple things….

  1. It is difficult to recall things you learned in college 15 years ago and haven’t used since.
  2. No matter how nice your housing is for your animals, they are still livestock animals and sometimes they die.
  3. The plan was to never shoot our animals up with antibiotics.  If we didn’t give Cinderella antibiotics, she would have likely died.  Sometimes not following the plan is better than the alternative.
  4. Remember to check new pullet’s butts before bringing them home, then check them twice a day for a couple weeks after.
  5. Pullets think that checking their butts is very rude.
  6. Being covered in pig blood and shit is a “real” farm girl baptism.
Posted in Chickens, Meanderings, Pigs | 2 Comments

Pigs – You’re doing it wrong

We’ve been pig people for three weeks now and I’m doing it all wrong.

First, I named them.  This is rule numero uno when it comes to raising pigs.  Whatever you do….don’t name them.

Second, I spoil them.  When it’s cold, I take them hot water and make them hot pig grain oatmeal.  I make them corn bread and take it to them while its still warm from the oven.  I peel their hard boiled eggs.  Whatever you do…..don’t spoil them.

Third, I worry about them.  Are they too cold?  Too hot?  Do they have enough bedding?  Are they eating enough?  Why is that one making that noise?  Is that normal?  They sleep a lot, do they usually sleep this much?  They are farm animals….whatever you do….don’t worry about them.

Fourth, I love watching them.  They way they play with each other in their pen, the cute noises they make, the way they run to me when I have yummy treats for them, the way their little curly tails wag…..it’s all just too cute.  I could spend all day with them and be happy.  Whatever you do….don’t enjoy watching them.

Fifth, and this is by far the most concerning thing, they make me hungry.  Watching their fat little rumps as they run around….I think of tasty ham.  Looking at how long bodied the boy is…..I think of long strips of bacon frying in a skillet.  Watching as they grow fatter and bigger, I think of tasty ribs cooking in the smoker.  Bratwurst, chorizo, German sausage, breakfast sausage….. nom nom nom……delicious.  Whatever you do……don’t…..oh, wait.  This one is okay.

Just try not to salivate on the pigs when you’re spoiling, worrying, and watching them.  They don’t like that very much.


Posted in Pigs | Leave a comment

A loss on the farm

In preparation for our first pigs, I read at least three books and scoured the internet for information on raising pigs.  However, reading about something and actually doing it are two entirely different things.  I tried to contact small farms nearby to gain some guidance, but found none.  I wanted to look at what people used for enclosures, what a pig wallow looked like, see how pigs behaved normally, and ask a few questions that books could not answer.  I just wanted a support system of some sort, but there was none.  It’s sad that there is a huge movement towards hobby farms and homesteading and there is no support system for those making the transition.  I hope there is a day I can offer advice and assistance to someone like me.

We brought the piggies home and moved them into their lovely new pen.  We really didn’t know what to expect.  How would we know they were healthy and happy?  How much should they be eating?  How much do they normally sleep?  Is the transition hard on them?  Do their behaviors change for a couple days after the move?  All questions that a book doesn’t answer.

We brought them home Tuesday night and all seemed well enough.  They checked out their new pen, oinked and carried on, snuggled up in their beds and made it through the night.  Wednesday, it was a little cold in the morning, so I took some hot water and poured it into their grain to make some pig oatmeal.  They ate a little, drank from their water-er, and looked happy enough.  I loved watching them together.  They would oink at each other and were never farther than a foot from each other.  We named them (I know, I know, you’re not suppose to do that).  We thought it would be fun to name them after U.S. Presidents so the black one was named Abraham Lincoln (Abe) and the red one was named George Washington (hubby called him “The General).

Thursday and Friday were repeats of Wednesday.  They started to love the pig oatmeal, but George just didn’t seem well.  He was listless and seemed to sleep a lot. But again, how much do pigs sleep a day?  Abe didn’t want to leave his side, so he was buried under the straw all day with George.  I started to worry.

Saturday morning, I went out with the hot water for the pig oatmeal and found George walking in slow circles with his head down.  After I poured the water in the grain, I started to pet George and noticed a bunch of bugs all over him.  I thought they were ticks and immediately my skin started to crawl.  It came to me that this infestation may be related to the listless behavior in ole’ George.

I rushed to Tractor Supply to get tick treatment, itching and skeeving out all the way.  Where could the ticks come from?  Did the pigs come with them?  Could they have been in the straw we used for bedding?  Are the cats covered in them now?  The dogs?  ME??!!!

I got home to find George having a seizure and immediately called the vet.  He came out within 15 minutes to check George out.  Turns out what I thought were ticks were actually pig lice.  **shudder**

You can see why I was confused:

Lice on the left, tick on the right

Lice on the left, tick on the right

I am no entomologist, I certainly didn’t know there were pig-specific bugs, so I had no flipping clue.  Plus, lice are super small, right?  These buggers were HUGE!

The vet thought the lice had caused George to be anemic.  This had caused the neurological symptoms.  We treated George and after a brief pig rodeo trying to catch him, we treated Abe as well.  The vet thought the pigs came with the lice (in other words, it wasn’t our fault), and told me I needed to contact the guy we bought them from.

I snuggled George up in the straw and tried to make him comfortable.  Abe quickly curled up next to him.  Things didn’t look good.  A few hours later, George was dead.  We pulled him out of the pen and laid him outside the gate.  Abe paced back and forth, looking at his friend on the other side of the fence.  It was really quite sad.

After a few hours, we moved George away and I took Abe some corn bread to cheer him up.  It’s his favorite.  I was so worried about Abe being lonely I almost took a stuffed animal out to him for the night.  Almost…..  He’s a pig, I really have to draw the line somewhere.  I think taking a stuffed animal out for him to snuggle is over the line.

The guy we bought the pigs from called late Saturday night and was more than apologetic.  He felt terrible that we had dealt with this, could not fathom how this pig had gotten so sick and asked us to bring him George the next day.  As it turns out, the day this litter was being treated for lice and other parasites, one of the people helping accidentally stabbed herself with a needle.  Our best guess is that this accident messed up the routine (ya think?) and George never received his injection.  He probably had intestinal parasites in addition to the lice.  Between that and the stress of being moved, his little body just couldn’t take it.

RIP George

RIP George

Well, we couldn’t leave poor Abe all alone!  One of the things I DID learn from all the reading I did was that pigs don’t do well alone.  They don’t eat well, they don’t gain well, and they are unhappy.

The new pig is a gilt (I learned some terminology from the books, too), so naming her after a president is out.  As of right now, she remains nameless.  Her arrival has done wonders for Abe.  He is eating more, is more active, and his tail is all curled up.  He wags his tail and loves playing “grab ass” with her.  She has decided she loves the pig oatmeal in the morning and corn bread is a pretty yummy treat.

George is on the right.  The white dust on them is lice dust.

George is on the right. The white dust on them is lice dust.

More cornbread, please!

More cornbread, please!

I’m bummed about George, but this is the way life is on the farm.  I’m glad it wasn’t our fault and I’m glad his last days were spent snuggled with his brother in a nice clean straw bed.

Now to go make some cornbread for Abe and his sis……  It’s only over the line if I add honey and syrup to the dough, right?


Posted in Pigs | 2 Comments

The porcine project

After venturing in chickens last year, we were excited to add another animal to the farm.  We have decided to add one new type of animal per year so we don’t get overwhelmed.  After lots of reading, research, and discussion, we chose pigs as our next project.

First, we had to build a pig pen.  Many people build their pen out of pallets or “whatever is lying around”, but not us.  Oh, no……our pigs had to have luxury like the chickens.  We wanted comfortable, happy pigs.  I figure the bacon will taste better if they live in the lap of luxury.

Step one – remove the chain link installed by a former owner.  We were told they raised emus.  Ya, emus, you read that right.  This is what the corral area next to the barn looked like when we bought the place.

Corral - before   This is what it looked like when we bought the place.

Corral – before
This is what it looked like when we bought the place.

And here it is all cleaned up:

Corral after clean up and fence removal

Corral after clean up and fence removal

Then we built the new fence.  Part of this will be corral fence for cattle (or whatever), the rest is the new pig enclosure.  First we set all the posts (we rented a post hole digger – digging all these by hand is crazy talk I tell ya).

Setting Posts

Setting Posts

Then, we poured a concrete pad for the pig house and food/water area.  I even helped smooth out the concrete!  Look at my many talents!

Look!  I'm helping with the concrete!

Look! I’m helping with the concrete!

Then, we put all the fence boards up.

Pig Pen is taking shape

Pig Pen is taking shape

We then installed all the pig panels and stained all the wood.  Doesn’t it look nice??

Stained fence

Stained fence

Pig house

Pig house

Next, we had to get pigs!  We ended up with two Duroc/Hampsire cross barrows.  Here’s hubby holding one of them:

Hubby and pig

Hubby and pig

I was a little disturbed that the way to handle piglets was by their hind legs, but those little suckers are really hard to hold on to otherwise.  AND….they bite!

I did manage to hold one up a little better:

Me and pig

Me and pig

And, here they are exploring their new pen:

Pigs moving in

Pigs moving in

Weeeeee!!!!!

Weeeeee!!!!!

What's this weird surface?

What’s this weird surface?

I think we like it here!

I think we like it here!

So, there you have it, happy little piggies!  For a few months at least, then it’s bacon time!!!  Num Num Num!!


Posted in Pigs | 2 Comments

Front Room – Before and After

We’re not sure what to call the front room of this house.  We initially thought it would be the “music room” where we would have the piano and the kids could play their instruments.  Then, we thought maybe it would be a “parlor” because it would be a great room to have guests and visit.  Then, we thought it would become our “living room” where the TV would be and where we would hang out most of the time.  After doing all this work, we don’t think a TV would look right in this room, so we’re back to thinking it will be the “parlor”.  Until then, it’s the front room.

When we first bought the house, we did a partial restoration of this room.  Basically, we removed the wallpaper (that was coated with drywall texture and paint) and painted the walls.  This made it a room we could use, but we knew it wasn’t done.  This winter, we decided to restore the dining room and since those two rooms are connected, it just made sense to finish this room off.

Here is what the room looked like when we bought the house:

Front "music room" before.  View towards dining room

Front “music room” before. View towards dining room

Front "Music Room" before

Front “Music Room” before

At some point, someone stripped the paint off the woodwork in this room.  While it was nice to have unpainted woodwork, they stained the woodwork after stripping the paint.  The stain they chose was a cherry color and was very tough to match.  Everything we did in this room, from paint colors to decor had to go with this cherry stain.  That, and they did not finish stripping the pocket doors (you can see this in the picture above), so if we stripped those doors, we would have to match the stain color.

This unpainted woodwork became quite an issue.  One of the big no-no’s of restoration is…..do not paint unpainted woodwork.  So, here we have unpainted woodwork, but we don’t like the color of the stain.  Also, we don’t want to put the work into stripping the paint off the pocket doors just to cover them in stain that we don’t like.  Dilemma…..  Fortunately, I actually liked how the painted doors looked with the stained wood, so we ended up repainting the doors.

One great thing about this room is that it is the only room left with the original light fixture.  All of the original fixtures were downstairs (including at least one Tiffany light) in 1996 when the longest resident sold the house.  The next owner took them out and sold them except for the one in this room.  As bummed out as we are to learn about the removal of the original lights, we are thankful to still have this one.

Here is what we did in this room:

  • Removed wallpaper (coated with drywall texture and paint)
Removing wallpaper mess

Removing wallpaper mess

  • Overlay the ceiling with drywall.  We did this because the ceiling had a heavy texture on it.  The original plaster was starting to sag, so we worried about the integrity of the ceiling.  Overlaying with new drywall solved both the texture issue and the plaster issues.
New drywall on ceiling

New drywall on ceiling

  • Remove the laminate wood flooring that covered the original flooring and refinished the floors.
Front room with laminate removed

Front room with laminate removed

  • Replaced all the electric and rewired the light.
Original light fixture rewired.

Original light fixture rewired.

  • Lowered the picture rail.  If you’re not familiar with picture rail, it’s a common type of molding used in Victorian houses.  Since the walls are plaster and lath, they are very difficult to hammer nails in to.  Picture railing was hung, then hooks and chords were used to hang pictures.  The picture rail in this room was at the top of the wall like crown molding.  We removed and labeled each piece, cleaned the ceiling texture and paint off, then lowered it down the wall about 12 inches.
Picture rail lowered

Picture rail lowered

  • And, of course, the stenciling at the top of the wall.
Oooh La La!

Oooh La La!

Here are the overall before and afters.  Hope you all approve!

Front room Before and After

Front room Before and After

Front Room Before and After

Front Room Before and After

You get a little sneak peek at the dining room there, but I’ll do a full before and after post here soon.  Now, if we could just find some furniture for that room we’d be all set!


Posted in Before and After, Front Room | 3 Comments

Stenciling the front room

When struggling to find wallpaper I liked (that wasn’t discontinued), I seriously considered stenciling the walls in the dining room.  Stenciling has been around forever and was common in Victorian homes, so it would have been appropriate, albeit time consuming.  Thankfully, it didn’t come to that, but I was hooked on the stenciling idea.

In the front room, we lowered the picture molding and painted the ceiling color down the wall to the molding.  This left a 12 inch border at the top of the walls.  Perfect area for stenciling!

Perfect stenciling spot!

Perfect stenciling spot!

We haven’t stenciled before.  It was a completely new medium for us.  What can I say, we live life on the edge.  I ordered the stencil online.  I read all the instructions, watched videos, obsessed…..waited for the stencil to arrive.  Saturday was deemed stenciling day.

It’s funny how hubby and I work together.  We tend to divide the work to be done into separate tasks.  He does his tasks and I do mine.  We don’t argue over who does what or how the work gets done.  The division is handled silently, too.  We just tend to do what we need to do….it’s weird, actually.

For stenciling, hubby would line up the stencil, measure to make sure we stay on the level, tape it to the wall, and step back.  I would roll the paint on, make sure the it covered well, and step back.  Rinse and repeat.  And repeat.  And repeat.  And repeat.

And so on.

IMG_0875

Things were actually going quite swimmingly until about half way through.  The lines were getting less and less sharp.  More paint was seeping through, so we decided it was time to clean the stencil.  This would have not been a problem if we had not used spray adhesive on the back.  The spray adhesive mixed with water and paint chunks turned the back of the stencil into a gooey, chunky mess.  After about 30 minutes of cleaning with lacquer thinner, we were back on track.

IMG_0877It took us about 2 1/2 hours to get the first two walls done.  I cannot imagine stenciling an entire room and think I should maybe have my head examined for even thinking it was a possibility.  After we got in a groove (and after the glue/paint/goo debacle), things went pretty smoothly.  We managed to get the last two walls done in about an hour!

Oooh La La!

Oooh La La!

It’s amazing how this little detail changed the room.  I can’t think of any way to put this without using cliches. How about a fun game of choose your own cliche…..

The stenciling

  • Really finished the room
  • Gave the room that extra “pop”
  • Pushed the room to the next level
  • Added a touch of Victorian elegance

I would stencil again, but I don’t know if I’d ever tackle stenciling an entire room floor to ceiling. We did learn a few tips along the way:

  1. Buy a high quality stencil.  The stencil we purchased from www.cuttingedgestencils.com.  It stood up well to moving multiple times, washing, and scrubbing with lacquer remover (grr).  It laid down flat on the wall and I wasn’t worried about it breaking.  I did notice a couple spots where the cut-out detail was quite small and it started to bend, but it still functioned perfectly.
  2. Do not use stencil adhesive.  We did not notice that using the adhesive improved the quality of the finished product.  We found that using blue painter’s tape all the way along the top and bottom of the stencil held it up and flat on the wall.
  3. Use a dense foam roller.  These can be found at any home improvement store.  Make sure you get a foam roller, not the “fuzzy” rollers.
  4. Make sure you roll most of the paint off the roller.  I found that using minimal paint, rolling most of it off in the tray, then rolling it once on a paper towel was perfect.  Too much paint will cause seepage under the stencil.
  5. Practice first.  The stencil we bought had a little stencil with it to practice with.  We practiced our technique multiple times before putting it up on a wall that “counted”.
  6. Take your time.  Seriously.  This is not a job to rush.  Take a break if you need to, take a deep breath, slow down.
  7. Don’t be intimidated….it really was easy to do and the results look great!

Soon….very soon….I will be able to show you a full before and after of this room!!


Posted in Before and After, Front Room | 2 Comments

Wallpaper Part Two

It seems like the wallpaper challenge did not end with wallpaper location.  The challenge had really only begun.

Someone once told me that if you want to test the strength of your marriage…..hang wallpaper together.  Hubby and I have tackled this task before.  In our first house, we wallpapered an entire 25′ x 15′ ceiling! Even though it had been a while, we figured if we could wallpaper a ceiling…walls would be easy.

Delusional, I know.

We started hanging wallpaper yesterday.  The first strip went well enough.

1st Strip up!

1st Strip up!

The second strip went up pretty well, too.  We cut the third strip, had it ready to go up, when I noticed a problem.  We had the pattern wrong on the second strip.  Crap.  We didn’t panic….it was only the second strip and at least we caught it right away!  We peeled the strip off, threw it away, and tried again.  We managed to get the pattern correct, but we had a new problem….the seams wouldn’t stick down.

ARG!

ARG!

We decided to press on, do the best we could, and come back with a little bit of glue to fix the seam issues.  The rest of the day went well.  It took us 5.5 hours, but we got two of the four walls done, our technique got better, and we were feeling more confident.  This morning, we got up ready to finish off the job and this is what we found:

Shrinking...

Shrinking…

The incredible shrinking wallpaper.  What once was a nice wallpaper butt joint with no white primer showing is now a lovely white pinstripe down the wall.  How vinyl wallpaper shrinks, I’ll never know.  Fortunately, there weren’t too many of these.  We think we’ll be able to use a teeny tiny brush and some paint to pant the lines so you won’t even notice.

We decided to press on.  What choice did we have, really?  The third wall has three windows with very detailed trim.  This wall took us nearly 3 hours.  Ugh.  The fourth wall was pretty easy and took us about an hour.  Like every other project, we got really efficient and figured out the best way to do things when we were nearly finished.

So, what did we learn?

  1. Tint the wallpaper primer the same color as the background of your wallpaper before you paint it on.  This way if you have any shrinkage or gaps, you won’t notice them.  (We didn’t do this….)
  2. Do….Not….Rush.  Seriously, take your time.  I think we thought we’d get done much faster than we did.
  3. Overlap the wallpaper just slightly (like 1mm or less) to avoid the problem addressed in #1. (We figured this out after we encountered the problem addressed in #1)
  4. Work the paper from the center to the edge and push a tiny amount of glue to the edge so your seams stick.  Wipe up any big globs of glue while wet. (We figured this out about 3/4 of the way through the job)
  5. After you wet your wallpaper, you have to fold the paper paste side to paste side.  This is called “booking”.  The purpose of this is (I think) to let the paste get wet and sticky and to let the paper “relax”.  At first, we let the wallpaper “book” for 2 minutes which was the time indicated on the instructions.  We found that letting it sit for a little longer made it easier to work with.  (We figured this out about 4/5 of the way through the job)
  6. Have a plan when it comes to tough spots.  Talk about your plan with each other, think about the best way to tackle those spots.  THEN get the paper unrolled and ready to go.
  7. You and your hanging partner may have different ways of doing things.  As long as the finished product looks good…..who cares?!  Hubby kept using his construction tools (razor and straight edge) and I drug out my quilting tools.  His tools worked for him, mine worked for me!
Dual Use Tools!

Dual Use Tools!

The end result?  Looks pretty darn good (even if I do say so myself).  Was it worth it?

Finished wall

Finished wall

I think so!

Oh, and we are still speaking to each other, so that’s a good thing!


Posted in Before and After, Dining Room, How To/DIY, Meanderings | 1 Comment

Floor refinishing Frenzy!

We’ve refinished lots of floors in our restoration history.  The first house we bought had hardwoods hidden under the carpet.  To conserve money, we decided to tackle the refinishing ourselves.  We ended up refinishing them three times before we were happy with the finished product.  The sanders we rented spewed dust, went through sandpaper like it was made of toilet paper, and the polyurethane tended to have bubbles in it for no reason.  We spent more money on the sander rentals, sandpaper, and the tools to spread the finish than we would have spent on a professional to do it for us.  We did learn a few things.

1.  Staining the floors prior to finishing them will pick up every imperfection, every swirl mark left by the sander, every stain…..everything.  If you are a perfectionist….you may want to reconsider staining your old hardwood floors.  Floors finished without stain will be beautiful.

2.  Refinishing floors yourself may save you money, but it won’t save you much money and the hassle is hardly worth it.  The sanders you rent are lower quality, spew dust (even the dust-free ones), and will not give you the same product the professionals will.

Right now, we are working on two rooms.  We are nearly done with both rooms (horray!) and the proof is that we are refinishing floors!  Many of the floors in this house were covered by a thin hardwood floor at some point.  A laminate type floor that looks like it was installed in the 1950’s.  When we were removing this laminate floor, we uncovered the original hardwoods.  In the dining room, we uncovered an amazing herringbone pattern with two different woods.

Pulling up the laminate flooring

Pulling up the laminate flooring

Hubby took that picture to prove I actually do work, too.

Dining room floor

Dining room floor

I cannot fathom why in the world anyone would cover that up.  My only guess is that a laminate floor guy told the owners that the laminate would be cheaper to install than refinishing the original floors.  It was probably good that they installed the laminate as it likely protected the original floors.

Here’s the dining room with all the laminate floor removed:

Dining room floor - laminate removed

Dining room floor – laminate removed

And here’s the “front room” (we don’t know what else to call this room….for now it will be the living room, but eventually it will be the parlor….maybe?) with the laminate removed:

Front room with laminate removed

Front room with laminate removed

Notice that the wax was applied around the rug?  Like for 50 years, they didn’t move the stinkin’ rug and waxed around it!

We had a couple places where we had to patch the floors.  There were large air intakes in the floor for the old oak burning furnace.  That furnace doesn’t function any more, so we removed the grates in the floor and patched the flooring.  We found a place near by that has architectural salvage items, scavenged through their wood, and managed to locate flooring that matches.  Or, at least it will match once sanded and finished!

Fir flooring patch

Fir flooring patch


Maple flooring patch

Maple flooring patch

Today, our hardwood sanding “pro” started sanding.  This guy refinished our entire house in town, and has done all the flooring in this house so far.  His sanders are somehow dust free and his finished product looks great.  He’s probably 68 years old, about five and a half feet tall, and works harder than most people I know.  He has a little mischievous grin, his logo on his van looks like the Van Halen logo, and all I want to do is put him in my pocket and carry him around with me.  He worked all day sanding (which is a maddening sound to listen to all day) and this is what we have tonight:

Almost done...

Almost done…

Tomorrow he’ll finish up and start layering polyurethane!  We’ve decided to install the wallpaper (yes, I finally found some!) after the floors are done so it didn’t get damaged by the sanders.  Then, we’ll be done with 7/10 of the rooms downstairs!  We are so excited to see these rooms finished!


Posted in Dining Room, Meanderings | 3 Comments